S3 Tables with Amazon EKS

What is S3 Tables?
Amazon S3 Tables is a fully managed tabular data store purpose-built to optimize performance, simplify security, and provide cost-efficient storage for large-scale analytics workloads. It integrates directly with services like Amazon EMR, Amazon Athena, Amazon Redshift, AWS Glue, and AWS Lake Formation, offering a seamless experience for running analytics and machine learning workloads.
Why Run S3 Tables on Amazon EKS?
For users who have adopted Amazon EKS for Spark workloads and are using table formats like Iceberg, leveraging S3 Tables offers advantages in performance, cost-efficiency, and security controls. This integration allows organizations to combine Kubernetes-native features with the capabilities of S3 Tables, potentially improving query performance and resource scaling within their existing environment. By following the steps detailed in this document, users can seamlessly integrate S3 Tables into their EKS setup, providing a flexible and complementary solution for analytics workloads.
How S3 Tables Differ from Iceberg Table Format
While S3 Tables use Apache Iceberg as an underlying implementation, they offer enhanced capabilities specifically designed for AWS customers:
-
🛠️ Automatic Compaction: S3 Tables implements automatic compaction, which intelligently optimizes data storage in the background by combining smaller files into larger, more efficient ones. This process reduces storage costs, improves query speed, and operates continuously without manual intervention.
-
🔄 Table Maintenance: It offers critical maintenance tasks like snapshot management and unreferenced file removal. This continuous optimization ensures that tables remain performant and cost-effective without manual intervention, reducing operational overhead and allowing teams to focus on data insights.
-
❄️ Apache Iceberg Support: Offers built-in support for Apache Iceberg, which simplifies managing data lakes at scale while improving query performance and reducing costs. Consider using S3 Tables for your data lake if you want to experience the following results.
-
🔒 Simplified Security: S3 Tables treat your tables as AWS resources, enabling fine-grained AWS Identity and Access Management (IAM) permissions at the table level. This simplifies data governance, enhances security, and makes access control more intuitive and manageable with your familiar AWS services.
-
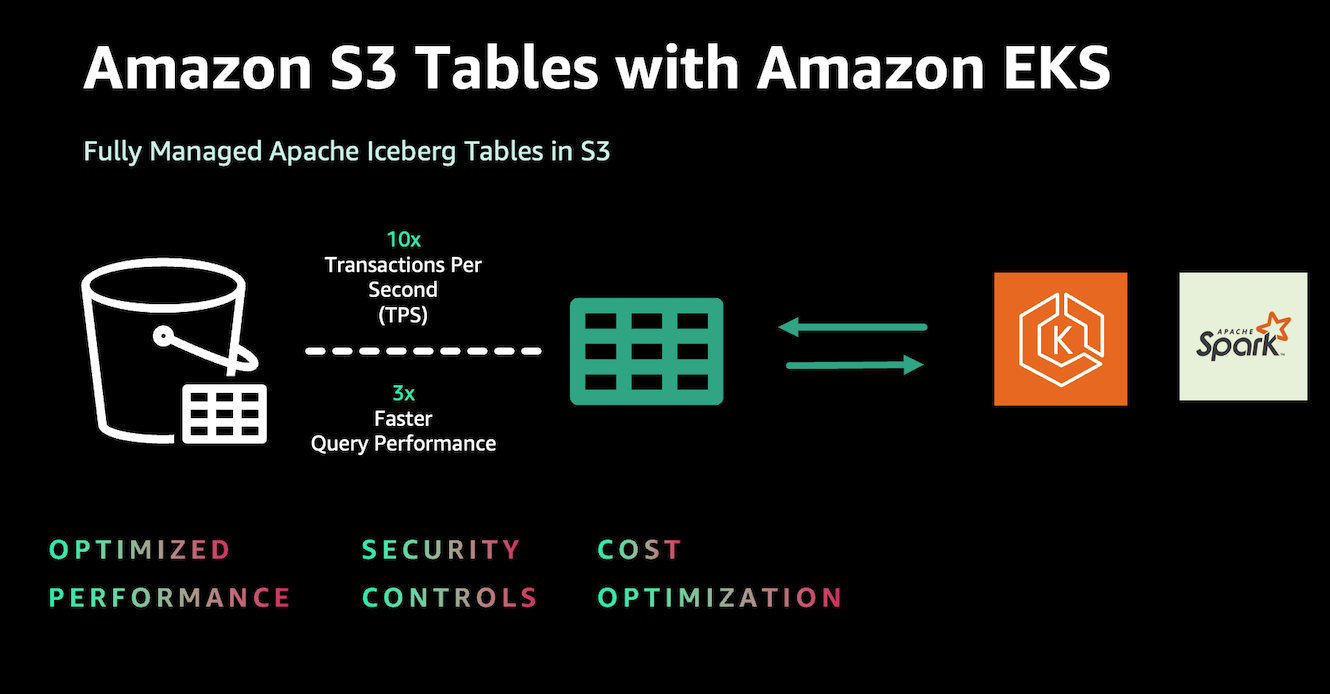
⚡ Enhanced Performance: Amazon S3 Tables introduce a new type of bucket, purpose-built for storing Apache Iceberg tables. Table buckets deliver up to 3x faster query performance and up to 10x higher transactions per second compared to storing Iceberg tables in general-purpose S3 buckets. This performance enhancement supports high-frequency updates, real-time ingestion, and more demanding workloads, ensuring scalability and responsiveness as data volumes grow.
-
🛠️ Integration with AWS Services: S3 Tables are tightly integrated with AWS analytics services such as Athena, Redshift, EMR, and Glue, providing native support for analytics workloads.
Deploying the Solution
👈Execute Sample Spark job
Step 1: Create the S3 Tables compatible Apache Spark Docker Image
Create a Docker image with necessary jars for S3 tables communication.
- Review the sample Dockerfile
- Note the key jar files for S3 Tables interaction, including Iceberg, AWS SDK bundle, and S3 Tables Catalog for Iceberg runtime
- Customize the Dockerfile as needed for your environment
- Build the Docker image and push the image to your preferred container registry
We have created a docker image and published in ECR for the demo purpose only.
Step 2: Create Test Data for the job
Navigate to the example directory and generate sample employee data for Spark job input using this shell script.
cd analytics/terraform/spark-k8s-operator/examples/s3-tables
./input-data-gen.sh
This script will create a file named employee_data.csv in your current directory. By default, it generates 100 records.
Note: If you need to adjust the number of records, you can modify the input-data-gen.sh script. Look for the loop that generates the data and change the iteration count as needed.
Step 3: Upload Test Input data to Amazon S3 Bucket
Replace <YOUR_S3_BUCKET> with the name of the S3 bucket created by your blueprint and run the below command.
aws s3 cp employee_data.csv s3://<S3_BUCKET>/s3table-example/input/
This command will upload the CSV file to your S3 bucket. The Spark job will later reference this path to read the input data. Ensure you have the necessary permissions to write to this bucket before executing the command.
Step 4: Upload PySpark Script to S3 Bucket
The following script is the snippet of the Spark job where you can see the Spark config required to work with S3 Tables.
def main(args):
    if len(args) != 3:
        logger.error("Usage: spark-etl [input-csv-path] [s3table-arn]")
        sys.exit(1)

    # Input parameters
    input_csv_path = args[1]    # Path to the input CSV file
    s3table_arn = args[2]       # s3table arn

    # Initialize Spark session
    logger.info("Initializing Spark Session")
    spark = (SparkSession
             .builder
             .appName(f"{AppName}_{dt_string}")
             .config("spark.sql.extensions", "org.apache.iceberg.spark.extensions.IcebergSparkSessionExtensions")
             .config("spark.sql.catalog.s3tablesbucket", "org.apache.iceberg.spark.SparkCatalog")
             .config("spark.sql.catalog.s3tablesbucket.catalog-impl", "software.amazon.s3tables.iceberg.S3TablesCatalog")
             .config("spark.sql.catalog.s3tablesbucket.warehouse", s3table_arn)
             .config('spark.hadoop.fs.s3.impl', "org.apache.hadoop.fs.s3a.S3AFileSystem")
             .config("spark.sql.defaultCatalog", "s3tablesbucket")
             .getOrCreate())

    spark.sparkContext.setLogLevel("INFO")
    logger.info("Spark session initialized successfully")

    namespace = "doeks_namespace"
    table_name = "employee_s3_table"
    full_table_name = f"s3tablesbucket.{namespace}.{table_name}"

...
Replace S3_BUCKET with the name of the S3 bucket created by your blueprint and run the below command to upload sample Spark job to S3 buckets.
aws s3 cp s3table-iceberg-pyspark.py s3://<S3_BUCKET>/s3table-example/scripts/
Navigate to example directory and submit the Spark job.
Step 5: Create Amazon S3 table bucket
This is the main step where you will create an S3 table bucket that will be used for S3 Tables, which your PySpark job will access later.
Replace <S3TABLE_BUCKET_NAME> with your desired bucket name. Replace <REGION> with your AWS region.
aws s3tables create-table-bucket \
    --region "<REGION>" \
    --name "<S3TABLE_BUCKET_NAME>"
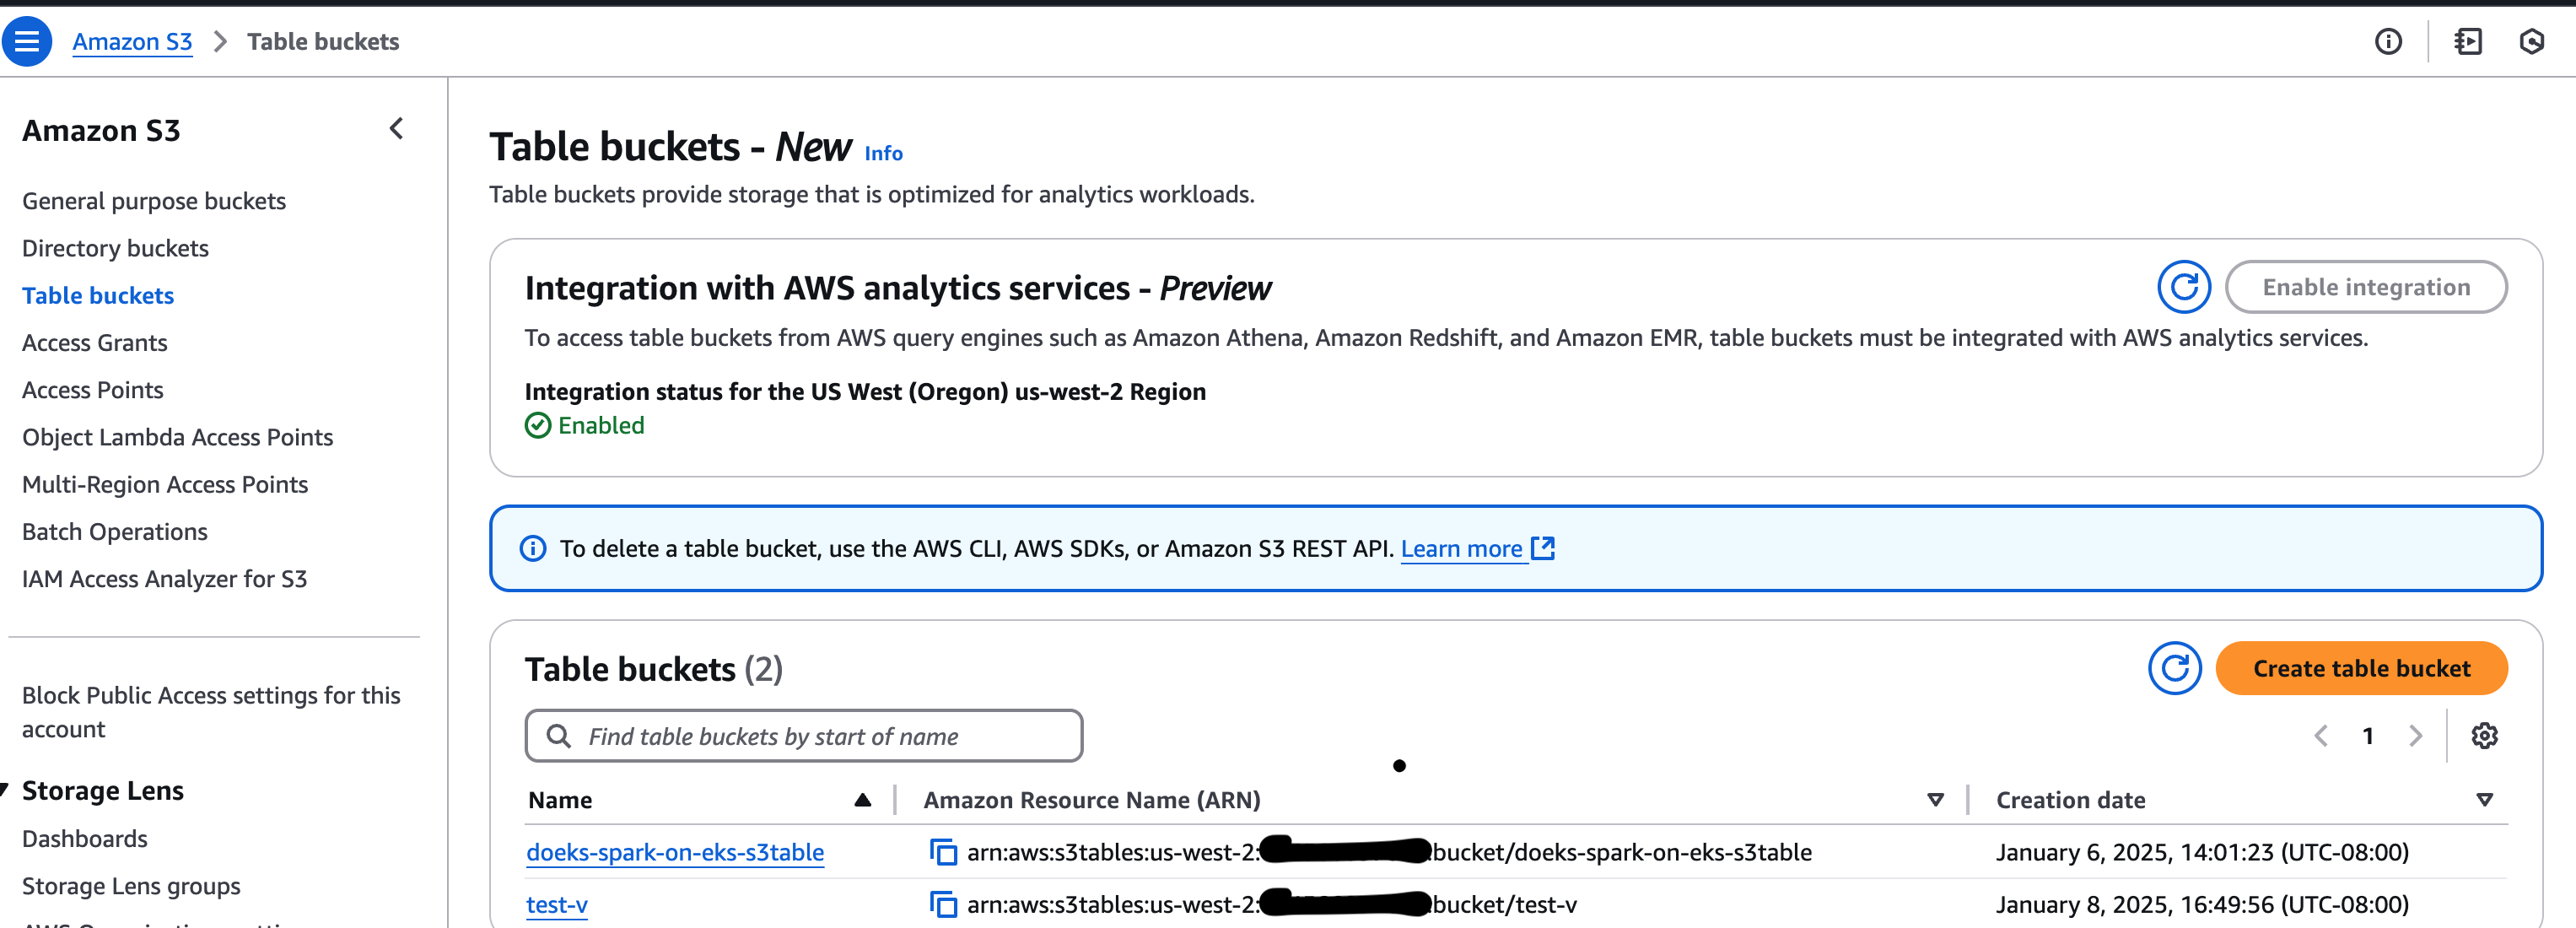
Make note of the S3TABLE BUCKET ARN generated by this command. Verify the S3 table bucket ARN from AWS Console.

Step 6: Update Spark Operator YAML File
Update the Spark Operator YAML file as below:
- Open s3table-spark-operator.yaml file in your preferred text editor.
- Replace
<S3_BUCKET>with your S3 bucket created by this blueprint(Check Terraform outputs). S3 bucket is the place where you copied the test data and sample spark job in the above steps. - REPLACE
<S3TABLE_BUCKET_ARN>with your S3 table bucket ARN captured in the previous step.
You can see the snippet of Spark Operator Job config below.
---
apiVersion: "sparkoperator.k8s.io/v1beta2"
kind: SparkApplication
metadata:
  name: "s3table-example"
  namespace: spark-team-a
  labels:
    app: "s3table-example"
    applicationId: "s3table-example-nvme"
spec:
  type: Python
  sparkVersion: "3.5.3"
  mode: cluster
  # CAUTION: Unsupported test image
  # This image is created solely for testing and reference purposes.
  # Before use, please:
  # 1. Review the Dockerfile used to create this image
  # 2. Create your own image that meets your organization's security requirements
  image: "public.ecr.aws/data-on-eks/spark:3.5.3-scala2.12-java17-python3-ubuntu-s3table0.1.3-iceberg1.6.1"
  imagePullPolicy: IfNotPresent
  mainApplicationFile: "s3a://<S3_BUCKET>/s3table-example/scripts/s3table-iceberg-pyspark.py"
  arguments:
    - "s3a://<S3_BUCKET>/s3table-example/input/"
    - "<S3TABLE_BUCKET_ARN>"
  sparkConf:
    "spark.app.name": "s3table-example"
    "spark.kubernetes.driver.pod.name": "s3table-example"
    "spark.kubernetes.executor.podNamePrefix": "s3table-example"
    "spark.local.dir": "/data"
    "spark.speculation": "false"
    "spark.network.timeout": "2400"
    "spark.hadoop.fs.s3a.connection.timeout": "1200000"
    "spark.hadoop.fs.s3a.path.style.access": "true"
    "spark.hadoop.fs.s3a.connection.maximum": "200"
    "spark.hadoop.fs.s3a.fast.upload": "true"
    "spark.hadoop.fs.s3a.readahead.range": "256K"
    "spark.hadoop.fs.s3a.input.fadvise": "random"
    "spark.hadoop.fs.s3a.aws.credentials.provider.mapping": "com.amazonaws.auth.WebIdentityTokenCredentialsProvider=software.amazon.awssdk.auth.credentials.WebIdentityTokenFileCredentialsProvider"
    "spark.hadoop.fs.s3a.aws.credentials.provider": "software.amazon.awssdk.auth.credentials.WebIdentityTokenFileCredentialsProvider"  # AWS SDK V2 https://hadoop.apache.org/docs/stable/hadoop-aws/tools/hadoop-aws/aws_sdk_upgrade.html
...
Step 7: Execute Spark Job
Apply the updated YAML configuration file to your Kubernetes cluster to submit and execute the Spark job:
cd ${DOEKS_HOME}/analytics/terraform/spark-k8s-operator/examples/s3-tables
kubectl apply -f s3table-spark-operator.yaml
This will schedule the Spark job on the EKS cluster. Spark Operator handles submitting the job to the Kubernetes API Server.
Kubernetes will schedule the Spark driver and executor pods to run on separate worker nodes. Karpenter will automatically provision new nodes if required, based on the nodepool configuration in the Terraform scripts.
Monitor the logs of the Spark driver pod to track job progress. The pods default to c5d instances, but you can modify the YAML and Karpenter nodepool to use different EC2 instance types if needed.
Step 8: Verify the Spark Driver log for the output
List the pods running under the spark-team-a namespace:
kubectl get pods -n spark-team-a
Verify the driver logs to see the full output of the Spark job. The job reads the CSV data from the S3 bucket and writes it back to the S3 Tables bucket using the Iceberg format. It also counts the number of records processed and displays the first 10 records:
kubectl logs <spark-driver-pod-name> -n spark-team-a
You should see the Spark driver pod transition to a Succeeded state when the job completes successfully and the log should show output like below.
...
[2025-01-07 22:07:44,185] INFO @ line 59: Previewing employee data schema
root
 |-- id: integer (nullable = true)
 |-- name: string (nullable = true)
 |-- level: string (nullable = true)
 |-- salary: double (nullable = true)

....

25/01/07 22:07:44 INFO CodeGenerator: Code generated in 10.594982 ms
+---+-----------+------+--------+
|id |name       |level |salary  |
+---+-----------+------+--------+
|1  |Employee_1 |Mid   |134000.0|
|2  |Employee_2 |Senior|162500.0|
|3  |Employee_3 |Senior|174500.0|
|4  |Employee_4 |Exec  |69500.0 |
|5  |Employee_5 |Senior|54500.0 |
|6  |Employee_6 |Mid   |164000.0|
|7  |Employee_7 |Junior|119000.0|
|8  |Employee_8 |Senior|54500.0 |
|9  |Employee_9 |Senior|57500.0 |
|10 |Employee_10|Mid   |152000.0|
+---+-----------+------+--------+
only showing top 10 rows

....
You should see a new Table and Namespace once the job is successful as shown in the image below.

The following commands will show the additional information on the S3 Tables.
Verify the S3Table using S3Table API
Use the S3Table API to confirm the table was created successfully. Just replace the <ACCOUNT_ID> and run the command.
aws s3tables get-table --table-bucket-arn arn:aws:s3tables:<REGION>:<ACCOUNT_ID>:bucket/doeks-spark-on-eks-s3table \
--namespace doeks_namespace \
--name employee_s3_table
Output looks like below:
Output looks like below.

{
    "name": "employee_s3_table",
    "type": "customer",
    "tableARN": "arn:aws:s3tables:us-west-2:<ACCOUNT_ID>:bucket/doeks-spark-on-eks-s3table/table/55511111-7a03-4513-b921-e372b0030daf",
    "namespace": [
        "doeks_namespace"
    ],
    "versionToken": "aafc39ddd462690d2a0c",
    "metadataLocation": "s3://55511111-7a03-4513-asdfsafdsfdsf--table-s3/metadata/00004-62cc4be3-59b5-4647-a78d-1cdf69ec5ed8.metadata.json",
    "warehouseLocation": "s3://55511111-7a03-4513-asdfsafdsfdsf--table-s3",
    "createdAt": "2025-01-07T22:14:48.689581+00:00",
    "createdBy": "<ACCOUNT_ID>",
    "modifiedAt": "2025-01-09T00:06:09.222917+00:00",
    "ownerAccountId": "<ACCOUNT_ID>",
    "format": "ICEBERG"
}
Monitor the table maintenance job status:
aws s3tables get-table-maintenance-job-status --table-bucket-arn arn:aws:s3tables:us-west-2:"\<ACCOUNT_ID>:bucket/doeks-spark-on-eks-s3table --namespace doeks_namespace --name employee_s3_table
This command provides information about Iceberg compaction, snapshot management, and unreferenced file removal processes.
{
    "tableARN": "arn:aws:s3tables:us-west-2:<ACCOUNT_ID>:bucket/doeks-spark-on-eks-s3table/table/55511111-7a03-4513-b921-e372b0030daf",
    "status": {
        "icebergCompaction": {
            "status": "Successful",
            "lastRunTimestamp": "2025-01-08T01:18:08.857000+00:00"
        },
        "icebergSnapshotManagement": {
            "status": "Successful",
            "lastRunTimestamp": "2025-01-08T22:17:08.811000+00:00"
        },
        "icebergUnreferencedFileRemoval": {
            "status": "Successful",
            "lastRunTimestamp": "2025-01-08T22:17:10.377000+00:00"
        }
    }
}
To work with S3 Tables on EKS, both Node-level policies and Pod-level policies are required.
-
Node-level policies: These are added to the Karpenter Node IAM role. For reference, you can view the permissions configuration in the addons.tf file.
-
Pod-level policies: These are necessary for creating namespaces, managing tables, and reading/writing data to the tables. https://github.com/awslabs/data-on-eks/blob/e3f1a6b08d719fc69f61d18b57cd5ad09cb01bd5/analytics/terraform/spark-k8s-operator/main.tf#L98C1-L156C2 are granted through IAM Roles for Service Accounts (IRSA) for the
spark-team-anamespace. This ensures that the Spark job pods have the required access to perform operations on S3 Tables.
By configuring these permissions appropriately, you can ensure seamless execution of Spark jobs and secure access to resources.
Please note that these policies can further be adjusted and make it more granular based on your security requirements.