Argo Workflows
Running Spark Jobs with Argo Workflows and Events
Argo Workflows is an open-source, container-native workflow engine for orchestrating parallel jobs on Kubernetes. It is implemented as a Kubernetes CRD (Custom Resource Definition), which means you can manage workflows using kubectl and integrate them natively with other Kubernetes services like volumes, secrets, and RBAC.
This guide provides three practical examples of how to run Spark jobs on Amazon EKS using Argo:
- Example 1:
spark-submitin a Workflow: Run a basic Spark Pi job usingspark-submitdirectly within an Argo Workflow. This method does not use the Spark Operator. - Example 2: Using the Spark Operator: Orchestrate a Spark job by having Argo Workflows create a
SparkApplicationcustom resource, which is then managed by the Spark Operator. - Example 3: Event-Driven Workflows with Argo Events: Trigger a Spark job automatically when a message is sent to an Amazon SQS queue.
The Terraform configuration that provisions Argo Workflows lives in the base infrastructure at infra/terraform/argo-workflows.tf and is deployed automatically with Spark on EKS. The Kubernetes manifests for the examples in this guide are located in the data-stacks/spark-on-eks/examples/argo-workflows/manifests/ directory.
Prerequisites
Before you begin, you must have deployed the base infrastructure for Spark on EKS.
- Deploy Spark on EKS infrastructure: Follow the Infrastructure Setup Guide to provision the necessary resources.
Accessing the Argo Workflows UI
Argo Workflows comes with a web-based UI that allows you to visualize and manage your workflows.
1. Port-Forward to the UI Service
To access the UI from your local machine, open a new terminal and run the following command. This will forward a local port to the Argo Workflows server running in the cluster.
kubectl port-forward service/argo-workflows-server -n argo-workflows 2746:2746
You can now access the UI in your browser at http://localhost:2746.
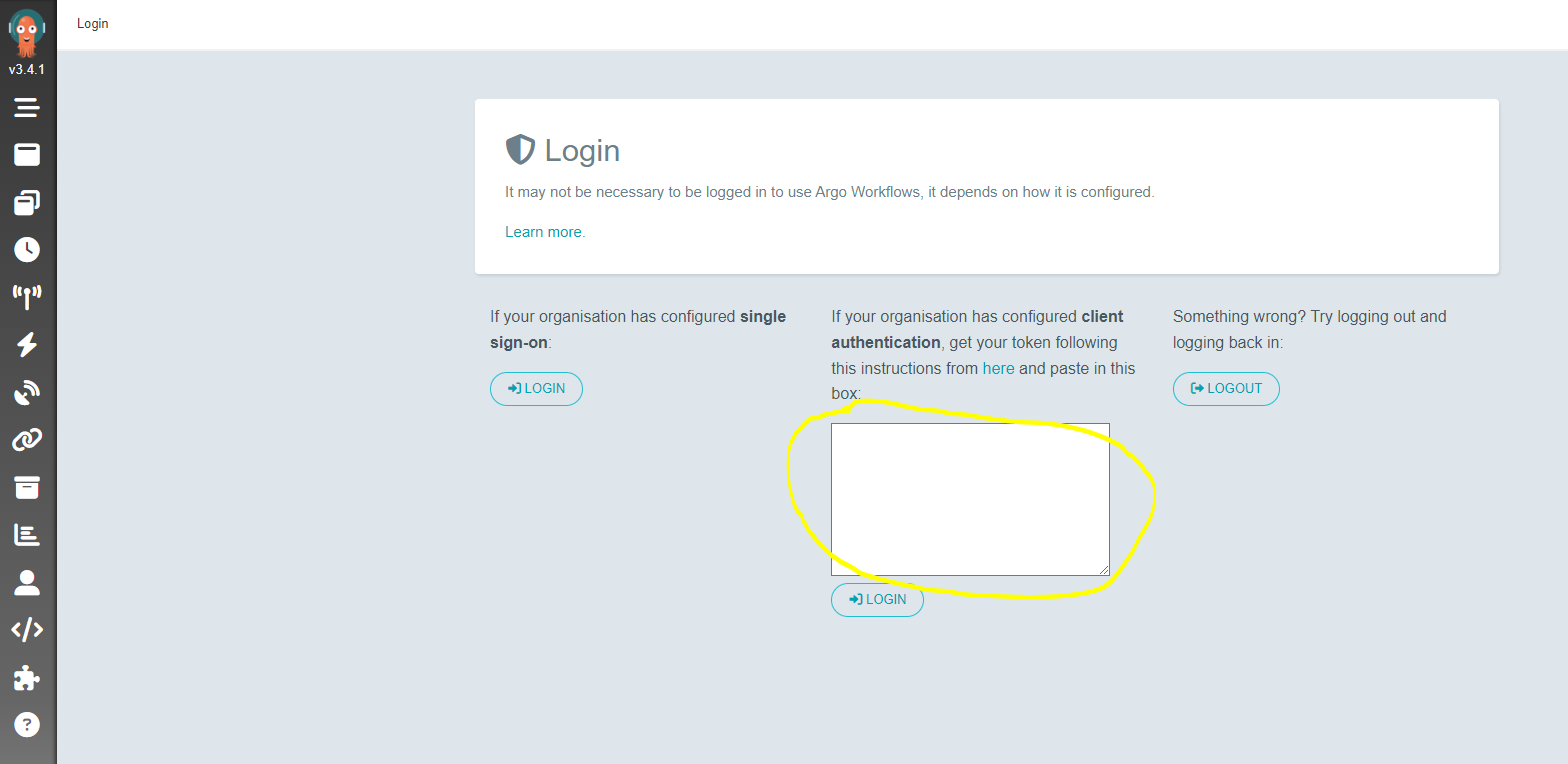
2. Log in to the UI
The default username is admin. To get the auto-generated password (authentication token), run the following command:
ARGO_TOKEN="Bearer $(kubectl -n argo-workflows create token argo-workflows-server)"
echo $ARGO_TOKEN
Copy the entire output, including the Bearer prefix, and paste it into the token field in the UI to log in.
3. Setup Environment Variables
These environment variables will be used by the commands in the following examples to locate resources and configure manifests.
export SPARK_DIR=$(git rev-parse --show-toplevel)/data-stacks/spark-on-eks
export S3_BUCKET=$(terraform -chdir=$SPARK_DIR/terraform/_local output -raw s3_bucket_id_spark_history_server)
export REGION=$(terraform -chdir=$SPARK_DIR/terraform/_local output --raw region)
Example 1: Submit a Spark Job with spark-submit
This example demonstrates how to run a basic Spark Pi job by using spark-submit directly inside a container. This workflow is managed by Argo Workflows but does not use the Spark Operator.
1. Apply the Manifests
First, apply the spark-workflow-templates.yaml file. This contains WorkflowTemplate resources, including the spark-pi template used in this example. The envsubst command substitutes variables required by other templates in the file.
envsubst < $SPARK_DIR/examples/argo-workflows/manifests/spark-workflow-templates.yaml | kubectl apply -f -
Next, apply the argo-rbac.yaml file to create the Service Account and Role Binding required for the workflow to execute.
kubectl apply -f $SPARK_DIR/examples/argo-workflows/manifests/argo-rbac.yaml
Finally, apply the argo-spark.yaml file to create the workflow itself.
kubectl apply -f $SPARK_DIR/examples/argo-workflows/manifests/argo-spark.yaml
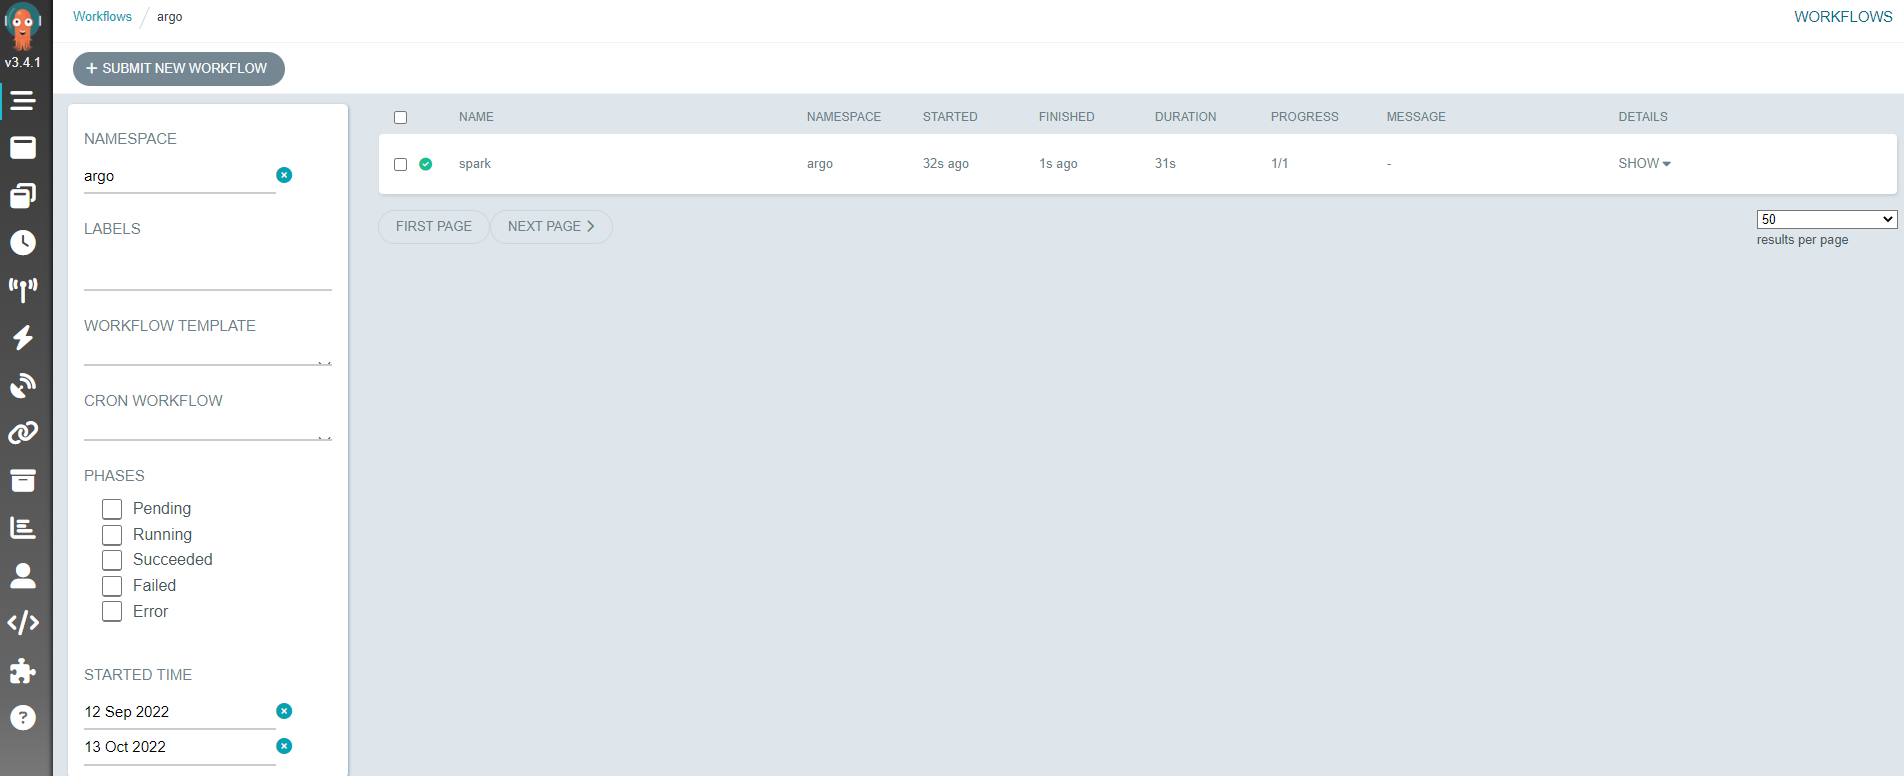
2. Verify the Workflow
After applying the manifests, an Argo Workflow is created. You can view its status from the command line:
kubectl get wf -n argo-workflows
You should see a workflow with a name like spark-pi-xxxxx in the Succeeded state. You can also view the workflow graph, logs, and outputs from the Argo Workflows UI.
Example 2: Submit a Spark Job via the Spark Operator
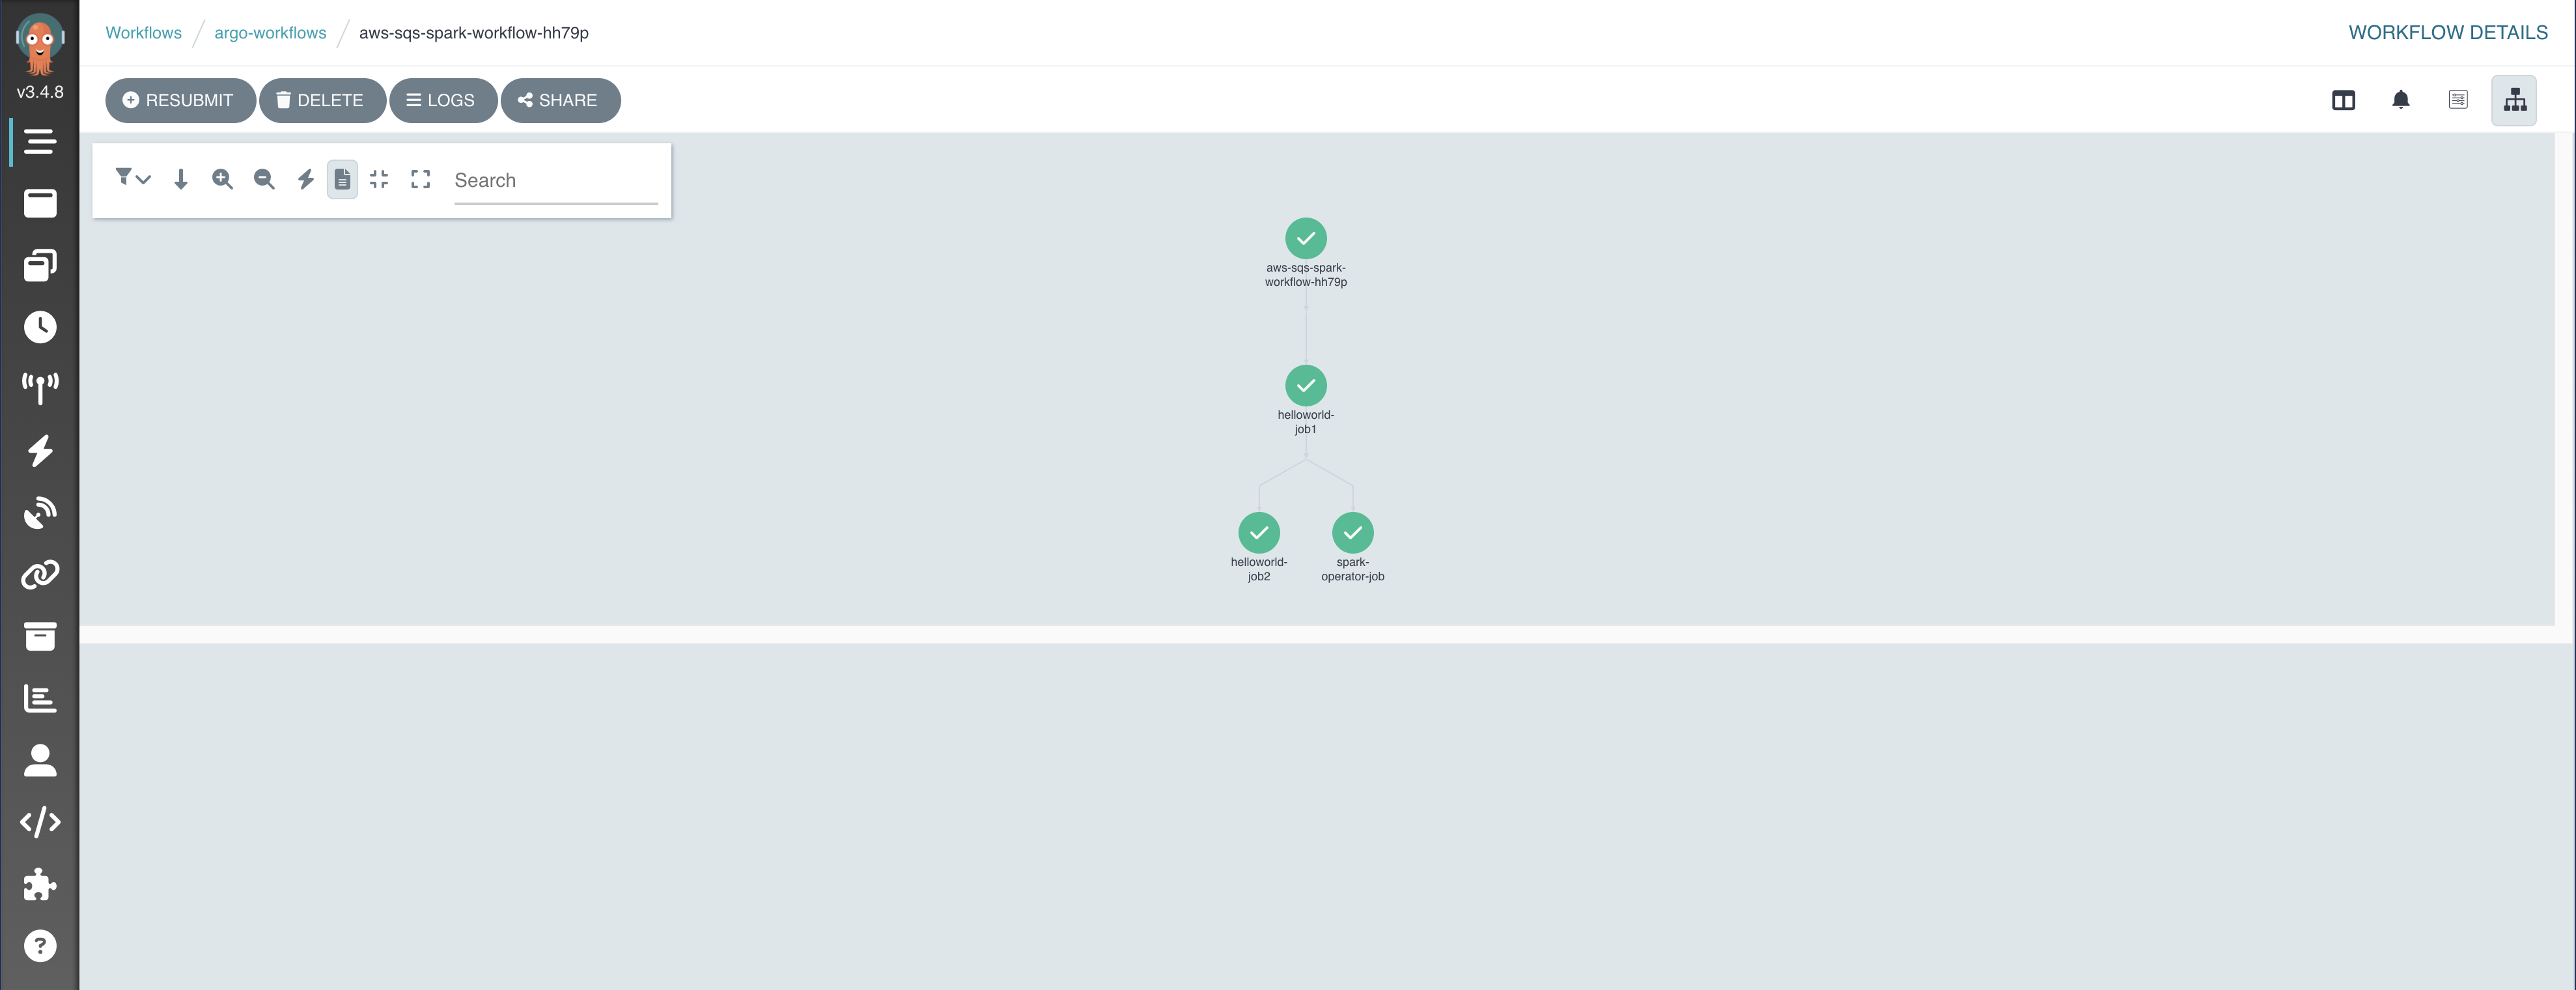
This example orchestrates a Spark job using the Spark Operator. The Argo Workflow creates a SparkApplication custom resource, and the Spark Operator then manages the lifecycle of the Spark job.
This workflow has a simple DAG (Directed Acyclic Graph) structure: it runs two parallel wait tasks to simulate data preparation steps, and once both are complete, it submits the SparkApplication.
1. Apply the Workflow
The spark-workflow-templates.yaml file, which you applied in the previous example, already contains the necessary templates (wait and submit-spark-pi-app).
Submit the workflow by applying the argo-spark-operator.yaml manifest:
kubectl apply -f $SPARK_DIR/examples/argo-workflows/manifests/argo-spark-operator.yaml
2. Verify the Workflow
Check the status of the workflow from the command line:
kubectl get wf -n argo-workflows
You will see a workflow named spark-operator in a Running or Succeeded state. You can also verify that the SparkApplication resource was created in the spark-team-a namespace.
kubectl get sparkapp -n spark-team-a
Once the Spark job completes, the SparkApplication state will change to COMPLETED, and the Argo Workflow will be marked as Succeeded. In the Argo Workflows UI, you can see the DAG visualization and observe the tasks as they execute.

Example 3: Trigger a Spark Job from an SQS Event
This example demonstrates a powerful feature of Argo: event-driven workflows. We will configure Argo Events to listen for messages on an Amazon SQS queue. When a message arrives, it will automatically trigger an Argo Workflow that runs a Spark job using the Spark Operator.
This setup consists of three main Argo Events components:
- EventBus: A message bus that transports events within the Argo Events system.
- EventSource: The component that listens for external events (in this case, polling an SQS queue) and publishes them to the EventBus.
- Sensor: A component that listens for events on the EventBus and triggers actions (like creating an Argo Workflow) based on those events.
1. Create the SQS Queue and Eventing Infrastructure
First, create the SQS queue that will be used to trigger the workflow.
QUEUE_URL=$(aws sqs create-queue --queue-name data-on-eks --region $REGION --output text)
echo "SQS Queue URL: $QUEUE_URL"
Next, deploy the Argo Events components. The eventbus.yaml manifest creates the EventBus resource.
kubectl apply -f $SPARK_DIR/examples/argo-workflows/manifests/eventbus.yaml
The eventsource-sqs.yaml manifest configures the EventSource to monitor the data-on-eks SQS queue. We use envsubst to inject the correct AWS region into the manifest.
cat $SPARK_DIR/examples/argo-workflows/manifests/eventsource-sqs.yaml | envsubst | kubectl apply -f -
2. Deploy the Sensor and RBAC
The Sensor needs permission to create Argo Workflows. Apply the sensor-rbac.yaml manifest to create the necessary ServiceAccount, Role, and RoleBinding.
kubectl apply -f $SPARK_DIR/examples/argo-workflows/manifests/sensor-rbac.yaml
Now, deploy the Sensor itself using the sqs-spark-jobs.yaml manifest. This Sensor is configured to listen for events from our SQS EventSource and trigger a workflow that runs the spark-taxi-app template.
cat $SPARK_DIR/examples/argo-workflows/manifests/sqs-spark-jobs.yaml | envsubst | kubectl apply -f -
3. Verify the Argo Events Components
You can check that all the Argo Events components have been deployed correctly in the argo-events namespace.
kubectl get all,eventbus,eventsource,sensor -n argo-events
You are looking for the EventBus pod, the EventSource pod, and the Sensor pod to be in the Running state. This indicates that the eventing pipeline is ready.
4. Prepare Data and Trigger the Workflow
The Spark job for this example processes taxi trip data. Run the following script to generate this data and upload it to your S3 bucket.
$SPARK_DIR/../scripts/taxi-trip-execute.sh $S3_BUCKET $REGION
Now, trigger the workflow by sending a message to the SQS queue. The content of the message does not matter for this example.
aws sqs send-message --queue-url $QUEUE_URL --message-body '{"message": "hello world"}' --region $REGION
5. Check the Results
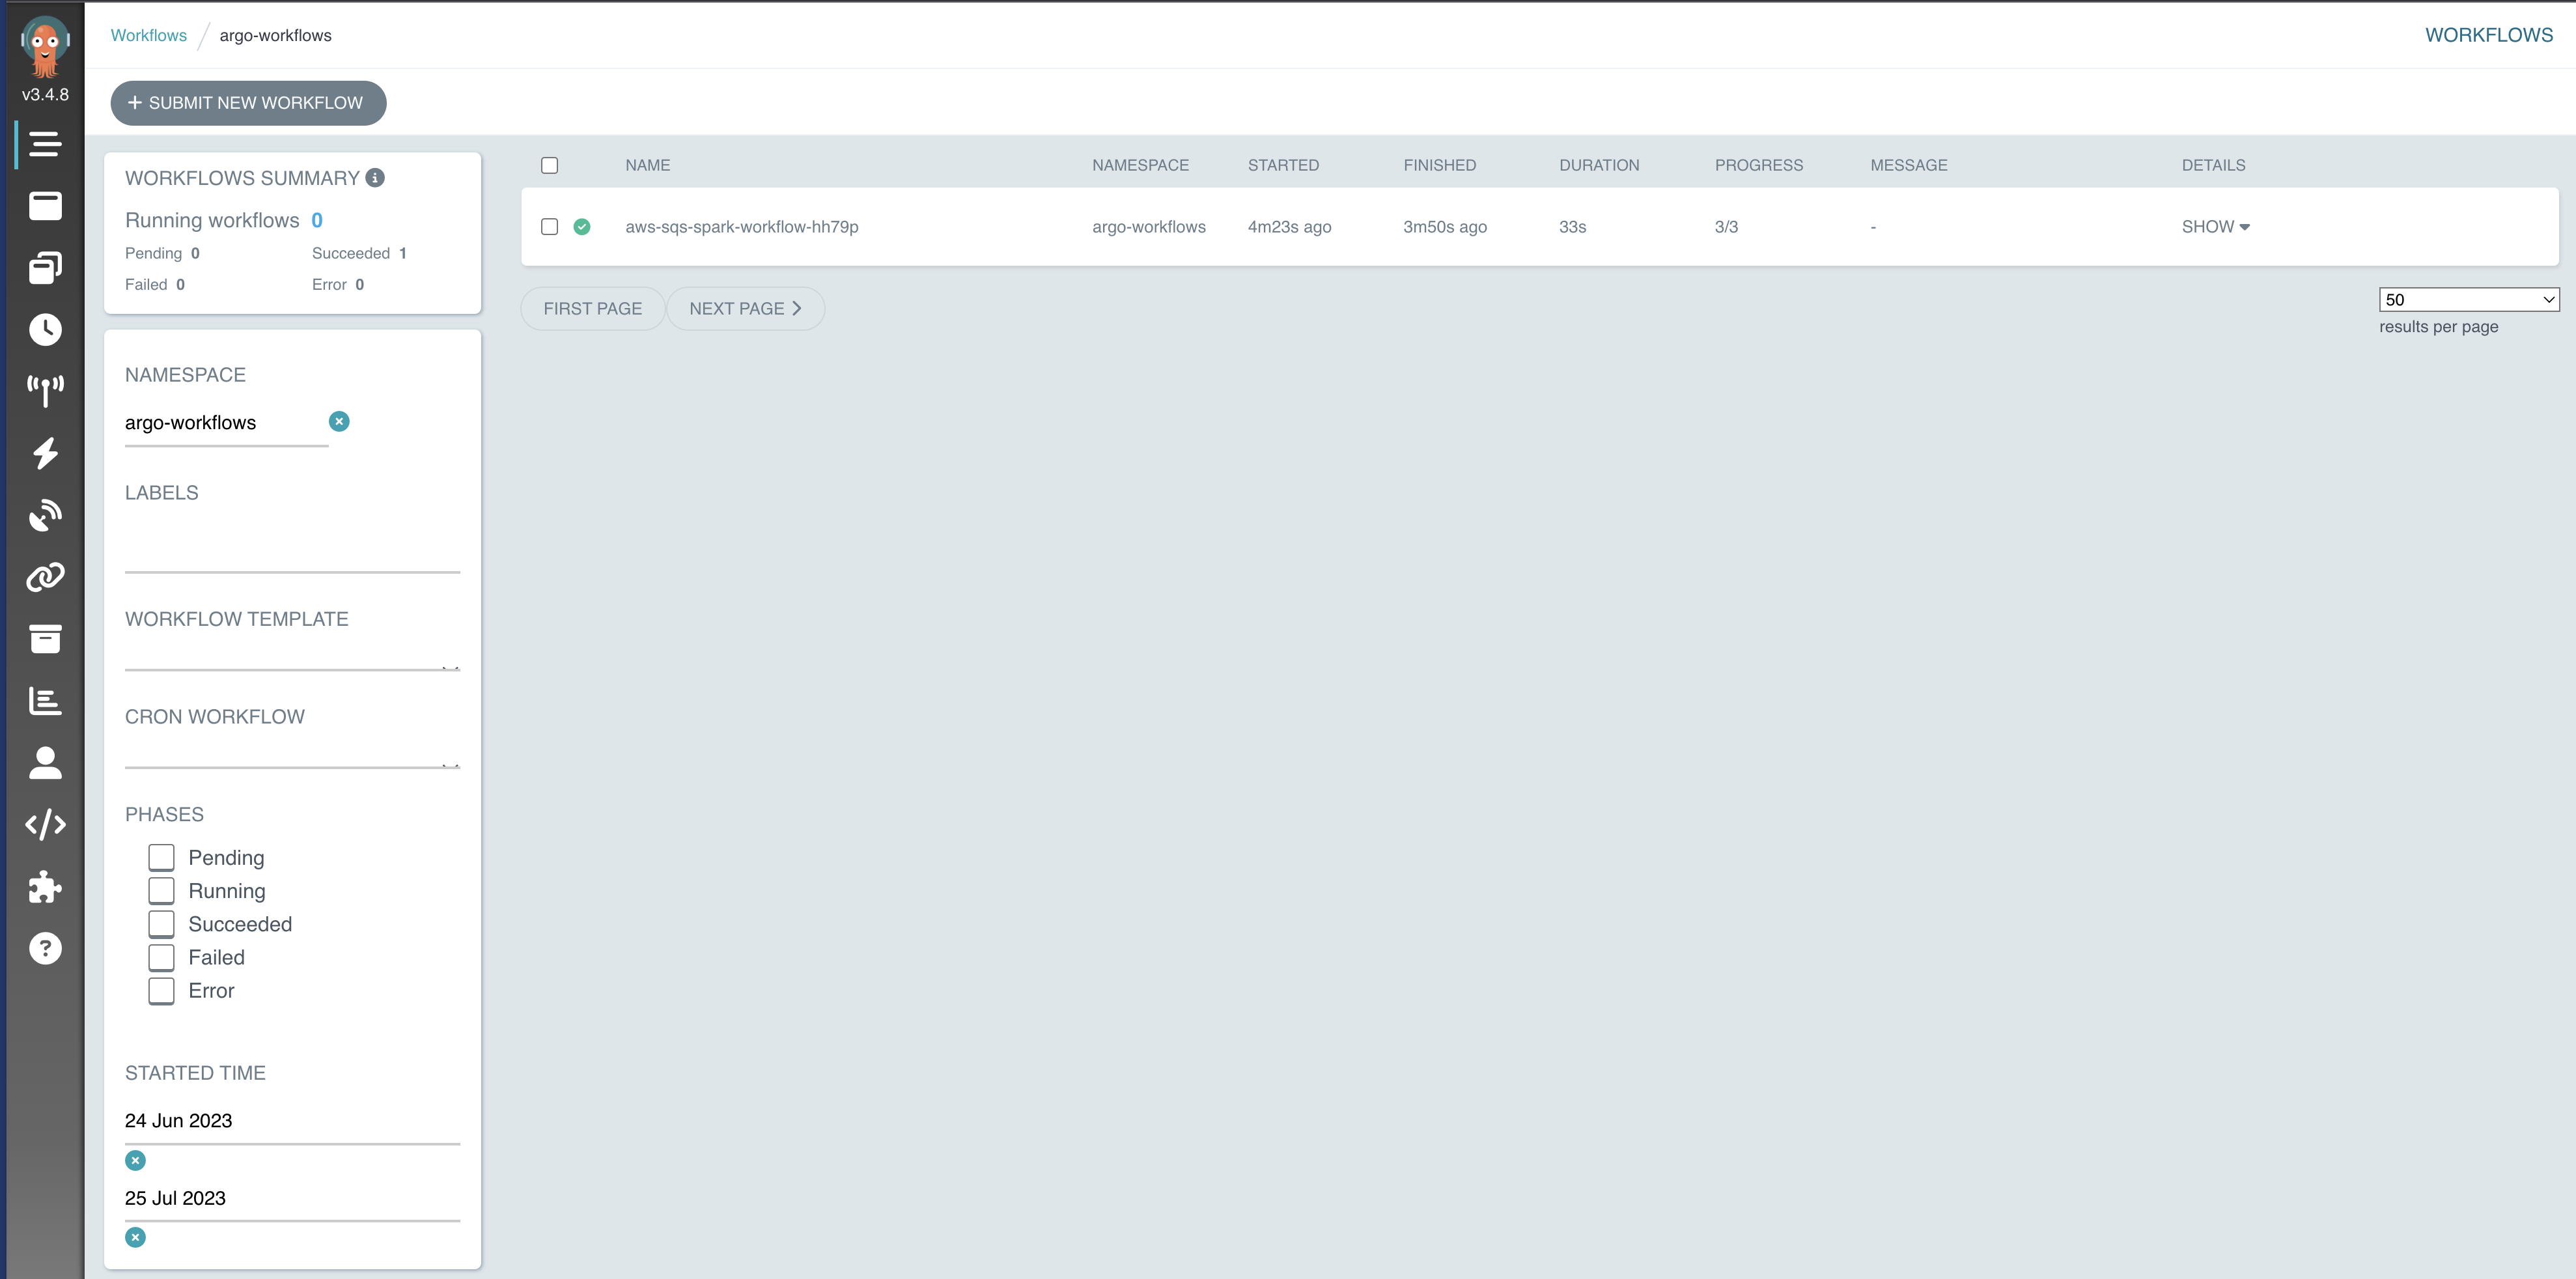
Almost immediately, the EventSource will detect the new message and the Sensor will trigger a new Argo Workflow.
Check the status of the workflow:
kubectl get wf -n argo-workflows
You should see a new workflow with a name like aws-sqs-spark-workflow-xxxxx in the Running state.
You can also check the Spark application pods being created in the spark-team-a namespace:
kubectl get po -n spark-team-a
The UI will show the triggered workflow and its corresponding Spark job.
Cleanup
To avoid incurring future charges, you should clean up the resources created in these examples. The Argo Workflows and Events components themselves can be removed by following the cleanup steps in the base infrastructure guide.
Example 1 & 2 Resources
To delete the workflows and templates from the first two examples:
export SPARK_DIR=$(git rev-parse --show-toplevel)/data-stacks/spark-on-eks

# Delete the workflows
kubectl delete wf --all -n argo-workflows

# Delete the workflow templates and associated RBAC
kubectl delete -f $SPARK_DIR/examples/argo-workflows/manifests/argo-spark.yaml
kubectl delete -f $SPARK_DIR/examples/argo-workflows/manifests/spark-workflow-templates.yaml
Example 3 Resources
To delete the resources for the event-driven workflow:
export SPARK_DIR=$(git rev-parse --show-toplevel)/data-stacks/spark-on-eks
export REGION=$(terraform -chdir=$SPARK_DIR/terraform/_local output --raw region)
QUEUE_URL=$(aws sqs get-queue-url --queue-name data-on-eks --region $REGION --output text 2>/dev/null)

# Delete the Sensor, RBAC, EventSource, and EventBus
kubectl delete -f $SPARK_DIR/examples/argo-workflows/manifests/sqs-spark-jobs.yaml --ignore-not-found=true
kubectl delete -f $SPARK_DIR/examples/argo-workflows/manifests/sensor-rbac.yaml --ignore-not-found=true
cat $SPARK_DIR/examples/argo-workflows/manifests/eventsource-sqs.yaml | envsubst | kubectl delete -f - --ignore-not-found=true
kubectl delete -f $SPARK_DIR/examples/argo-workflows/manifests/eventbus.yaml --ignore-not-found=true

# Delete the SQS queue
if [ -n "$QUEUE_URL" ]; then
  aws sqs delete-queue --queue-url $QUEUE_URL --region $REGION
fi