Create your own queue
Things to know before you start
By default, Scale-Out Computing on AWS creates 4 queues: high, normal (default), low and alwayson.
Queue with automatic instance provisioning
Create the queue
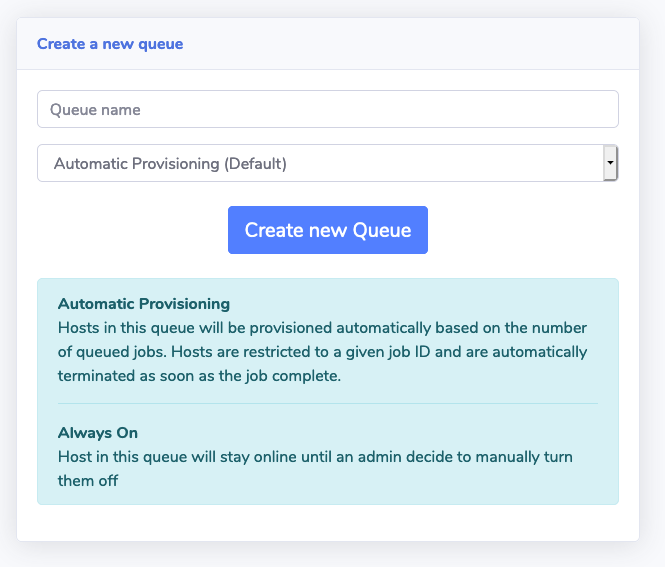
Via the web UI
As an admin, click "Queue Management" section on the left sidebar. Select a queue name then choose "Automatic Provisioning"
Via command-line
On your scheduler host, run qmgr as root and enter the following commands:
# Create queue name. Note: can't start with numerical character and it's recommended to use lowercase only
Qmgr:create queue <queue_name>

# Set the queue to execution
Qmgr:set queue <queue_name> queue_type = Execution

# Set default compute node - See below for more information
Qmgr:set queue <queue_name> default_chunk.compute_node = tbd

# Enable / Start the queue
Qmgr:set queue <queue_name> enabled = True
Qmgr:set queue <queue_name> started = True

# Exit
Qmgr:exit
What is compute_node=tbd
On Scale-Out Computing on AWS, unless you configure queue with AlwaysOn instances, nodes will be provisioned based on queue status. When you submit a job, Scale-Out Computing on AWS will automatically provision capacity for this job and compute_node is the scheduler making sure only one job can run on this instance. compute_node=tbd is the default value, making sure any new jobs won't run on existing (if any) nodes
Configure automatic host provisioning
If you want to enable automatic host provisioning, edit this file: /apps/soca/$SOCA_CONFIGURATION/cluster_manager/settings/queue_mapping.yml
Option1: I want to use the same settings as an existing queue
In this case, simply update the array with your new queue
queue_type:
  compute:
    queues: ["queue1", "queue2", "queue3"] # <- Add your queue to the array
    instance_ami: "ami-1234567"
    instance_type: "c5.large"
    ...
Option2: I want to configure specific settings
In this case, you will first need to create a new section on the YAML file (see example with memory)
queue_type:
  compute:
    queues: ["queue1"]
    instance_ami: "ami-1234567"
    instance_type: "c5.large"
    scratch_size: "100"
  memory: # <- Add new section
    queues: ["queue2"]
    instance_ami: "ami-9876543"
    instance_type: "r5.24xlarge"
    scratch_size: "600"
Finally, add a new crontab on the scheduler machine (as root). Use -c to path to the YAML file and -t to the YAML section you just created
*/3 * * * * source /etc/environment; /apps/soca/$SOCA_CONFIGURATION/python/latest/bin/python3 /apps/soca/$SOCA_CONFIGURATION/cluster_manager/dispatcher.py -c /apps/soca/$SOCA_CONFIGURATION/cluster_manager/settings/queue_mapping.yml -t memory
Automatic Host provisioning logs
All logs queues are stored under /apps/soca/$SOCA_CONFIGURATION/cluster_manager/logs/<queue_name>
Queue with AlwaysOn instances
Important
- Scale-Out Computing on AWS automatically created one AlwaysOn queue for you called "alwayson" during the first installation
- In this mode, instances will never be stopped programmatically. You are responsible to terminate the capacity manually by deleting the associated CloudFormation stack
Create the queue
Via the web UI
As an admin, click "Queue Management" section on the left sidebar. Select a queue name then choose "Always On"
Via command-line
On your scheduler host, run qmgr as root and enter the following commands:
 # Create queue name. Note: can't start with numerical character and it's recommended to use lowercase only
Qmgr:create queue <queue_name>

# Set the queue to execution
Qmgr:set queue <queue_name> queue_type = Execution

# Enable / Start the queue
Qmgr:set queue <queue_name> enabled = True
Qmgr:set queue <queue_name> started = True

# Exit
Qmgr:exit
Start provisioning some capacity
Run python3 apps/soca/cluster_manager/add_nodes.py and enable --keep_forever True flag
# Launch 1 c5.large always on
python3 /apps/soca/$SOCA_CONFIGURATION/cluster_manager/add_nodes.py --instance_type c5.large \
    --desired_capacity 1 \
    --queue <queue_name> \
    --job_name instancealwayson \
    --job_owner mcrozes \
    --keep_forever True

 IMPORTANT:
 You specified --keep-forever flag. This instance will be running 24/7 until you MANUALLY terminate the Cloudformation Stack
python3 add_nodes.py -h
Delete AlwaysOn capacity
Simply go to your CloudFormation console, locate the stack following the naming convention: soca-cluster-name-keepforever-queue_name-uniqueid and terminate it.

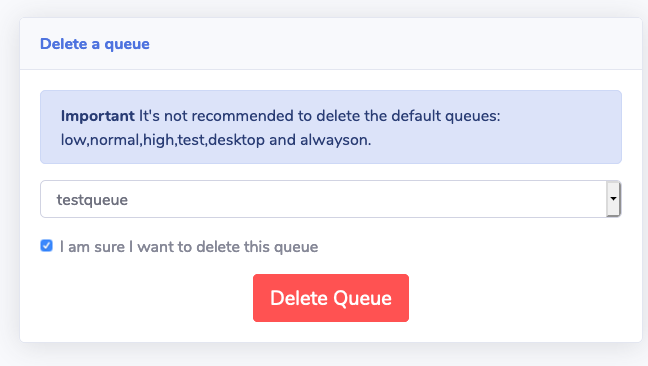
Delete a queue
Via the web ui, go to "Queue Management" then navigate to the "Delete Queue" tab