Lab 3: Login to Remote Desktop and Compile Design
The goal with this lab is to evaluate the remote visualization experience using a graphical EDA tool.
Step 1: Log into your session
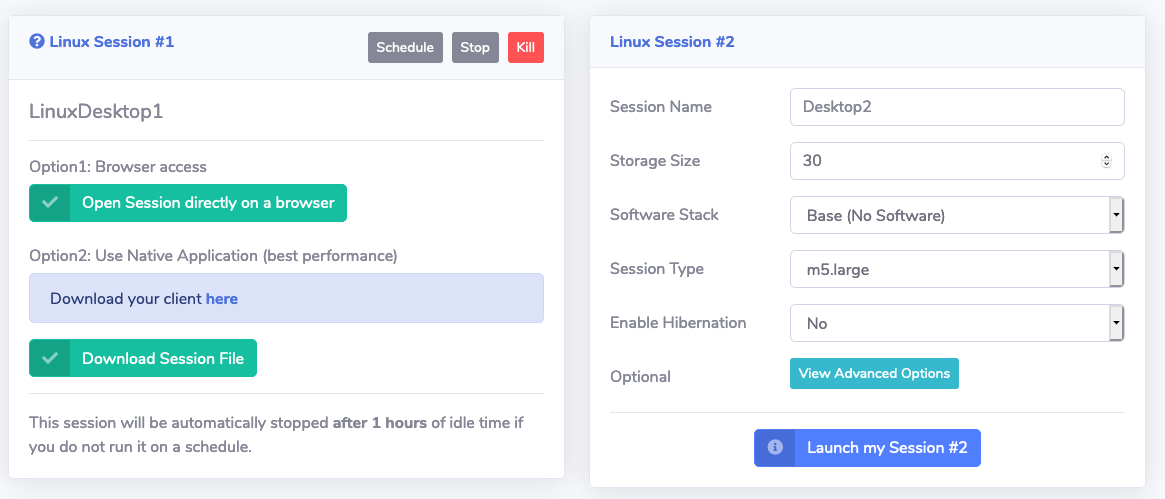
By now your remote desktop session should be ready and you should see the following under Your Session #1:
-
Click Open Session directly on a browser to log into the remote desktop session in the cluster.
Note
You can also access the session with the NICE DCV native clients, which are available for Mac, Linux, and Windows from https://download.nice-dcv.com
-
Start a new terminal session by going to Applications → System Tools → Terminal in the desktop manager.
Step 2: Copy test case
-
Make a working directory for your user under
/fsx/by typingmkdir /fsx/`whoami`at the command prompt and hit enter -
Copy the test case to your working directory by typing
cp -r /data/NVDLA_export /fsx/`whoami`at the command prompt and hit enterNote
/data is a mount point for Amazon Elastic File System which provides a simple, scalable elastic NFS file system. /fsx is a mount point for Amazon FSx for Lustre which provides a Lustre file system suitable for high performance computing (HPC) workloads such as EDA
-
Change directory to test case
cd /fsx/`whoami`/NVDLA_exportand hit enter - Source environment settings by typing
source setup.shand hit enter
Step 3: Compile the test case
-
Change directory to verif/sim
cd verif/simand hit enter -
Compile the test case by typing
make clean comp comp_verdithen hit enter. -
You should see messages indicating that the test case is getting compiled. The compilation process takes about 90 seconds and at the end you should see a compilation performance summary with a header such as:

In this lab you learned how to login to desktop cloud visualiztion instance, copied the test case we'll use to submit VCS batch job, and compiled the test case.
You've completed this lab. Click Next.