Lab 5: Bring up Verdi
This module provides instructions for loading a graphical tool to debug a design which is commonly used in integrated cicuit design workflows.
Step 1: Start Verdi and load test20 database
- Start Verdi and load test20 waveform database by typing the command
verdi -ssf test20/novas.fsdb. When Verdi GUI comes-up, click Ok to ignore the license expiration warning.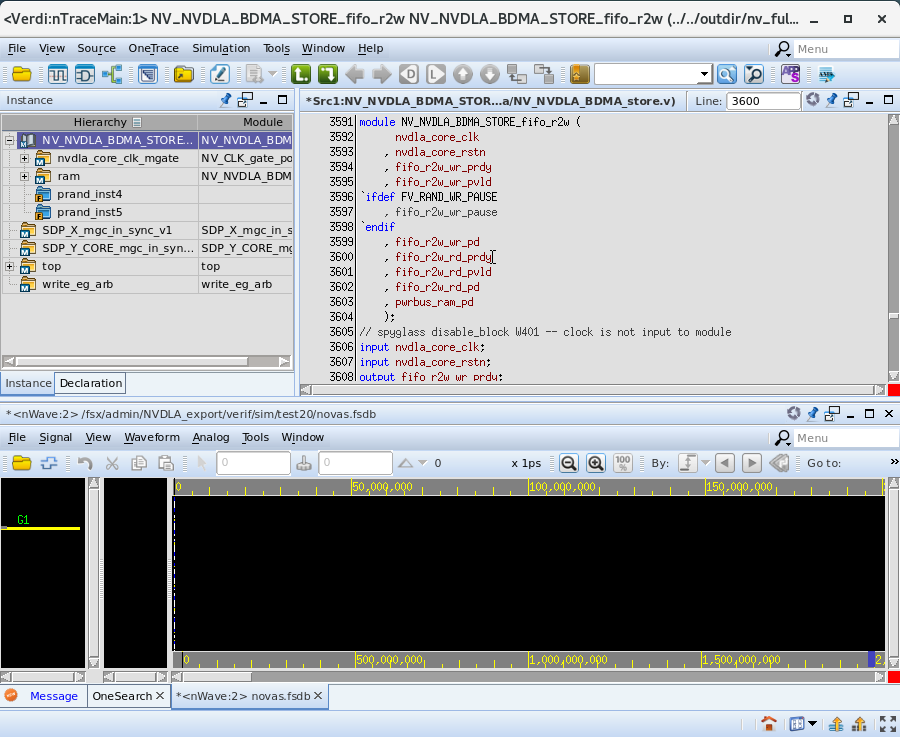
Step 2: Select Signals
-
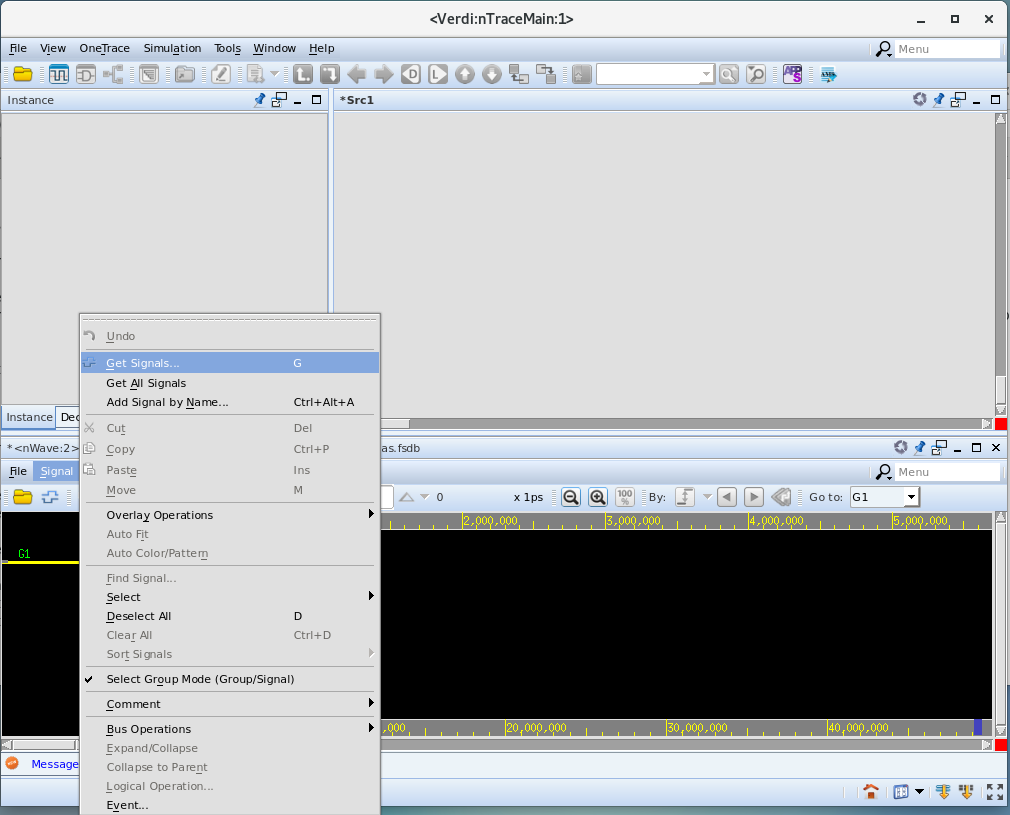
On the lower pane, click on Signal then on the pop-up click on Get Signals
-
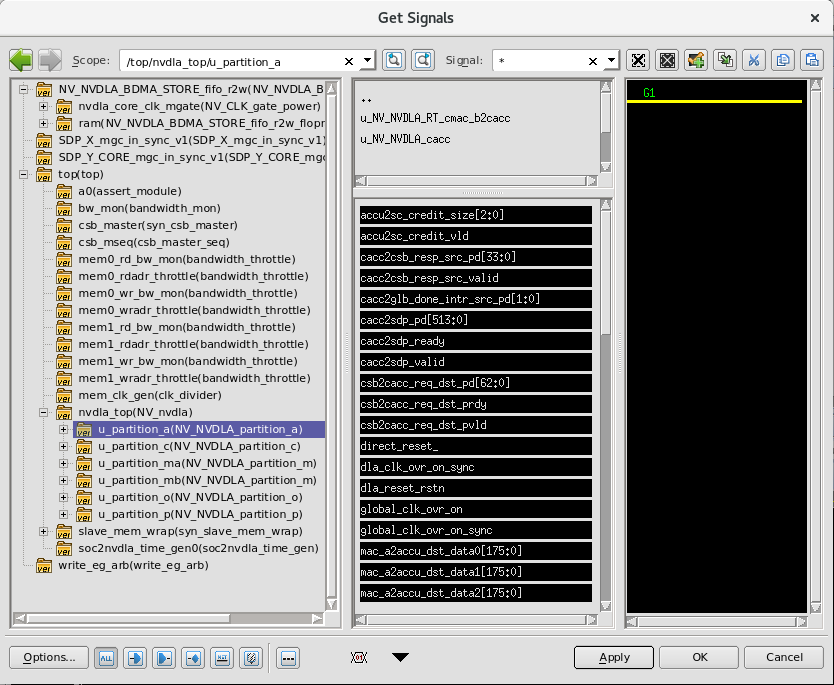
On the left pane, expand + top(top) then expand + nvdla_top(NV_nvdla) then click on u_parition_a(NV_NVDLA_partition_a)
-
In the middle pane, click on accu2sc_credit_size[2:0] then hit shift and click on mac_a2accu_dst_data2[175:0] then click OK
Step 3: Search for Signal Transition
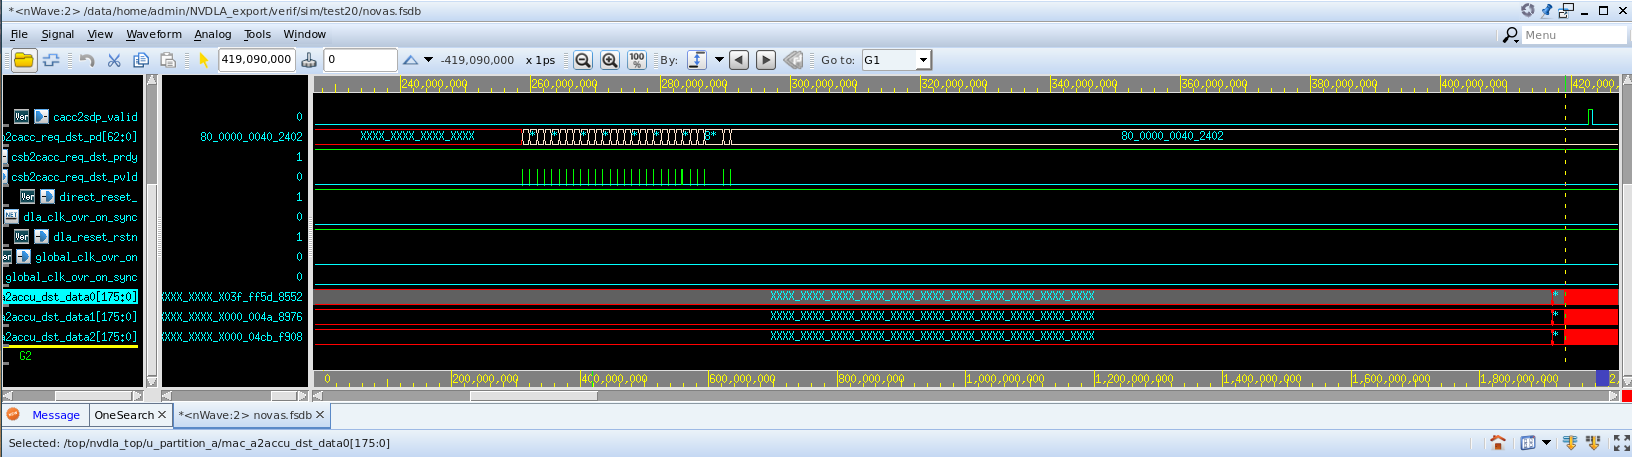
- On the lower left pane, click on mac_a2accu_dst_data0[175:0] and click twice on the Search Forward button (icon with arrow pointing to the right) to find the time where the bus changes to non-zero values and observe the timestamp 419,090,000 ps
Step 4: Exit Verdi
- On the upper pane, click on File menu item then click on Exit to close Verdi. Click Yes on the exit confirmation question
In this lab you learned how to bring up an interactive debugging application and interact with it.
Click Next to move to the next lab.