Lab 4: Launch Vivado GUI
Launch the Vivado CAD Tool
Now that your remote desktop is set up, you can launch the Vivado Design Suite (included in the AWS FPGA Developer AMI). The goal with this lab is to evaluate the remote visualization experience using a graphically intensive Computer-Aided Design (CAD) tool.
Step 1: Log into your session
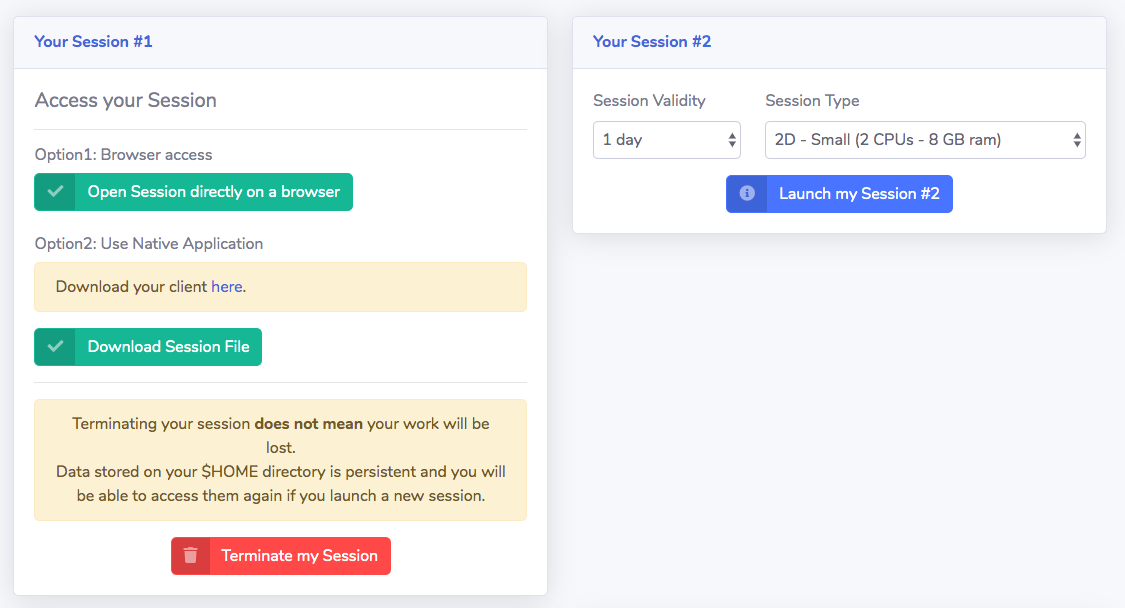
By now your remote desktop session should be ready and you should see the following under Your Session #1:
-
Click Open Session directly on a browser to log into the remote desktop session in your new cluster using the username and password you created in the steps above.
Note
You can also access the session with the NICE DCV native clients, which are available for Mac, Linux, and Windows from https://download.nice-dcv.com
-
To launch Vivado, start a new terminal session by going to Applications → Favorites → Terminal in the desktop manager.
-
Type
vivadoat the command prompt and hit enter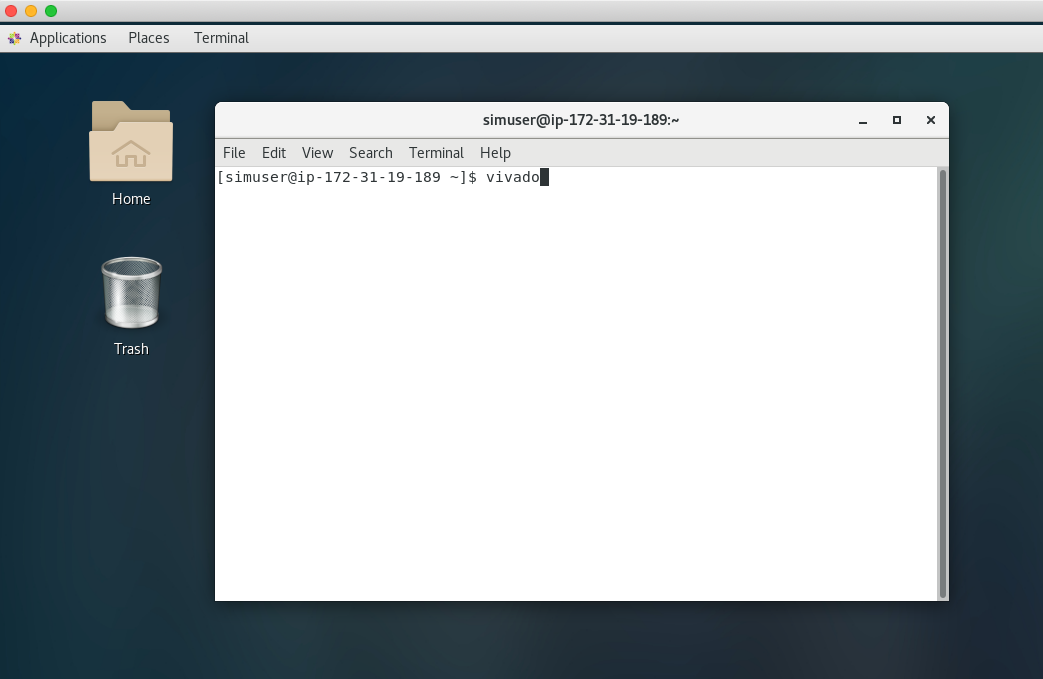
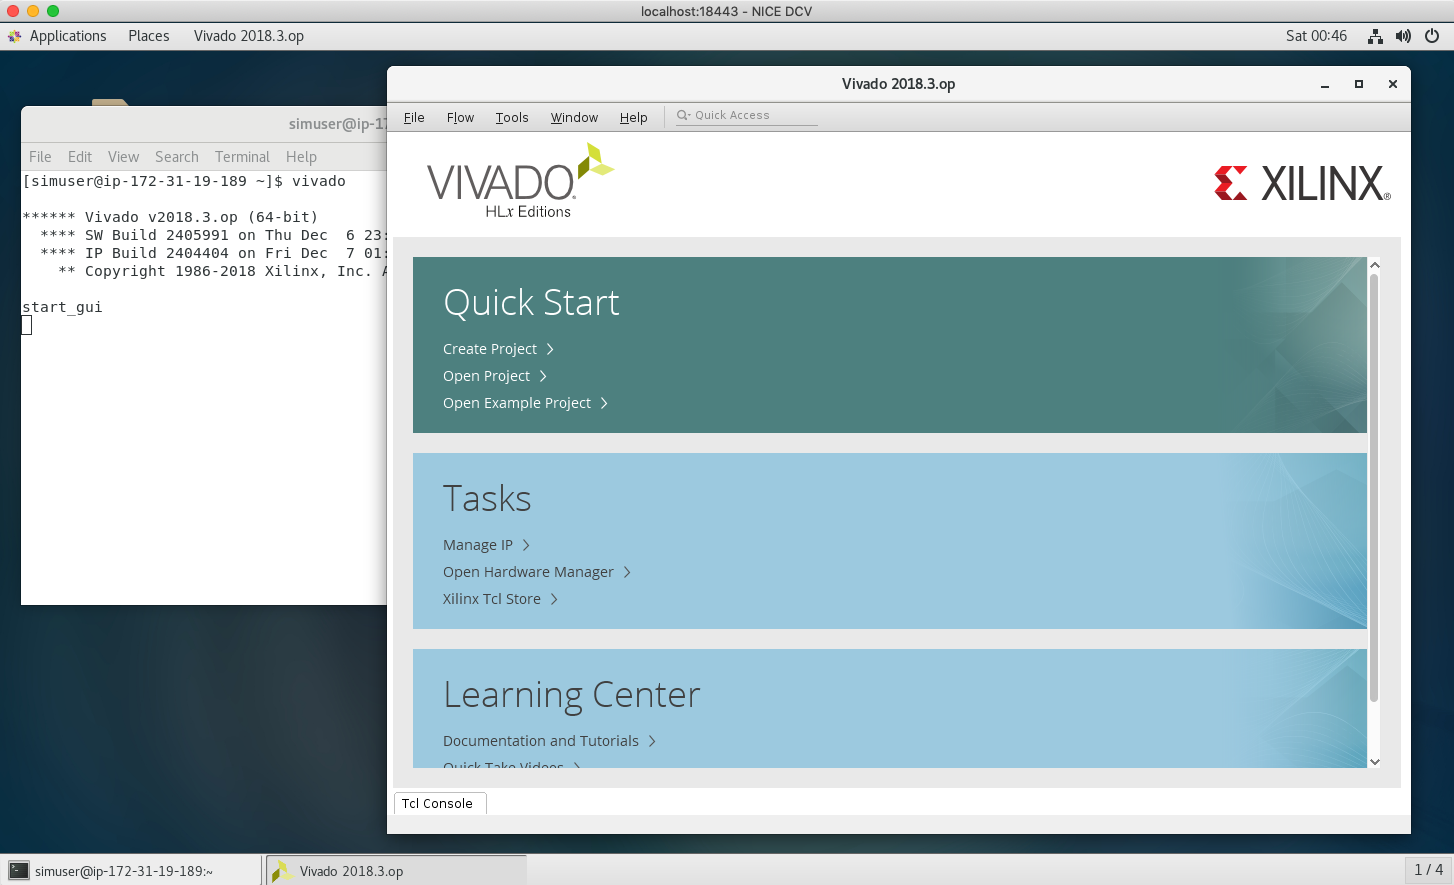
The Vivado GUI starts and shows the following screen:
Step 2: Create a new project project
Next, load a sample workload using one of the included example projects:
- Go to the Quick Start section and select Create Project.
- Wait for the wizard to initialize, then on the "Create a New Vivado Project" screen, click Next >
- On the "Project Name" screen, change the project location to
/scratch/<username>, then click Next > - On the "Project Type" screen, select Example Project , then click Next >
- On the "Select Project Template" screen, click Next >
- On the "Default board or part" screen, click Next >
- On the "Select Design Preset" screen, select Microcontroller , then click Next >
- On the "New Project Summary" screen, click Finish
- It should run for 15-20 minutes to create the project and include all required design files. You don't have to wait until this step completes and can move to the next lab.
-
Double-click on Open Block Diagram under IP INTEGRATOR in the left-side navigation panel
After the design opens you should see an image similar to this:
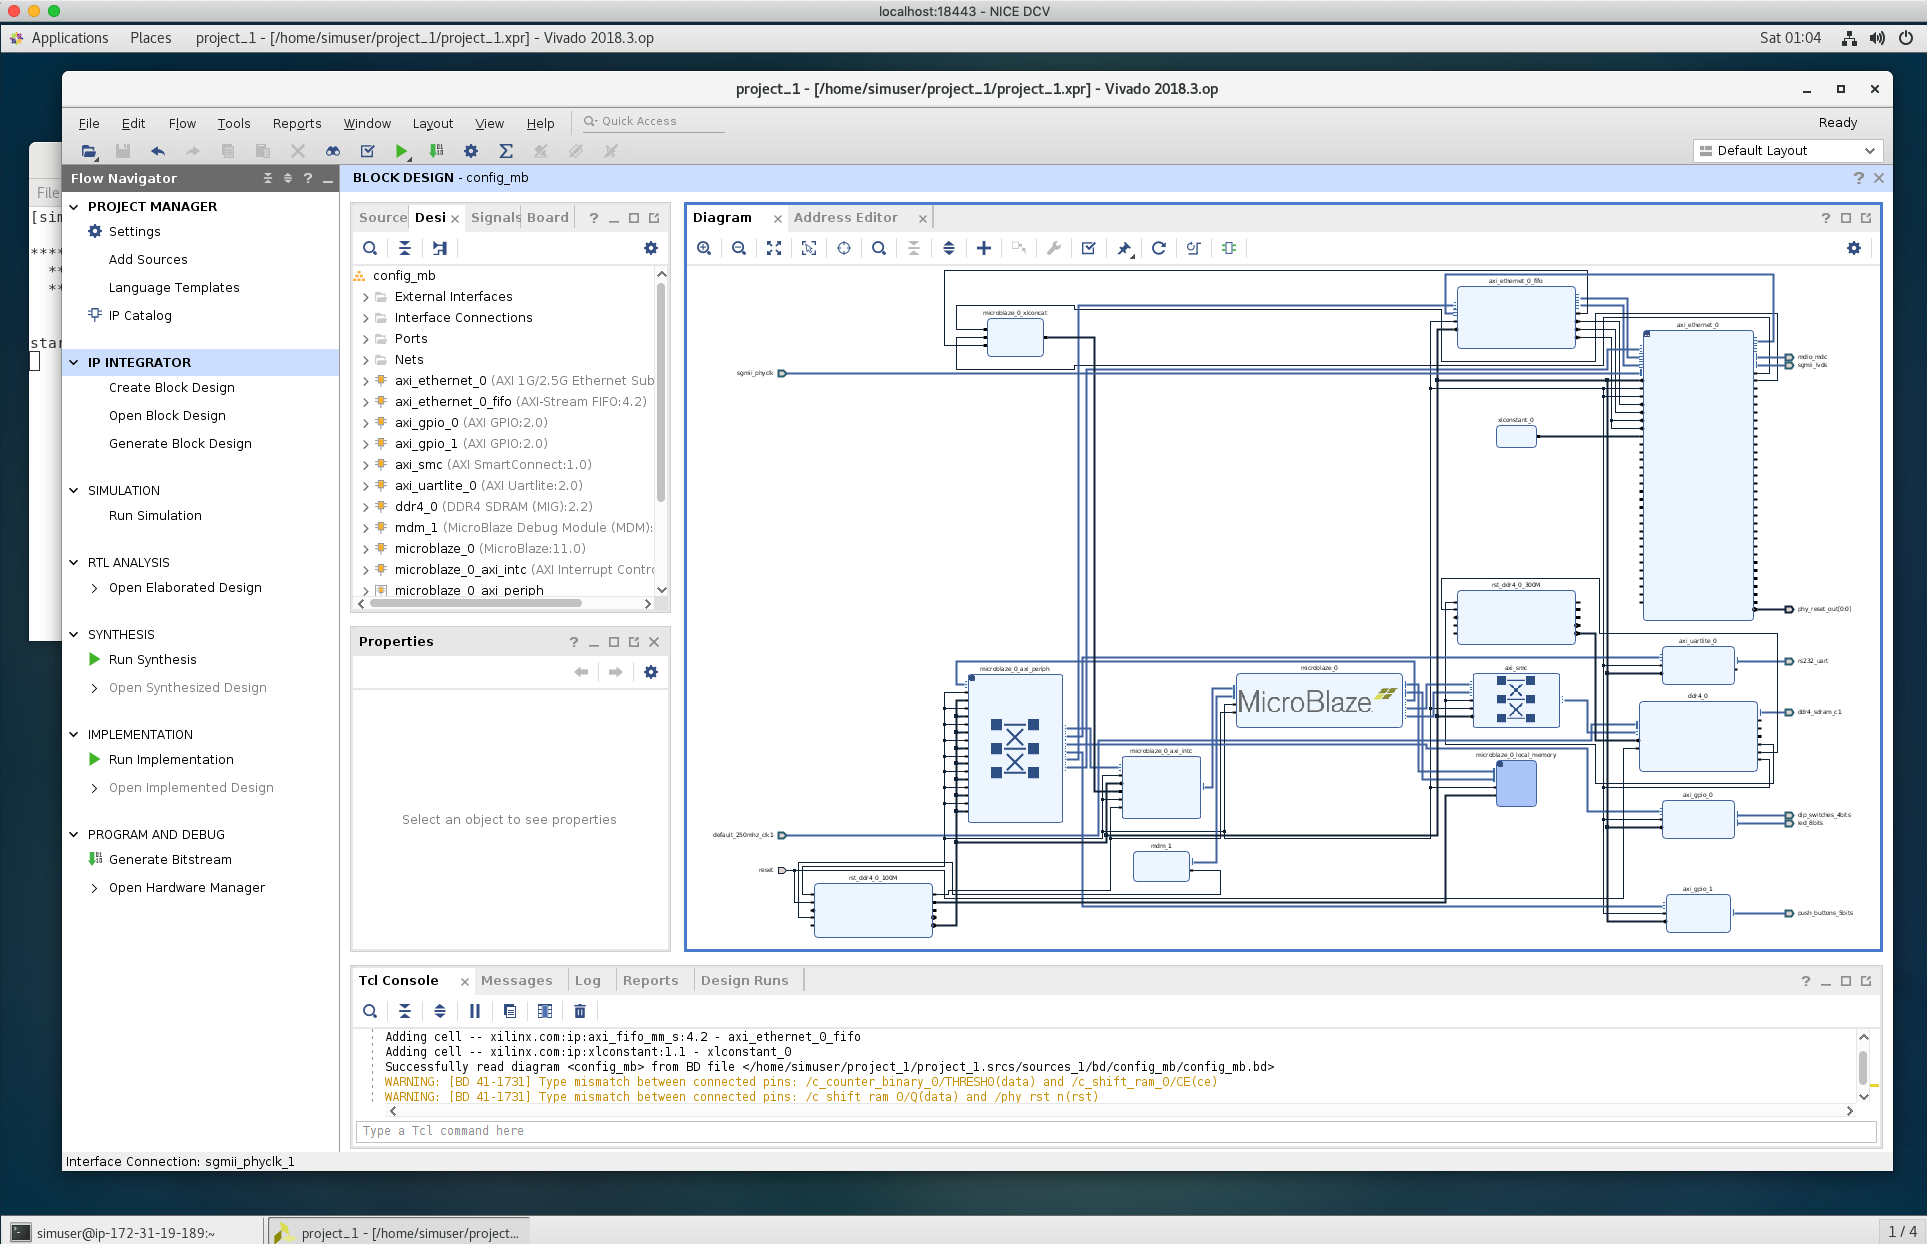
You can now click around the GUI and scroll and pan through the schematics to get a sense of the remote desktop experience.
-
For extra credit, double-click on Open Synthesized Design in the navigation panel to see a more complext layout of the design.
You've completed this lab. Click Next.