Bring Your Own Bot
Bring Your Own Bot
由于模型层和任务执行层充分解耦合,您可以很方便的添加您自己的Bot到数字资产盘活机器人框架中。整体流程如下:
- 准备模型
- 准备机器人业务逻辑文件(task.py)
- 通过脚本注入机器人配置到执行框架中
准备模型
在SageMaker中训练模型,并启动一个可供调用的Endpoint
可以参考notebook导出的train.py,也可以使用SageMaker中自带的例子。
注意:执行框架如果检测到Endpoint不存在则会根据配置中指定的ECR来创建Endpoint,如果检测到bot配置中指定的Endpoint已经存在就不会再自动创建Endpoint。
准备机器人
机器人将从执行框架接收所需的输入,调用Endpoint,并将输出存在S3。我们准备了一些您需要的代码,脚本文件在之前创建的EC2中。
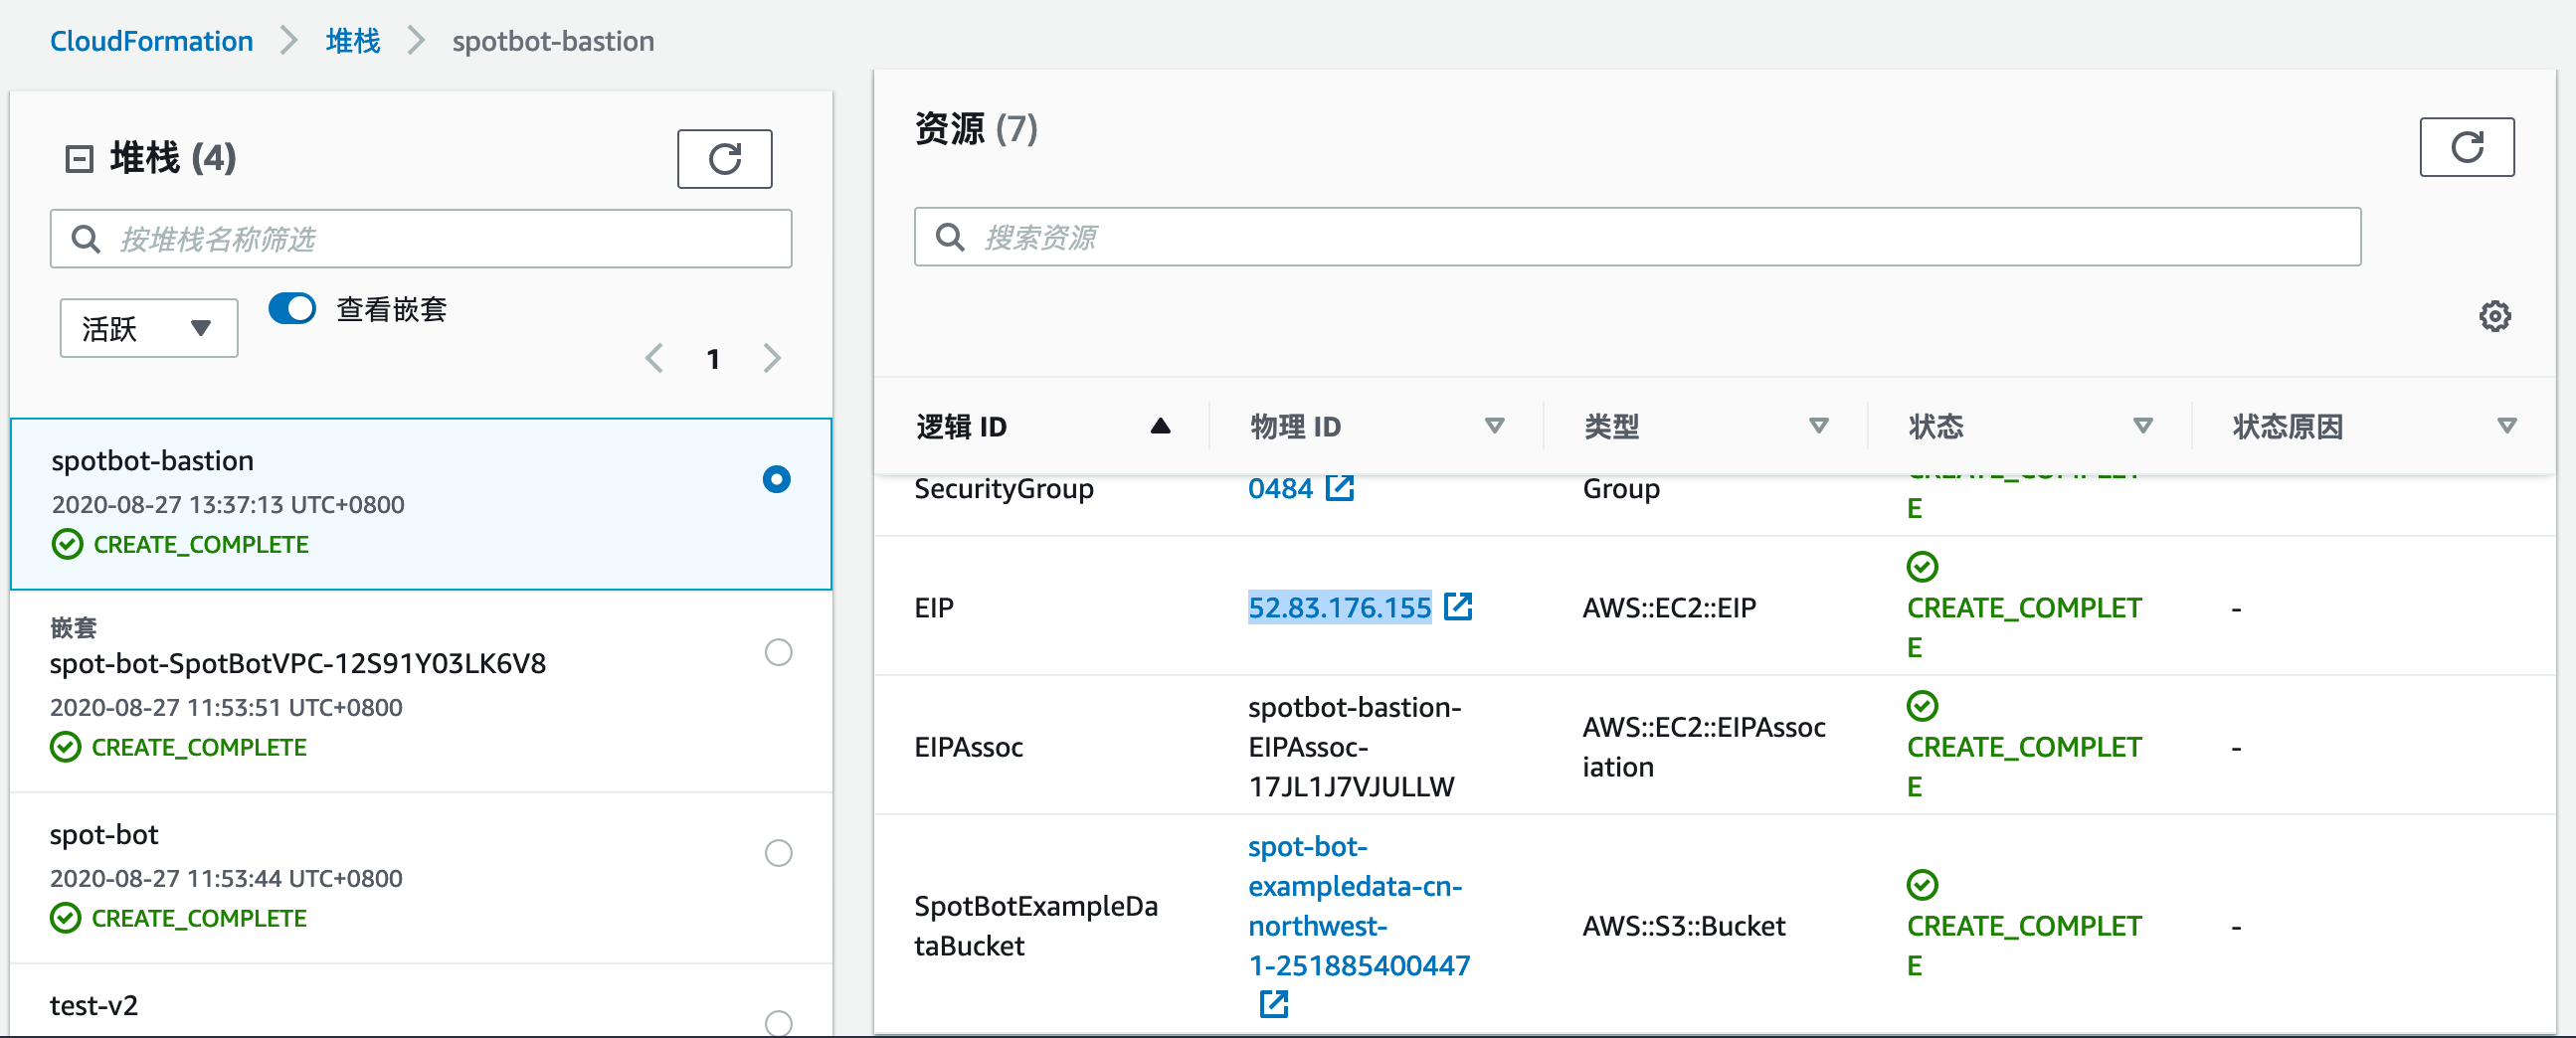
步骤一:访问EC2
由于Elasticsearch在私有子网中,不能直接访问到,我们需要通过私有子网中的EC2作为跳板机
EC2的IP从CloudFormation的输出中获取,参见下面的截图。
 Cloudformation在生成EC2时用下述指令下载了需要的脚本。
curl --location -o /home/ec2-user/byob.zip https://junxiang-solutions-cn-northwest-1.s3.cn-northwest-1.amazonaws.com.cn/byob/byob.zip
unzip /home/ec2-user/byob.zip
ssh到EC2中
ssh -i path-to-your-key.pem ubuntu@ec2-ip.cn-northwest-1.compute.amazonaws.com.cn
可以看到byob目录下的如下文件,bot_docker下为Bot的示例文件,其余为注入Bot时需要的脚本。
byob
├── bot_config.json
├── byob.py
├── bot_docker
│   ├── Dockerfile
│   ├── build_and_push.sh
│   └── task.py
└── requirement.txt
步骤二:准备task.py
task.py负责业务逻辑,这个文件的主要可复用逻辑如下,您只需要把业务逻辑写在main_task中即可。
...
# 配置和S3文件列表信息存在ES中,需要操作ES的Package
from elasticsearch import Elasticsearch, RequestsHttpConnection
...
# 执行框架传进来的参数
region_name = os.getenv("region_name")
endpoint_name = os.getenv("endpoint_name")
output_s3_bucket = os.getenv("output_s3_bucket")
output_s3_prefix = os.getenv("output_s3_prefix")
elastic_search_host = os.getenv("es_host")
elastic_search_port = os.getenv("es_port")
elastic_search_protocol = os.getenv("es_protocol")
batch_id = os.getenv("batch_id")
job_id = os.getenv("job_id")
elastic_search_index = os.getenv("es_index")
...

# 您只需要把业务逻辑写在下面的方法中即可
def main_task(file_name):

# 获取待处理文件列表
def __search_for_file_list(job_id: str, batch_id: str, status="NOT_STARTED") -> list:
...

# 调用Endpoint的代码
def invoke_endpoint(session, endpoint_name, text):
...

# 一个文件处理完后更新它的状态
def update_status_by_id(es, doc_id, status="COMPLETED", output=""):
...
步骤三:将业务逻辑包装到bot镜像中并将它们部署到ECR
参考代码中的Dockerfile和build_and_push.sh,根据需要您可能会修改基础镜像,镜像名称等。
注册新机器人
使用创建在EC2中的byob.py向执行框架添加新的机器人程序配置
下述脚本将bot_config.json中的配置更新到Elasticsearch中,如果Bot配置不存在会创建新的配置,如果存在则会更新。
cd ~/byob
# Step 1. Install Elasticsearch package.
sudo pip3 install -r requirement.txt
# Step 2. Define the bot config.
vi bot_config.json
# Step 3. Create or update a bot.
python3 byob.py
bot_config.json的参数和使用方法
{
        "es_url": "https://vpc-spot-bot-xqra2d6vha4waz4oer2yqx2vfu.cn-northwest-1.es.amazonaws.com.cn",
        "name": "foo_bot",
        "file_types": ".jpg,.png",
        "bot_image": "foo-bot-img.ecr.amazon.com",
        "bot_image_cmd": "",
        "endpoint_name": "foo-autogluon-sagemaker-inference",
        "endpoint_ecr_image_path": "foo-endpoint.ecr.amazon.com",
        "instance_type": "ml.m5.large",
        "model_s3_path": "",
        "create_date": "2020-07-27 21:39:00",
        "update_date": "2020-07-27 22:39:00"
}
| 参数名称 | 参数说明 |
|---|---|
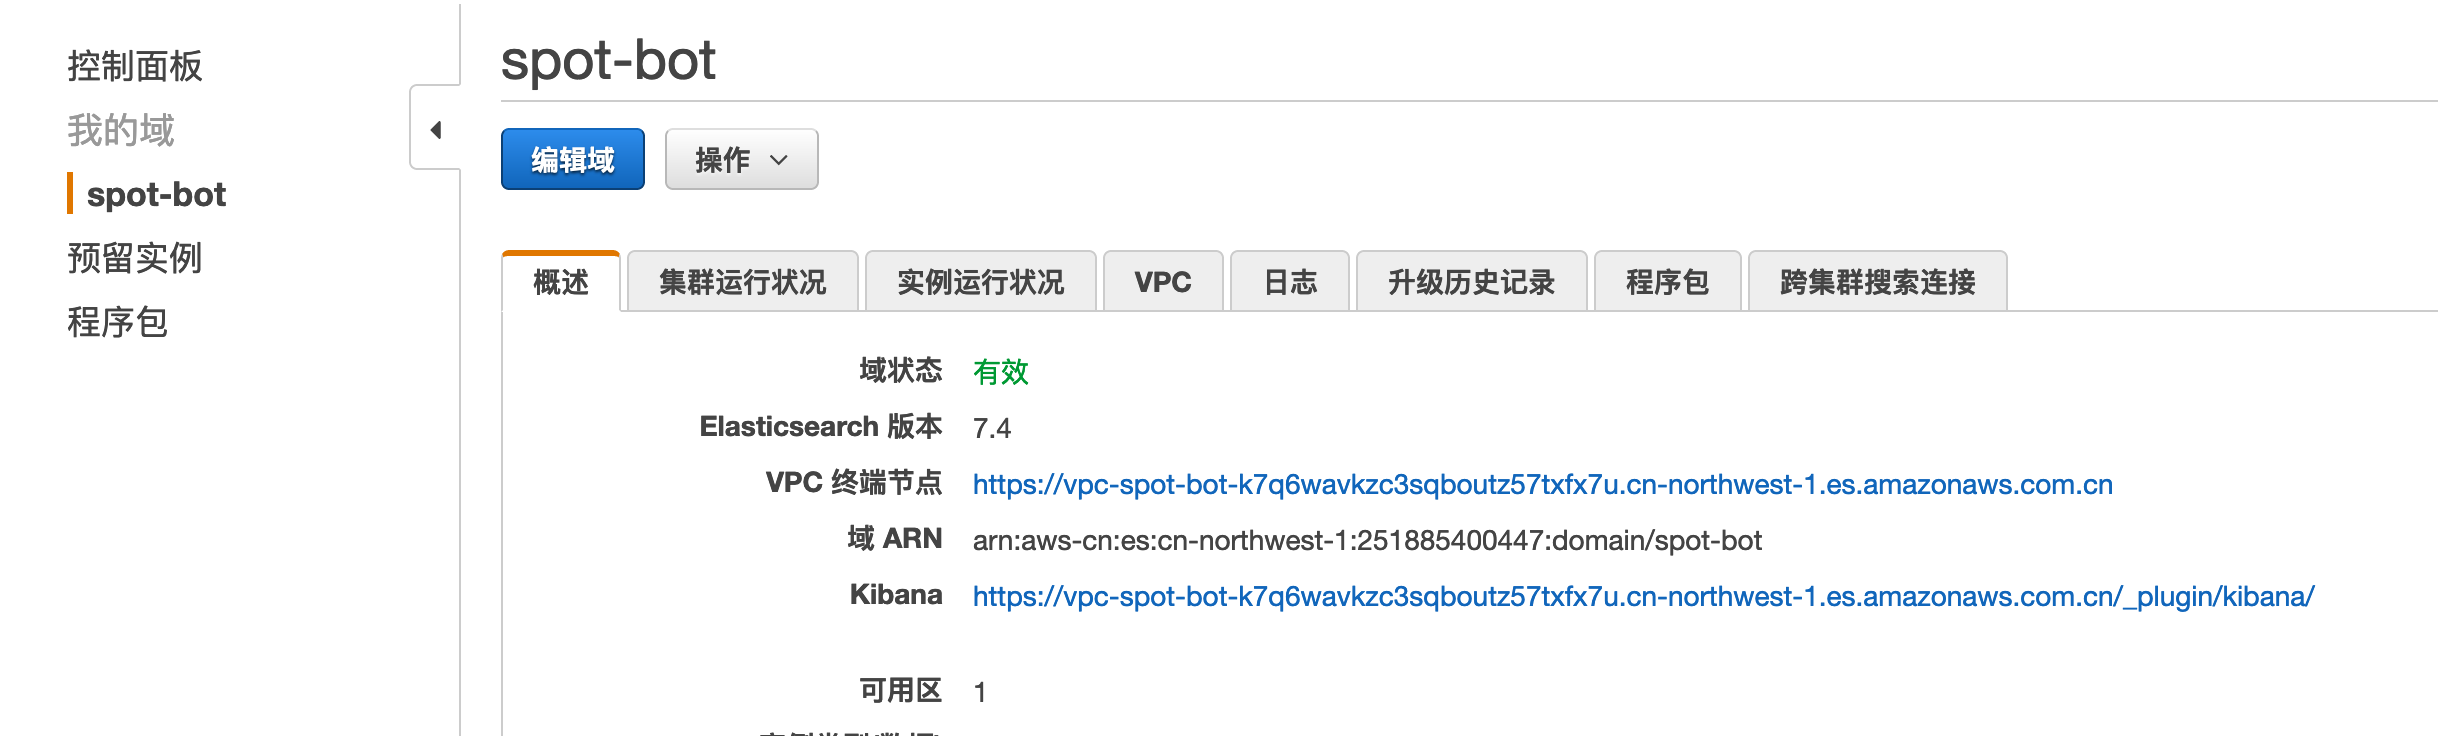
es_url | 从Elasticsearch控制台中查出访问URL,不要包含https:// |
name | 新Bot的名称 |
file_types | 执行框架扫描S3并生成待处理文件的时候使用,用来匹配文件类型,不能匹配的文件将不被处理 |
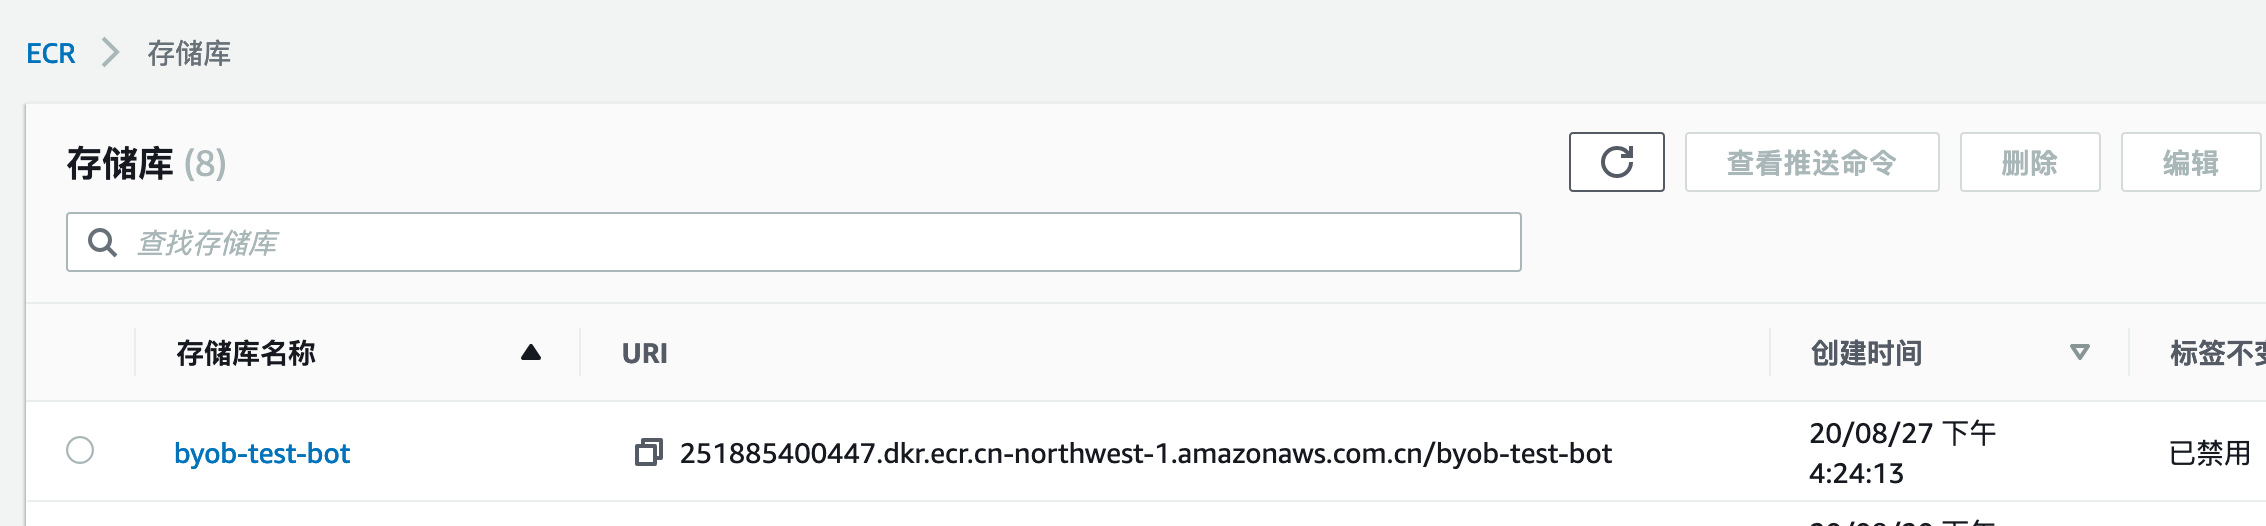
bot_image | Bot ECR的URL,执行框架将自动下载并启动 |
bot_image_cmd | 执行时传给bot ECR的参数(一般不需要) |
endpoint_name | endpoint的名称,如果该Endpoint不存在则会按照下面endpoint_ecr_image_path制定的URL启动endpoint |
endpoint_ecr_image_path | Endpoint ECR的URL |
instance_type | Endpoint运行的机型(中国区帐号默认有两台m5.xlarge) |
model_s3_path | Optional, 配合BYOM模式 |
create_date | 可以保持默认值 |
update_date | 可以保持默认值 |
python脚本执行的输出是最后从ES中查找出来的bot配置。
参考
es_url地址获取方法
bot_iamge地址获取方法
测试机器人
参考以上章节,注意将机器人的名称更新为您上面的新建机器人,并指定正确的S3路径。