Building and Deploying Agents on EKS
This guide walks through how to use the Agents on EKS environment to take an agent you've developed and get it running in production. It covers the end-to-end workflow: pushing code to source control, building container images via CI/CD, deploying to Kubernetes, and configuring access to AWS services.
Prerequisites
Before starting, you should have:
- The Agents on EKS infrastructure deployed
- An agent that runs locally (see Best Practices for Agent Development for guidance on structuring your agent code with the Strands Agents SDK)
kubectlconfigured to access your EKS cluster- Docker Desktop or Podman installed locally
We've tried to minimize the surface of the environment that is exposed to the public internet; therefore, we will be using port-forwarding as much as possible. This is also why the instructions have you set your IP address as an inbound CIDR range allowed by the load balancer. It is possible to remove IP restrictions or expose more of the environment to the public internet (LangFuse or your agents, for instance). You will need to create ingresses yourself if you want to do that.
Containerize Your Agent
Before your agent can run in the environment, it needs to be packaged as a container image. If you've been maintaining a
requirements.txt for your dependencies, you just need a Dockerfile:
FROM python:3.13-slim
WORKDIR /app
COPY requirements.txt /app
RUN pip install -r requirements.txt
COPY * /app
CMD python entrypoint.py
Check the output of python -V locally and match the version in the FROM line to avoid compatibility issues between
your local environment and the container.
Build and test locally:
docker build -t strands-agent .
docker run --rm -p 8000:8000 \
  -e AWS_ACCESS_KEY_ID \
  -e AWS_SECRET_ACCESS_KEY \
  -e AWS_REGION \
  strands-agent
Verify the agent responds correctly before moving on. Once it works in a container locally, it will work the same way in the environment.
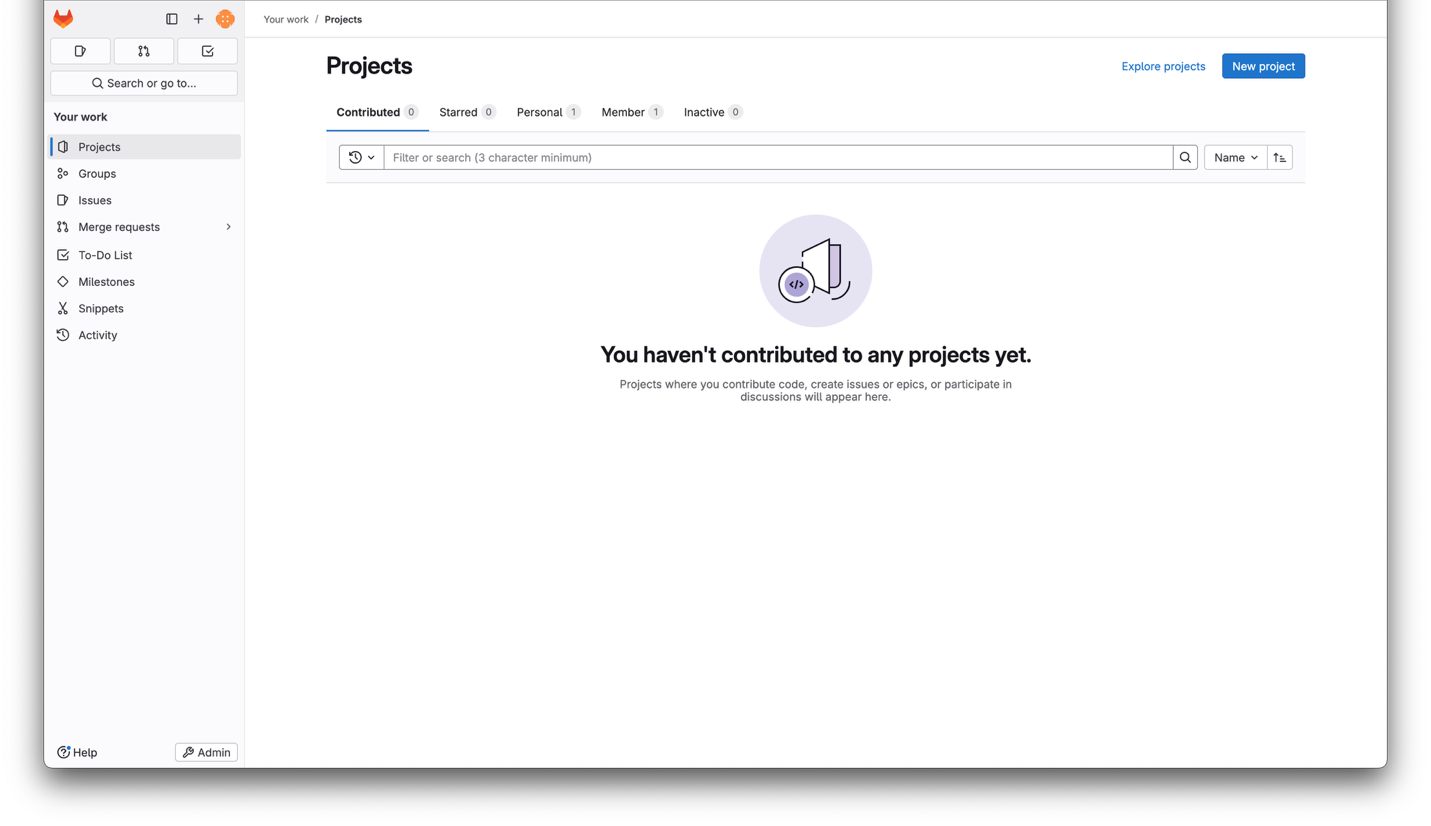
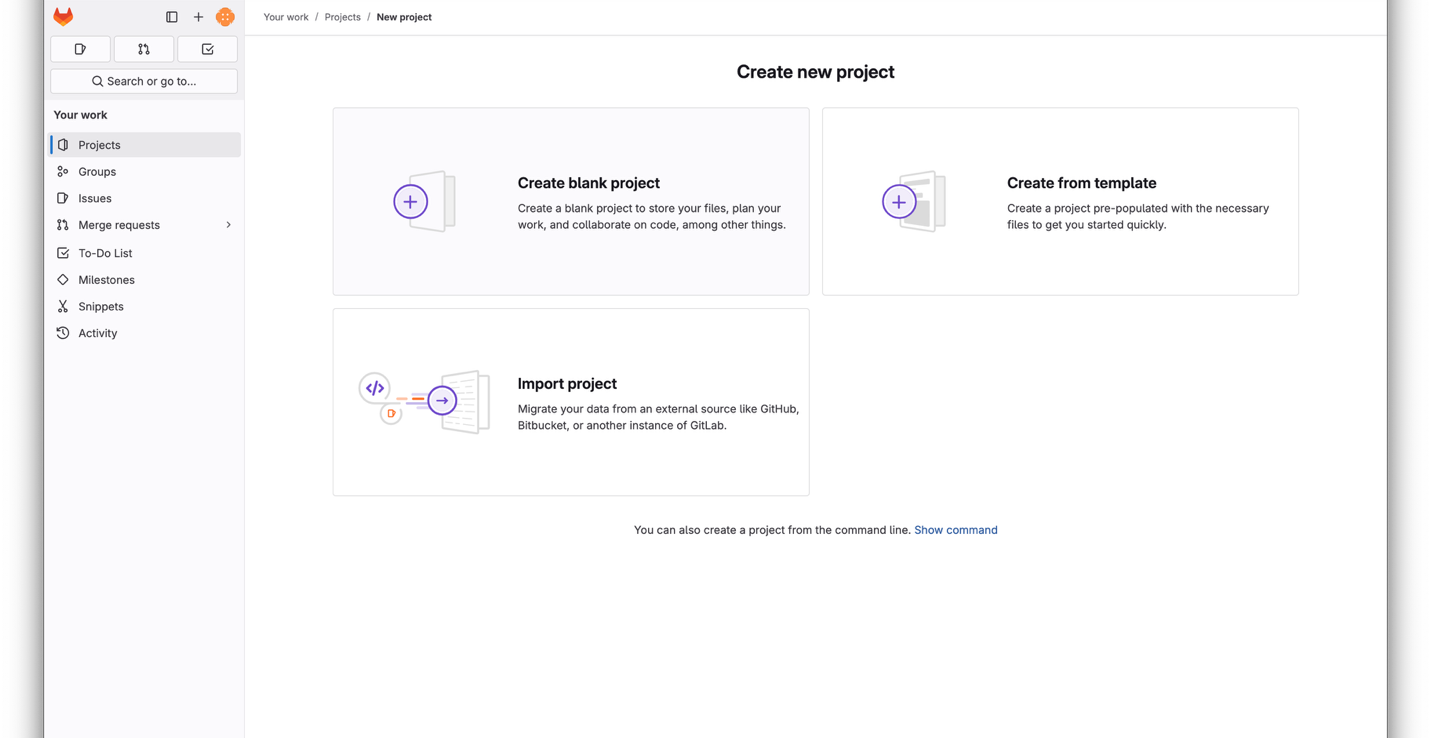
Push Code to GitLab
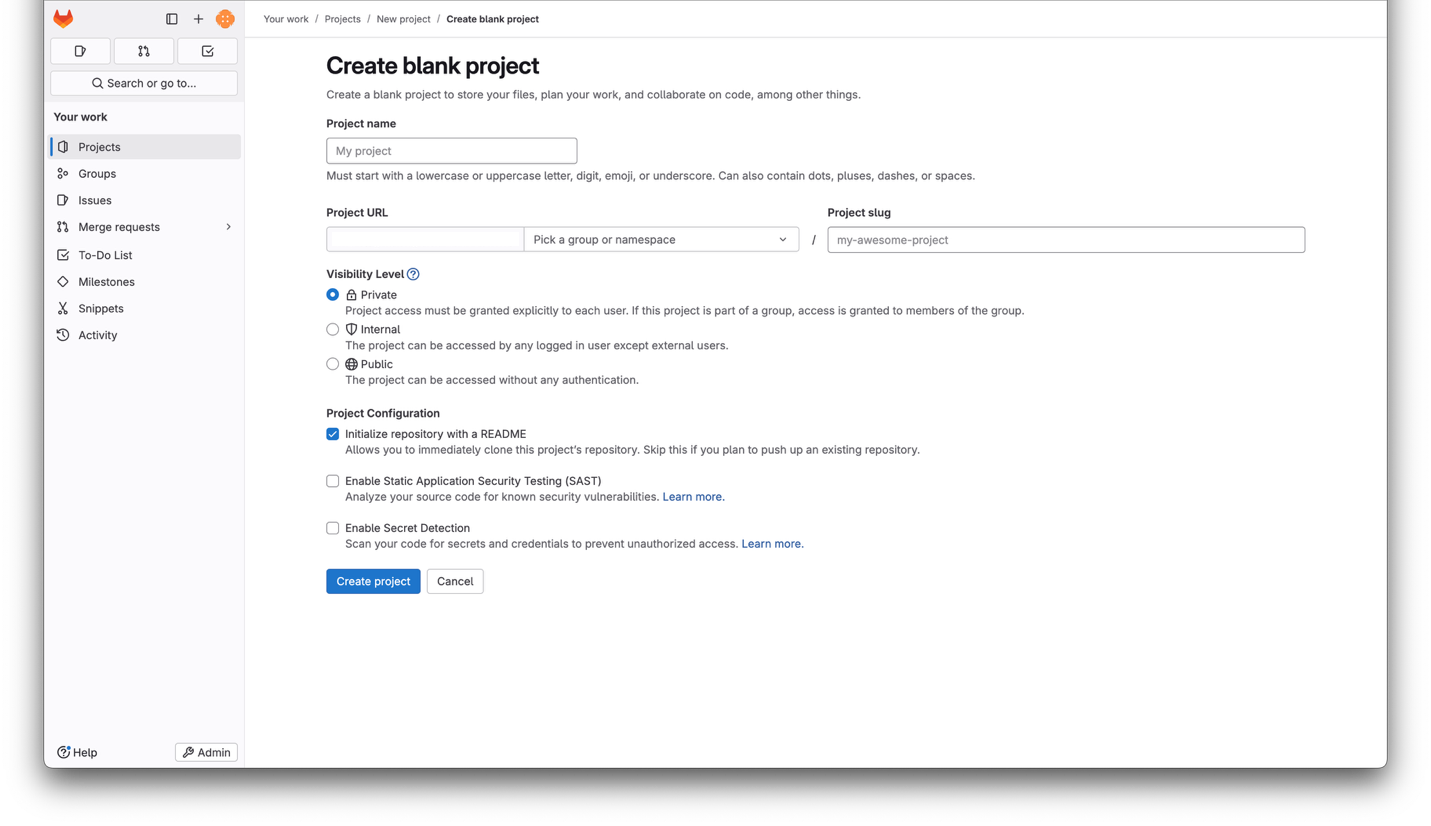
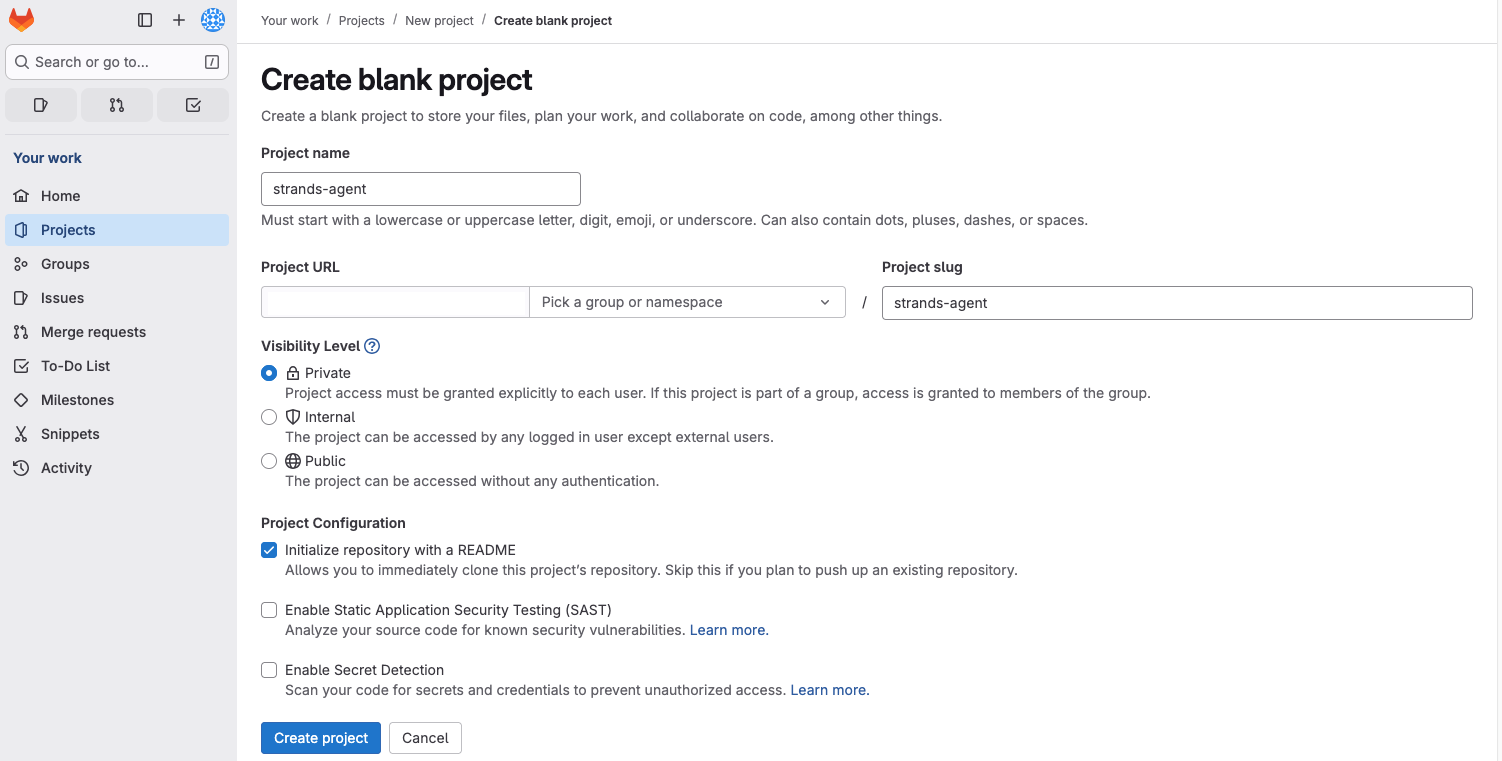
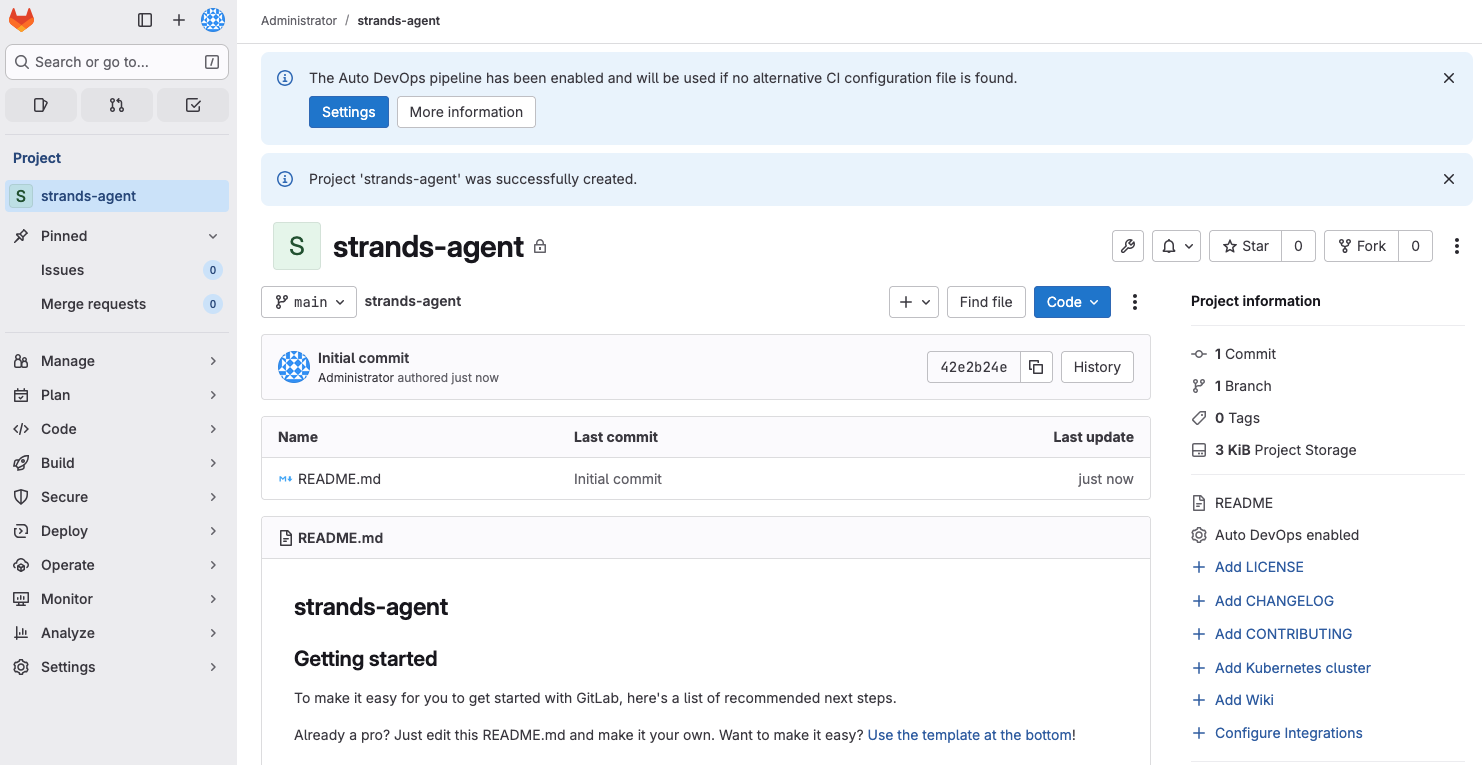
The environment includes a GitLab instance for source control, container registry, and CI/CD. Log in to GitLab and create a new project:
To get the root user's password:
kubectl get secret -n gitlab gitlab-gitlab-initial-root-password -o jsonpath="{.data.password}" | base64 --decode
Log in as username: root, password from above
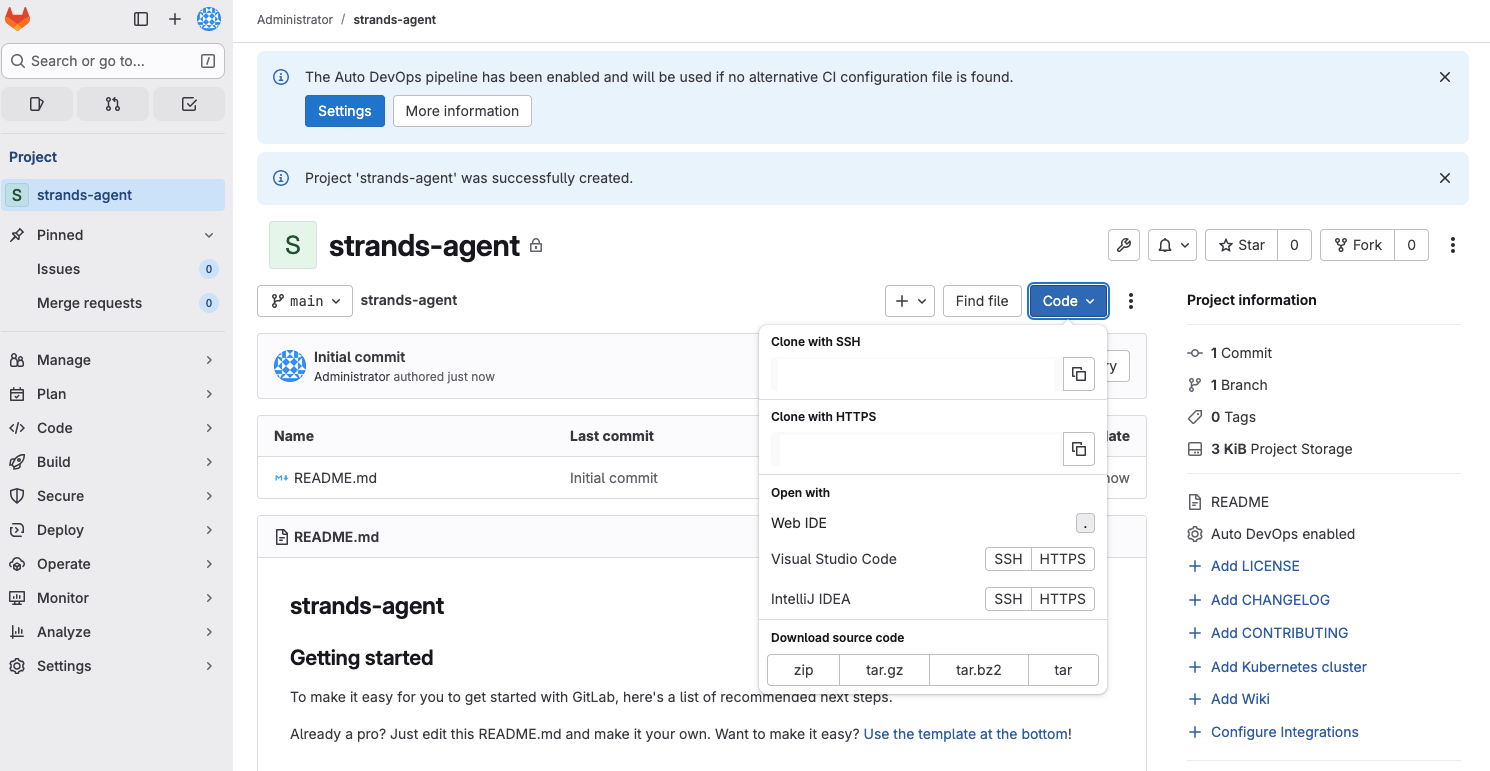
Clone the repository and add your agent files:
git clone https://gitlab.<your-domain>/root/strands-agent.git
cd strands-agent

# Copy your agent files into this directory, then:
git add .
git commit -m "initial commit"
git push origin main
Set Up CI/CD
Add a .gitlab-ci.yml file to your repository so GitLab automatically builds a container image and pushes it to the
internal registry on every commit:
build-rootless:
  image: moby/buildkit:rootless
  stage: build
  variables:
    BUILDKITD_FLAGS: --oci-worker-no-process-sandbox
  before_script:
    - mkdir -p ~/.docker
    - echo "{\"auths\":{\"$CI_REGISTRY\":{\"username\":\"$CI_REGISTRY_USER\",\"password\":\"$CI_REGISTRY_PASSWORD\"}}}" > ~/.docker/config.json
  script:
    - |
      buildctl-daemonless.sh build \
        --frontend dockerfile.v0 \
        --local context=. \
        --local dockerfile=. \
        --output type=image,name=$CI_REGISTRY_IMAGE:$CI_COMMIT_SHA,push=true
Push the pipeline file:
git add .gitlab-ci.yml
git commit -m "add CI/CD pipeline"
git push
After the next push, navigate to the pipeline view in GitLab to see the build run:

Click the green checkmark on your pipeline stage and click on the job name to see the build output. At the bottom you'll find the full image name in the registry:
pushing manifest for registry.domain.tld/root/strands-agent:<commit-sha>@sha256:<digest>
You can verify the image works by pulling and running it locally. The first time you docker pull, you'll be prompted
for your GitLab credentials:
docker run --rm -p 8000:8000 \
  -e AWS_ACCESS_KEY_ID \
  -e AWS_SECRET_ACCESS_KEY \
  -e AWS_REGION \
  registry.domain.tld/root/strands-agent:<commit-sha>
From this point on, every commit to your repository will produce a new tagged image in the registry, ready to deploy.
Deploy to Kubernetes
Create a Namespace
Namespaces group resources together and provide isolation. Create one for your agent:
kubectl create namespace strands-agent
Create a Service Account
The service account handles both pulling images from the registry and authenticating to AWS services via Pod Identity:
kubectl create serviceaccount -n strands-agent strands-agent
Configure Registry Access
Create a deploy token in GitLab with
read_registry scope. Then create a Kubernetes secret with those credentials:
kubectl create secret docker-registry regcred \
  -n strands-agent \
  --docker-server=registry.<your-domain> \
  --docker-username=gitlab+deploy-token-1 \
  --docker-password=<TOKEN>
Associate the credentials with the service account:
kubectl patch serviceaccount -n strands-agent strands-agent \
  -p '{"imagePullSecrets": [{"name": "regcred"}]}'
Each GitLab repository requires its own deploy token. This is the most secure approach, scoping registry access to a single repository, but does require a token per repo as you scale.
Create the Deployment
Save the following as deployment.yaml, replacing the image reference with your registry image:
apiVersion: apps/v1
kind: Deployment
metadata:
  name: strands-agent
  namespace: strands-agent
  labels:
    app: strands-agent
spec:
  replicas: 1
  selector:
    matchLabels:
      app: strands-agent
  template:
    metadata:
      labels:
        app: strands-agent
    spec:
      containers:
        - name: agent
          image: registry.<your-domain>/root/strands-agent:<commit-sha>
          ports:
            - containerPort: 8000
      serviceAccountName: strands-agent
---
apiVersion: v1
kind: Service
metadata:
  name: strands-agent
  namespace: strands-agent
spec:
  ports:
    - port: 8000
      targetPort: 8000
      protocol: TCP
      name: http
  selector:
    app: strands-agent
Deploy it:
kubectl apply -f deployment.yaml
Configure AWS Access with Pod Identity
If your agent needs access to AWS services (Bedrock, S3, etc.), use Pod Identity rather than passing IAM credentials as environment variables. The Pod Identity agent is already running in the environment.
When creating the Pod Identity Role, make sure to add Bedrock permissions to the role.
Redeploy the agent to pick up the new credentials:
kubectl rollout restart deployment/strands-agent -n strands-agent
Verify the Deployment
Check that the pod is running:
kubectl get pods -n strands-agent
NAME                        READY   STATUS    RESTARTS   AGE
strands-agent-7ddfd847b4-9x4xs   1/1     Running   0          2m36s
Check the logs:
kubectl logs -n strands-agent -l app=strands-agent
INFO:     Started server process [7]
INFO:     Waiting for application startup.
INFO:     Application startup complete.
INFO:     Uvicorn running on http://0.0.0.0:8000 (Press CTRL+C to quit)
Test it via port-forward:
kubectl port-forward -n strands-agent svc/strands-agent 8000
In another terminal:
curl --location 'http://localhost:8000/' \
--header 'Content-Type: application/json' \
--data '{"request": "Hello"}'
Your agent is now running in Kubernetes and accessible to any service in the cluster.
Updating Your Agent
The workflow for updating a deployed agent is:
- Make code changes locally and test them
- Commit and push to GitLab
- The CI/CD pipeline builds a new image tagged with the commit SHA
- Update the image reference in
deployment.yamland re-apply, or usekubectl set imageto update in place:
kubectl set image deployment/strands-agent \
  -n strands-agent \
  agent=registry.<your-domain>/root/strands-agent:<new-commit-sha>
What's Next?
- Best Practices for Agent Development — Patterns for structuring agent code, testing, and API wrapping