EKS에서 에이전트 구축 및 배포
이 가이드는 Agents on EKS 환경을 사용하여 개발한 에이전트를 프로덕션에서 실행하는 방법을 안내합니다. 소스 제어에 코드 푸시, CI/CD를 통한 컨테이너 이미지 빌드, Kubernetes 배포, AWS 서비스 액세스 구성까지의 전체 워크플로우를 다룹니다.
사전 요구 사항
시작하기 전에 다음을 준비하세요:
- Agents on EKS 인프라가 배포되어 있어야 합니다
- 로컬에서 실행 가능한 에이전트 (에이전트 코드 구조화에 대한 에이전트 개발 모범 사례와 Strands Agents SDK 참조)
- EKS 클러스터에 액세스할 수 있도록
kubectl이 구성되어 있어야 합니다 - Docker Desktop 또는 Podman이 로컬에 설치되어 있어야 합니다
환경의 공개 인터넷 노출 면적을 최소화하기 위해 가능한 한 포트 포워딩을 사용합니다. 이것이 로드 밸런서에서 허용하는 인바운드 CIDR 범위로 IP 주소를 설정하도록 안내하는 이유이기도 합니다. IP 제한을 제거하거나 환경의 더 많은 부분을 공개 인터넷에 노출하는 것도 가능합니다 (예: LangFuse 또는 에이전트). 이를 위해서는 직접 인그레스를 생성해야 합니다.
에이전트 컨테이너화
에이전트가 환경에서 실행되려면 컨테이너 이미지로 패키징해야 합니다. 의존성을 위한 requirements.txt를 유지해왔다면 Dockerfile만 있으면 됩니다:
FROM python:3.13-slim
WORKDIR /app
COPY requirements.txt /app
RUN pip install -r requirements.txt
COPY * /app
CMD python entrypoint.py
로컬에서 python -V 출력을 확인하고 FROM 줄의 버전을 일치시켜 로컬 환경과 컨테이너 간의 호환성 문제를 방지하세요.
로컬에서 빌드 및 테스트:
docker build -t strands-agent .
docker run --rm -p 8000:8000 \
  -e AWS_ACCESS_KEY_ID \
  -e AWS_SECRET_ACCESS_KEY \
  -e AWS_REGION \
  strands-agent
다음 단계로 넘어가기 전에 에이전트가 올바르게 응답하는지 확인하세요. 컨테이너에서 로컬로 작동하면 환경에서도 동일하게 작동합니다.
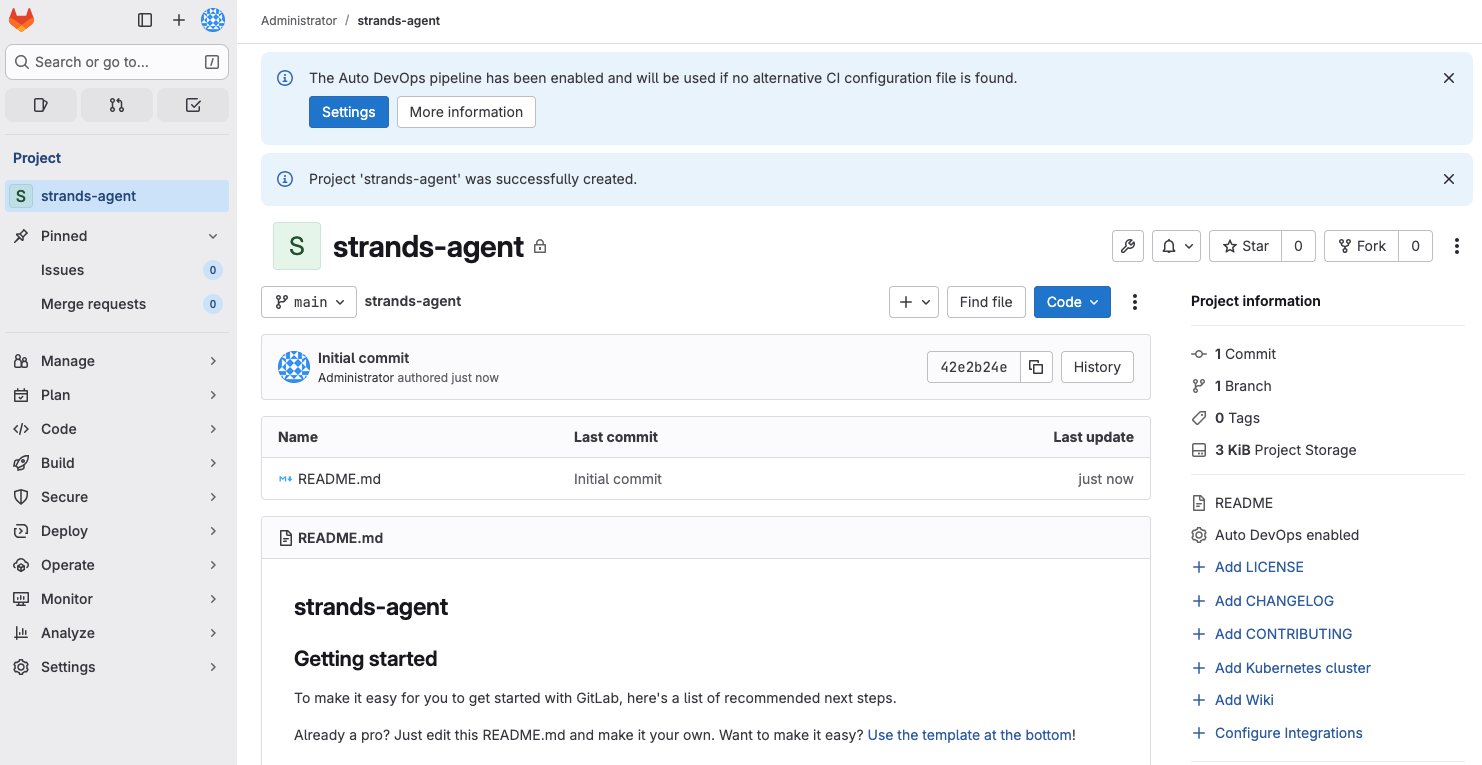
GitLab에 코드 푸시
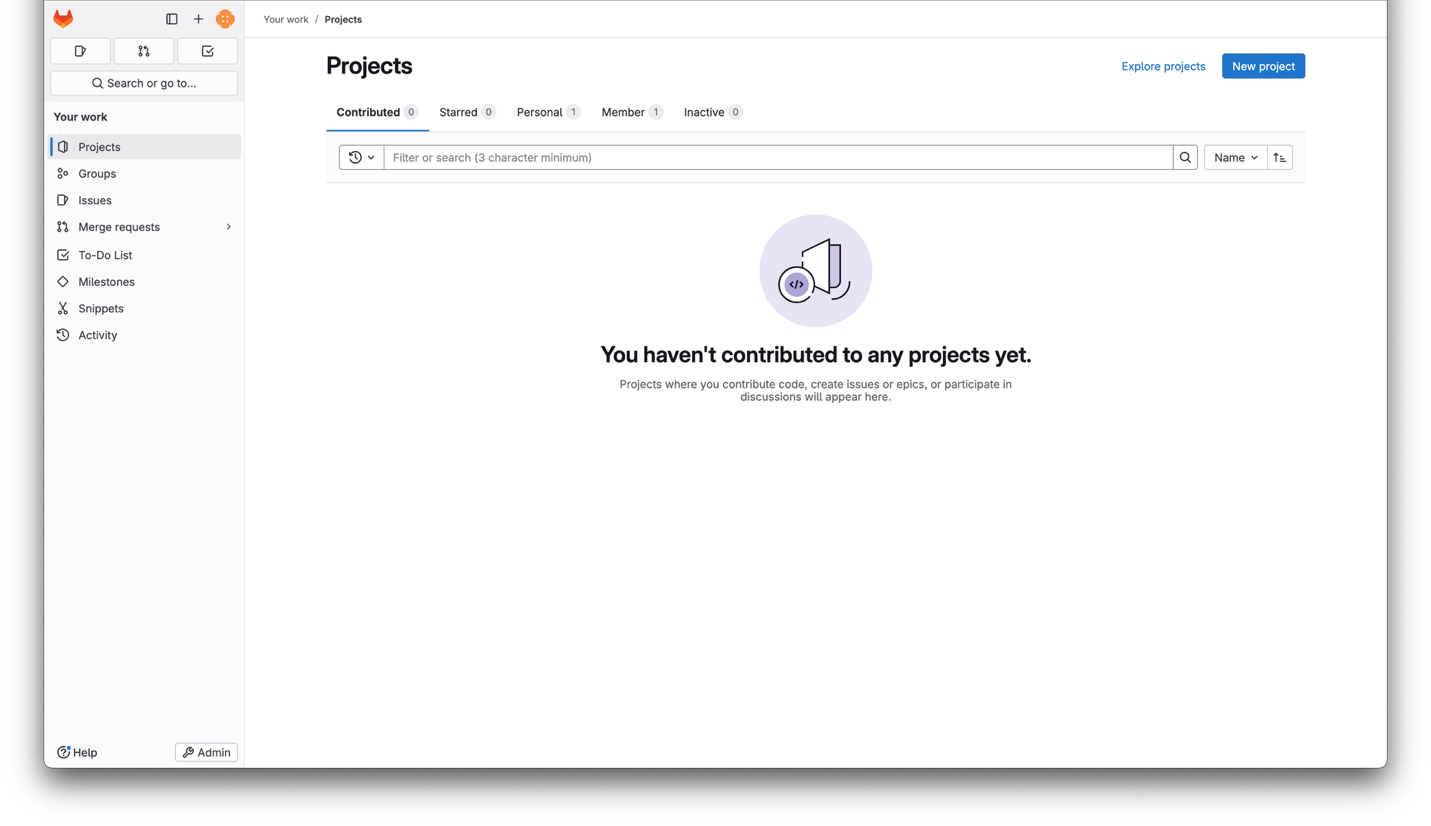
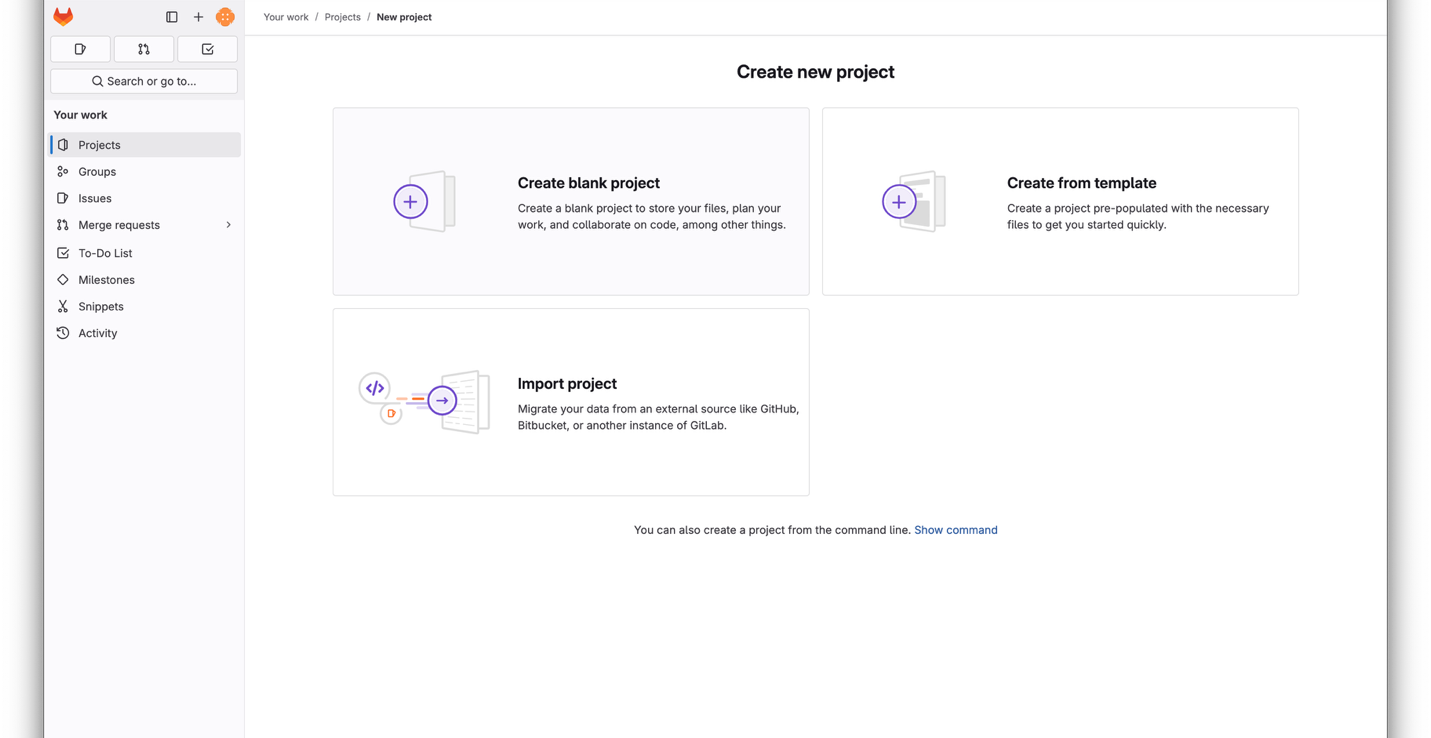
환경에는 소스 제어, 컨테이너 레지스트리, CI/CD를 위한 GitLab 인스턴스가 포함되어 있습니다. GitLab에 로그인하여 새 프로젝트를 생성합니다:
root 사용자의 비밀번호 확인:
kubectl get secret -n gitlab gitlab-gitlab-initial-root-password -o jsonpath="{.data.password}" | base64 --decode
사용자명: root, 위에서 확인한 비밀번호로 로그인
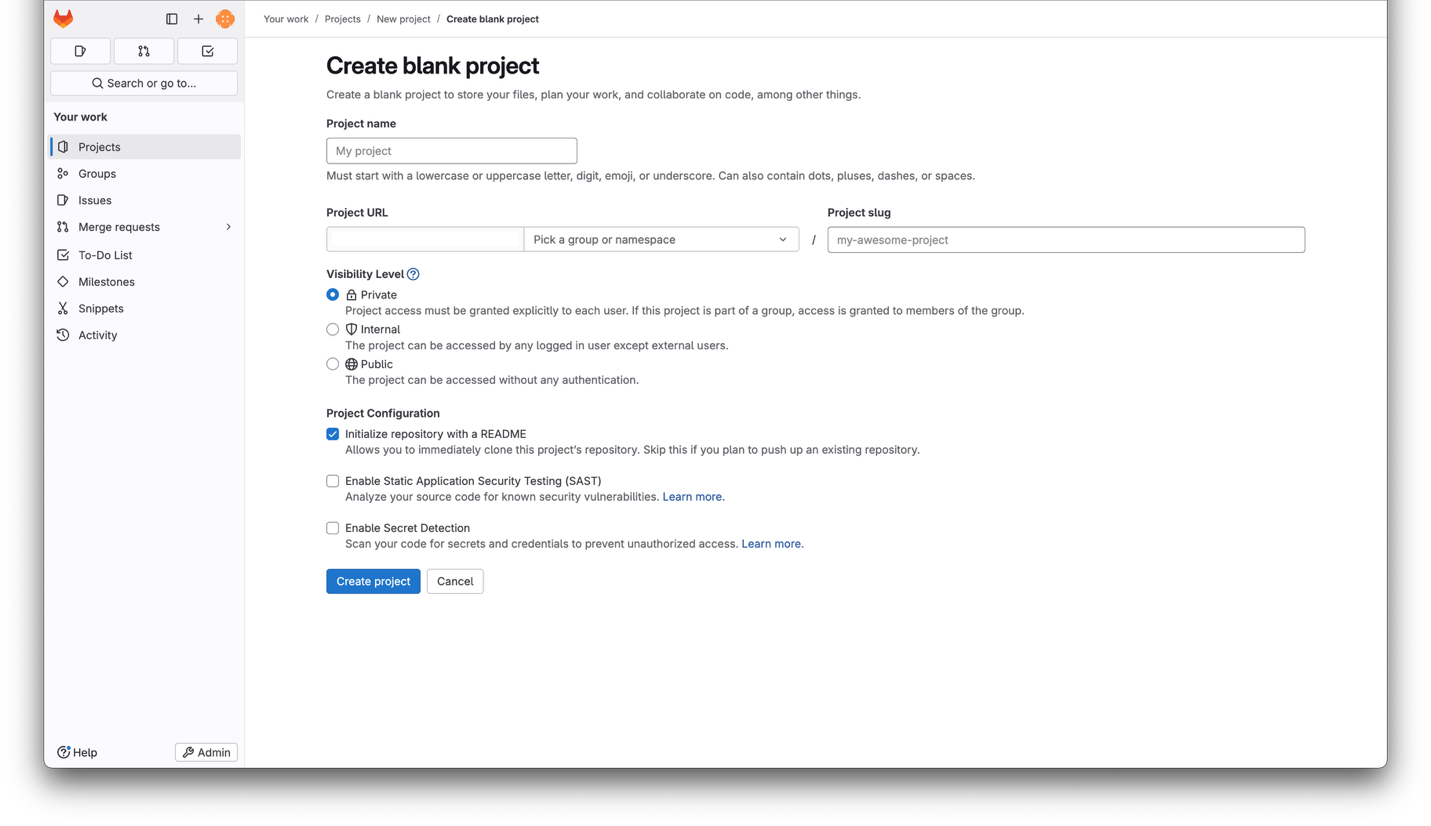
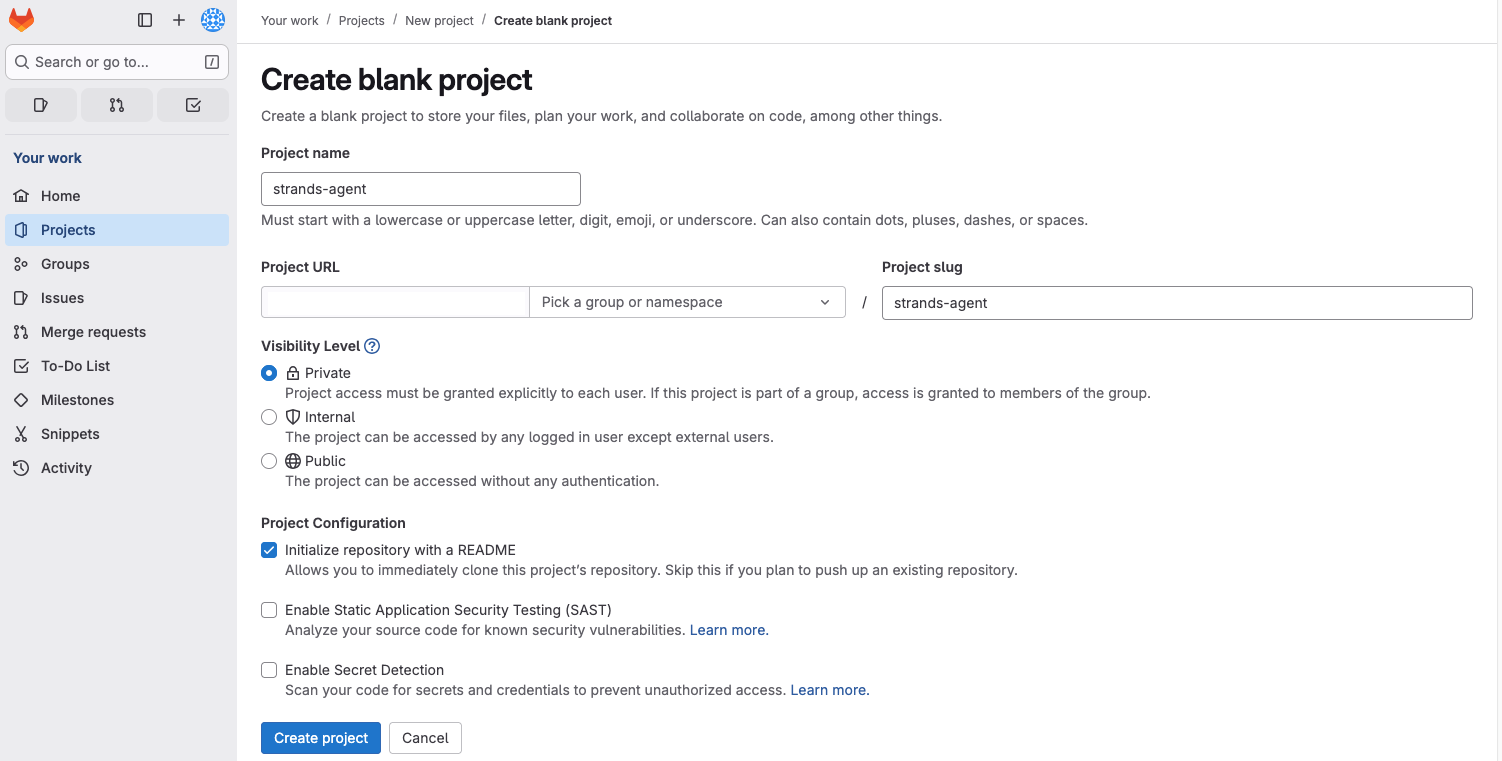

리포지토리를 클론하고 에이전트 파일을 추가합니다:
git clone https://gitlab.<your-domain>/root/strands-agent.git
cd strands-agent

# 에이전트 파일을 이 디렉토리에 복사한 후:
git add .
git commit -m "initial commit"
git push origin main
CI/CD 설정
리포지토리에 .gitlab-ci.yml 파일을 추가하여 GitLab이 커밋할 때마다 자동으로 컨테이너 이미지를 빌드하고 내부 레지스트리에 푸시하도록 합니다:
build-rootless:
  image: moby/buildkit:rootless
  stage: build
  variables:
    BUILDKITD_FLAGS: --oci-worker-no-process-sandbox
  before_script:
    - mkdir -p ~/.docker
    - echo "{\"auths\":{\"$CI_REGISTRY\":{\"username\":\"$CI_REGISTRY_USER\",\"password\":\"$CI_REGISTRY_PASSWORD\"}}}" > ~/.docker/config.json
  script:
    - |
      buildctl-daemonless.sh build \
        --frontend dockerfile.v0 \
        --local context=. \
        --local dockerfile=. \
        --output type=image,name=$CI_REGISTRY_IMAGE:$CI_COMMIT_SHA,push=true
파이프라인 파일을 푸시합니다:
git add .gitlab-ci.yml
git commit -m "add CI/CD pipeline"
git push
다음 푸시 후 GitLab의 파이프라인 뷰에서 빌드 실행을 확인할 수 있습니다:
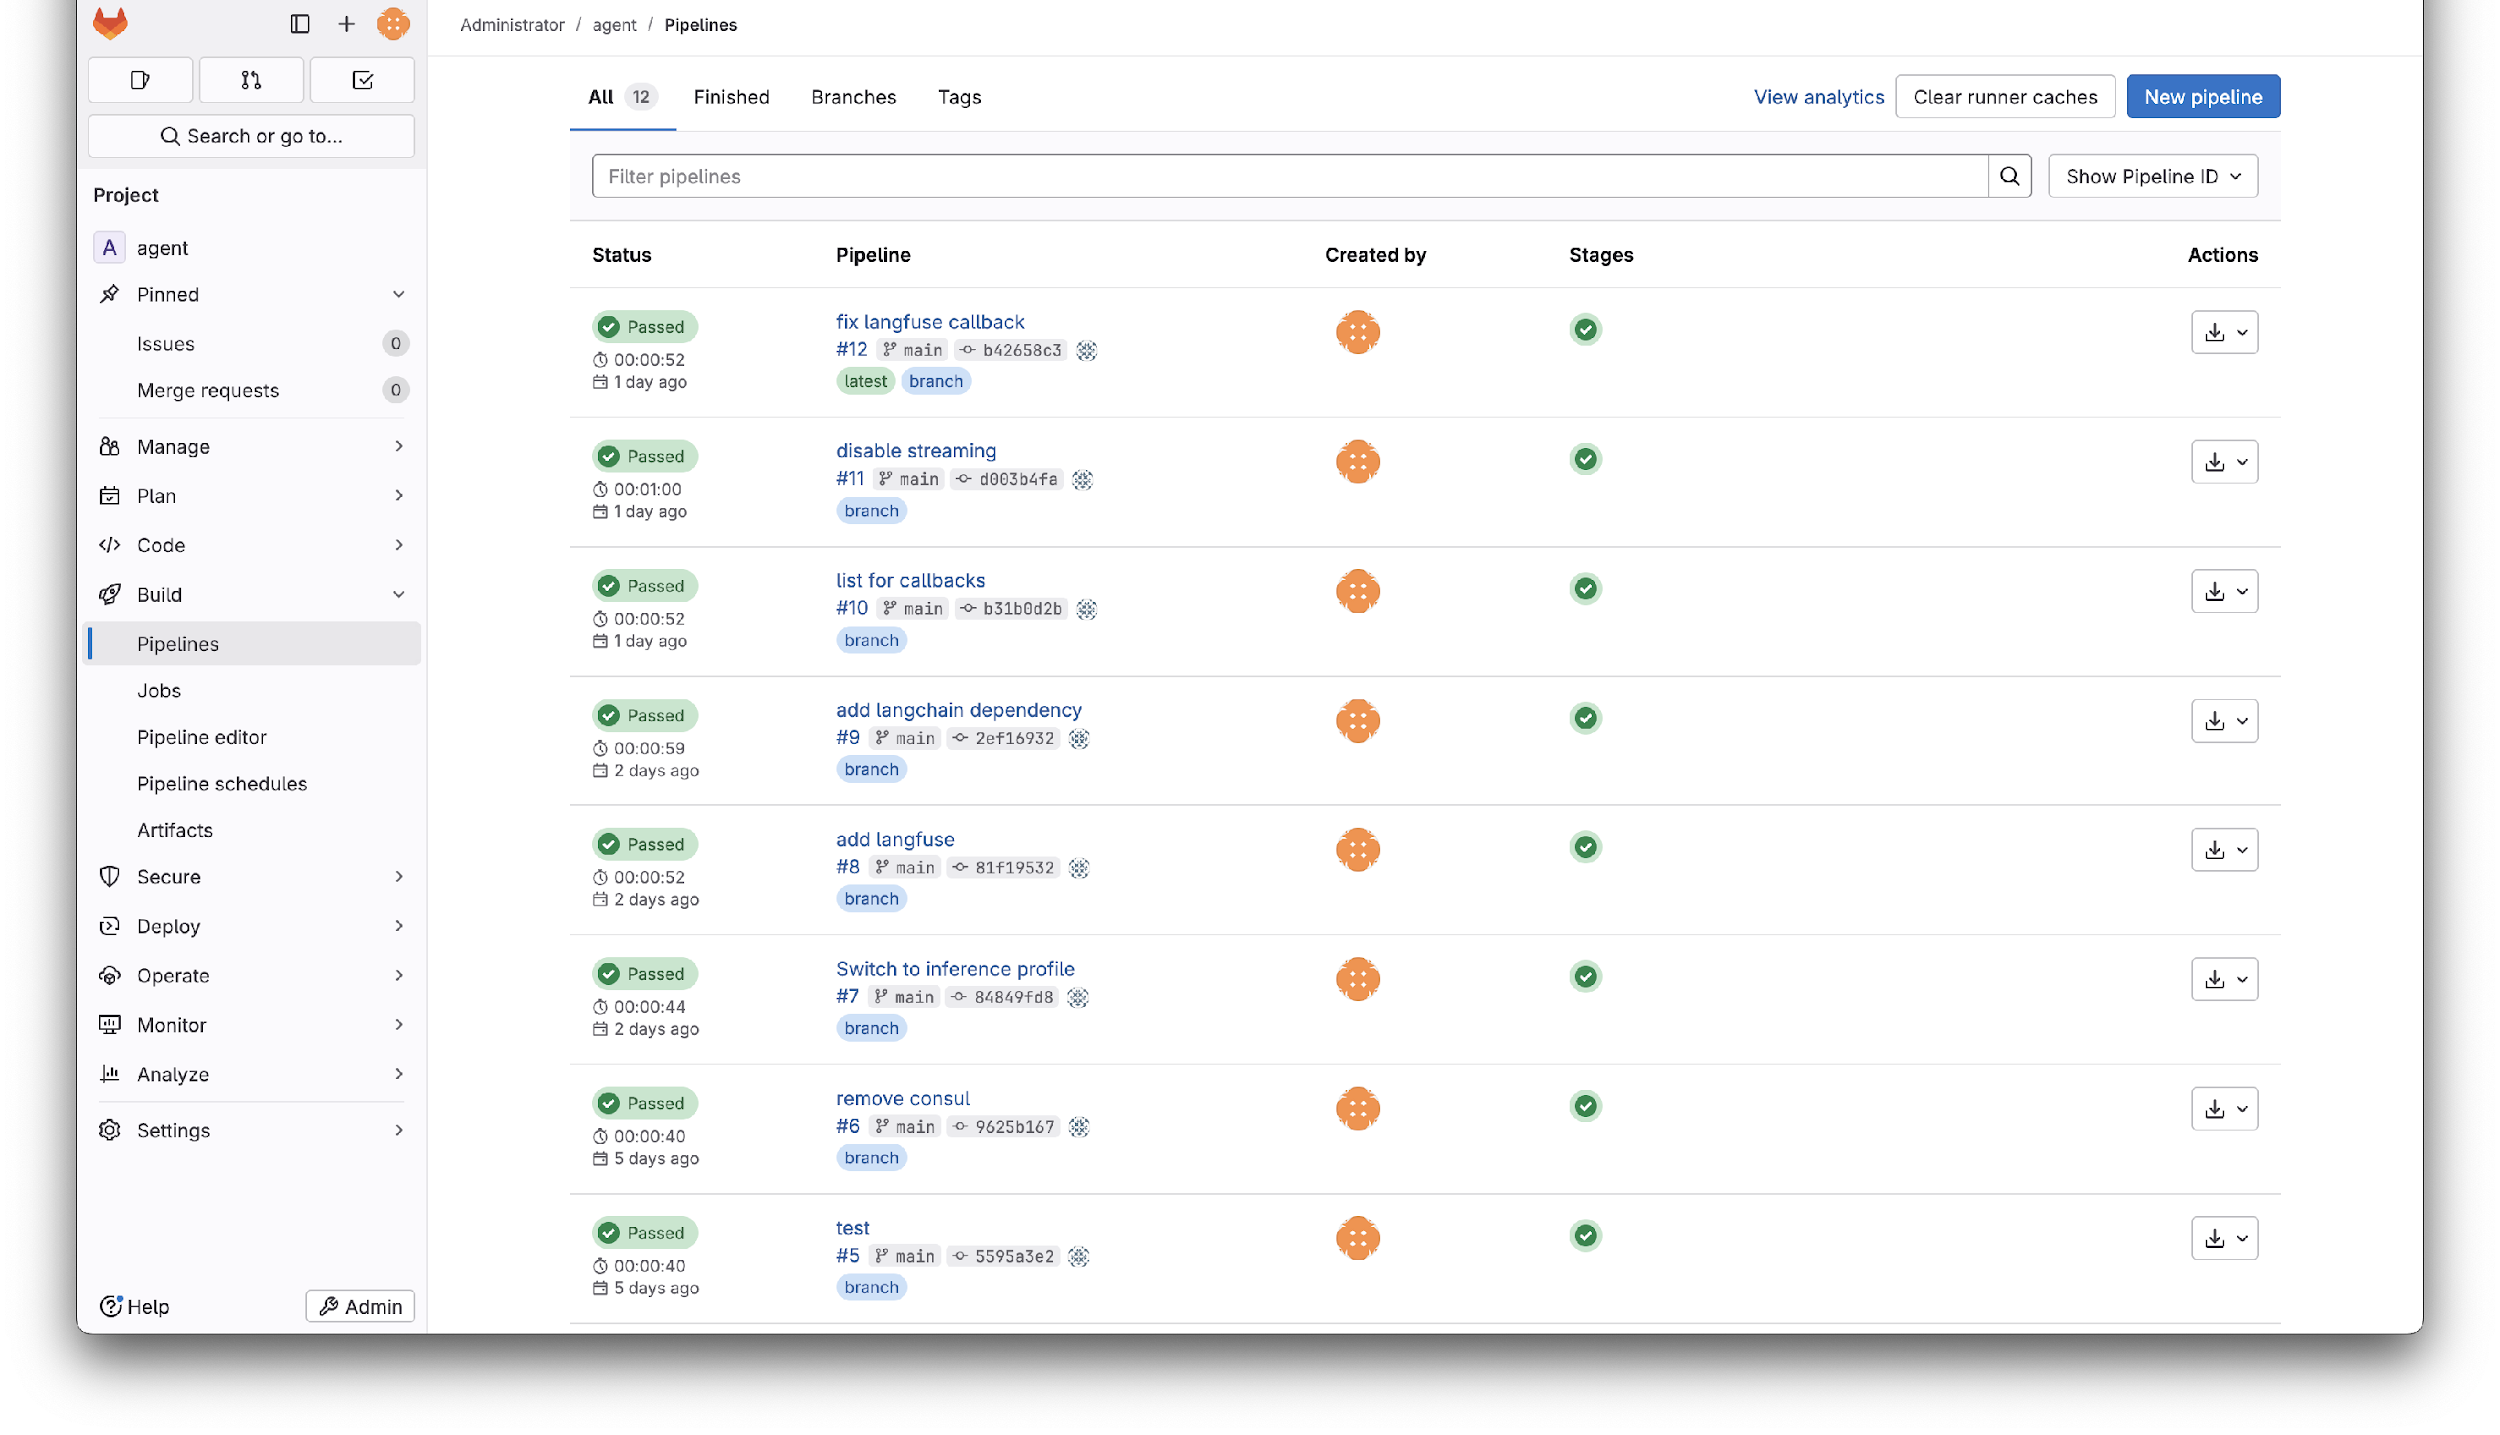
파이프라인 단계의 녹색 체크 표시를 클릭하고 작업 이름을 클릭하면 빌드 출력을 볼 수 있습니다. 하단에서 레지스트리의 전체 이미지 이름을 확인할 수 있습니다:
pushing manifest for registry.domain.tld/root/strands-agent:<commit-sha>@sha256:<digest>
이미지를 풀링하고 로컬에서 실행하여 작동을 확인할 수 있습니다. 처음 docker pull 시 GitLab 자격 증명을 입력해야 합니다:
docker run --rm -p 8000:8000 \
  -e AWS_ACCESS_KEY_ID \
  -e AWS_SECRET_ACCESS_KEY \
  -e AWS_REGION \
  registry.domain.tld/root/strands-agent:<commit-sha>
이 시점부터 리포지토리에 커밋할 때마다 레지스트리에 새로운 태그가 지정된 이미지가 생성되어 배포할 준비가 됩니다.
Kubernetes에 배포
네임스페이스 생성
네임스페이스는 리소스를 그룹화하고 격리를 제공합니다. 에이전트용 네임스페이스를 생성합니다:
kubectl create namespace strands-agent
서비스 어카운트 생성
서비스 어카운트는 레지스트리에서 이미지를 풀링하고 Pod Identity를 통해 AWS 서비스에 인증하는 역할을 합니다:
kubectl create serviceaccount -n strands-agent strands-agent
레지스트리 액세스 구성
GitLab에서 read_registry 범위를 가진 배포 토큰을 생성합니다. 그런 다음 해당 자격 증명으로 Kubernetes 시크릿을 생성합니다:
kubectl create secret docker-registry regcred \
  -n strands-agent \
  --docker-server=registry.<your-domain> \
  --docker-username=gitlab+deploy-token-1 \
  --docker-password=<TOKEN>
자격 증명을 서비스 어카운트에 연결합니다:
kubectl patch serviceaccount -n strands-agent strands-agent \
  -p '{"imagePullSecrets": [{"name": "regcred"}]}'
각 GitLab 리포지토리에는 자체 배포 토큰이 필요합니다. 이것이 레지스트리 액세스를 단일 리포지토리로 범위를 제한하는 가장 안전한 접근 방식이지만, 확장 시 리포지토리당 토큰이 필요합니다.
Deployment 생성
다음을 deployment.yaml로 저장하고 이미지 참조를 레지스트리 이미지로 교체합니다:
apiVersion: apps/v1
kind: Deployment
metadata:
  name: strands-agent
  namespace: strands-agent
  labels:
    app: strands-agent
spec:
  replicas: 1
  selector:
    matchLabels:
      app: strands-agent
  template:
    metadata:
      labels:
        app: strands-agent
    spec:
      containers:
        - name: agent
          image: registry.<your-domain>/root/strands-agent:<commit-sha>
          ports:
            - containerPort: 8000
      serviceAccountName: strands-agent
---
apiVersion: v1
kind: Service
metadata:
  name: strands-agent
  namespace: strands-agent
spec:
  ports:
    - port: 8000
      targetPort: 8000
      protocol: TCP
      name: http
  selector:
    app: strands-agent
배포합니다:
kubectl apply -f deployment.yaml
Pod Identity로 AWS 액세스 구성
에이전트가 AWS 서비스 (Bedrock, S3 등)에 액세스해야 하는 경우, IAM 자격 증명을 환경 변수로 전달하는 대신 Pod Identity를 사용하세요. Pod Identity 에이전트는 이미 환경에서 실행 중입니다.
Pod Identity Role을 생성할 때 역할에 Bedrock 권한을 추가해야 합니다.
새 자격 증명을 적용하기 위해 에이전트를 재배포합니다:
kubectl rollout restart deployment/strands-agent -n strands-agent
배포 확인
Pod가 실행 중인지 확인합니다:
kubectl get pods -n strands-agent
NAME                        READY   STATUS    RESTARTS   AGE
strands-agent-7ddfd847b4-9x4xs   1/1     Running   0          2m36s
로그를 확인합니다:
kubectl logs -n strands-agent -l app=strands-agent
INFO:     Started server process [7]
INFO:     Waiting for application startup.
INFO:     Application startup complete.
INFO:     Uvicorn running on http://0.0.0.0:8000 (Press CTRL+C to quit)
포트 포워딩으로 테스트합니다:
kubectl port-forward -n strands-agent svc/strands-agent 8000
다른 터미널에서:
curl --location 'http://localhost:8000/' \
--header 'Content-Type: application/json' \
--data '{"request": "Hello"}'
에이전트가 이제 Kubernetes에서 실행되며 클러스터의 모든 서비스에서 접근 가능합니다.
에이전트 업데이트
배포된 에이전트를 업데이트하는 워크플로우는 다음과 같습니다:
- 로컬에서 코드를 변경하고 테스트합니다
- GitLab에 커밋하고 푸시합니다
- CI/CD 파이프라인이 커밋 SHA로 태그된 새 이미지를 빌드합니다
deployment.yaml의 이미지 참조를 업데이트하고 다시 적용하거나,kubectl set image를 사용하여 즉시 업데이트합니다:
kubectl set image deployment/strands-agent \
  -n strands-agent \
  agent=registry.<your-domain>/root/strands-agent:<new-commit-sha>
다음 단계
- 에이전트 개발 모범 사례 — 에이전트 코드 구조화, 테스트 및 API 래핑 패턴