DNS validation process with your DNS Provider
When you create certificates, you need to complete DNS validation process. This process requires you to add/update CNAME record in DNS provider, such as Route 53 and GoDaddy.
An email will be sent with information needed for DNS validation. The following is an example SNS notification in you email:
CNAME value need to add into DNS hostzone to finish DCV: [{'Name': '_1317a5f539939083b712d51b6b1676e5.web1.ssl-for-saas.demo.solutions.aws.a2z.org.cn.', 'Type': 'CNAME', 'Value': '_de026e5dc988d65312fe83616ef24249.hnyhpvdqhv.acm-validations.aws.'}]
If you do not know where the email was sent to, you can check it in CloudFormation stack that was deployed when you launch the solution.
If you want to update the email, you need to update the email parameter in the CloudFormation stack.
Adding CNAMEs record for DCV validation in Route53
Adding Through AWS Route53 Console
- Sign in to the AWS Management Console and access the Route 53 console.
- In the navigation pane, choose Hosted zones.
-
If you already have a hosted zone for your domain, skip to step 5. If not, create a hosted zone first.
- To route internet traffic to your resources, such as Amazon S3 buckets or Amazon EC2 instances, see Creating a public hosted zone.
- To route traffic in your VPC, see Creating a private hosted zone.
-
On the Hosted zones page, choose the name of the hosted zone that you want to create records in.
- Choose Create record.
- Enter the name and value in Create record form with type CNAME.
Adding Through Provided Script
-
Prepare python environment based on your os: install python.
-
Find out the hosted zone ID from the aws console under Route53/YOUR_DOMAIN_NAME/Hosted zone details tab.
-
Copy the script below and save to file
route53Cert.py. Open the file and update the data based on your received email, for example: -
Install python dependencies, you can follow this tutorial to setup your environment.
-
Run your script by
python route53Cert.py. it will be success add record to your domain if there is no error output.
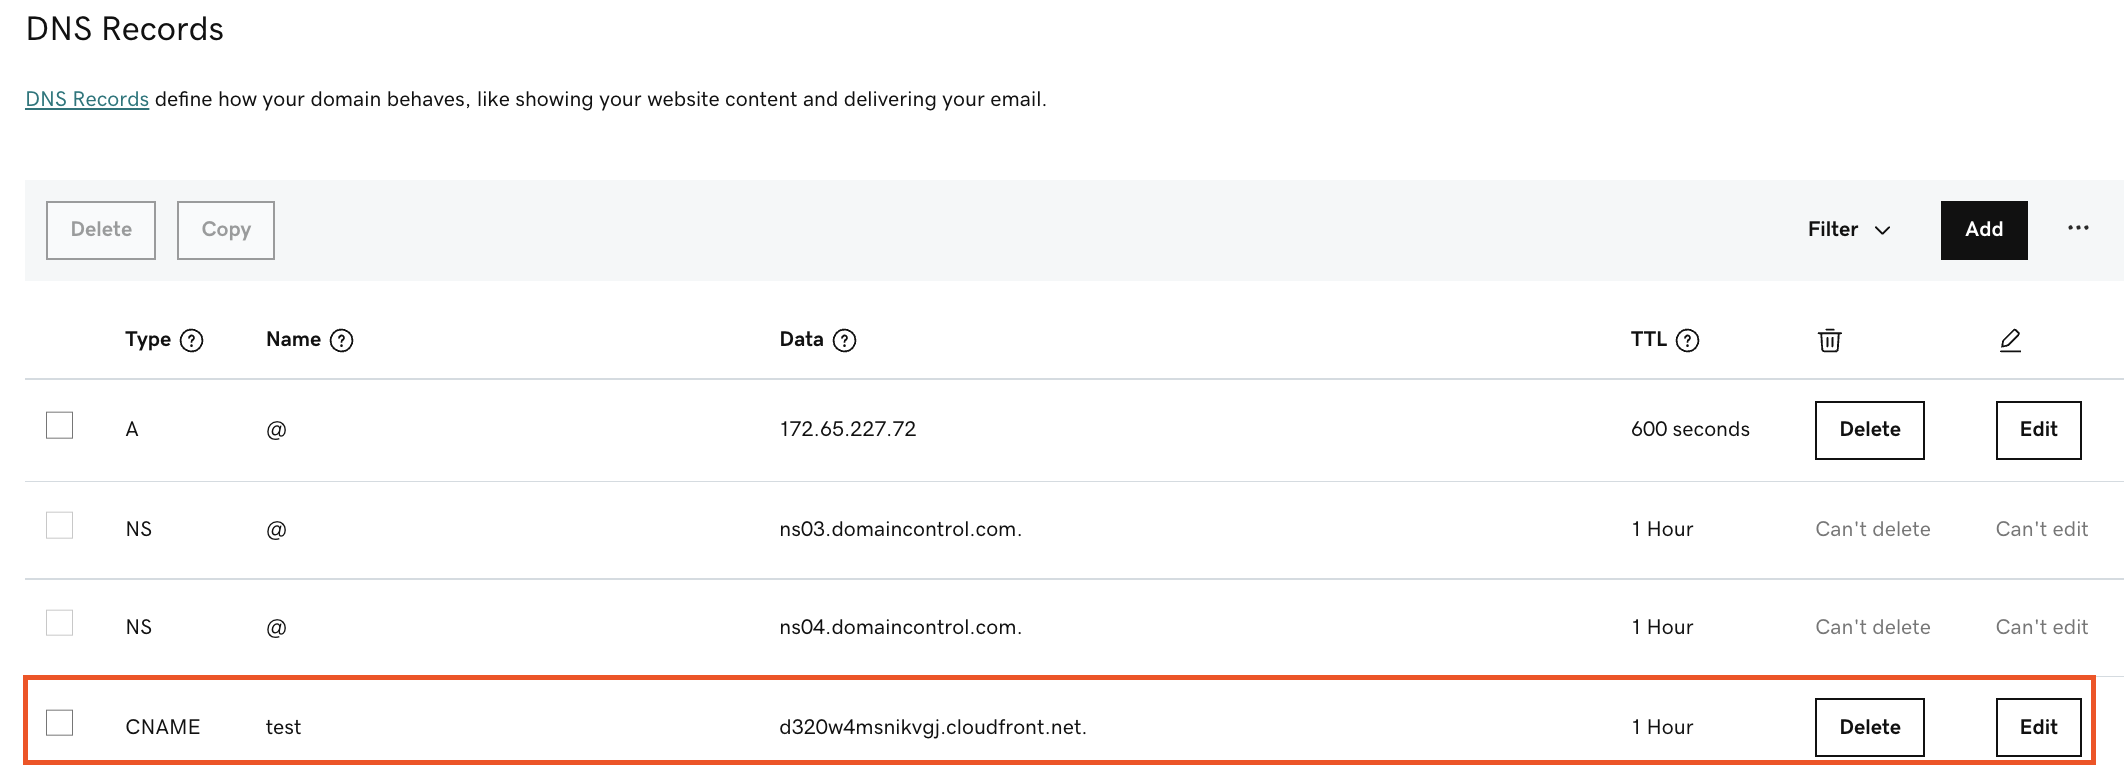
Adding CNAMEs record for DCV validation in GoDaddy
Adding Through GoDaddy Console
- Log in to GoDaddy.
- In the Domains menu, select All Domains*.
- Choose the domain that needs to update CNAME record.
- Add a new CNAME record, enter the Name with the CNAME and the Data with the corresponding CloudFront distribution. You should be able to retrieve both values in the SNS message sent by solution.
Adding Through Provided Script
- Prepare python environment based on your os: install python.
- Find out goDaddy api Key and Secret from the goDaddy Console.
-
Copy the script below and save to file
goDaddyCert.py. Open the file and update the data based on your received email, for example: -
Install python dependencies by following this tutorial.
- Run the script with 'python goDaddyCert.py'. If not error message displayed, then your script has been successfully executed.