Grant Admin Permissions to Initial Admin
By default, users are created without any elevated privileges and, depending on the value set for NEW_USERS_SUSPENDED, may be created in a suspended state, unable to interact with the application. To grant the initial Admin elevated privileges, you'll need to modify the user record in DynamoDB. Subsequent users can have their permissions and suspension state managed directly in the MLSpace UI by any user with the PMO permission.
Using the AWS CLI
You can use the AWS CLI to make the necessary update. Be sure to set the correct region and username. If you’ve updated the table name from the default, you’ll also need to ensure that is correct.
aws dynamodb --region us-east-1 update-item \
    --table-name mlspace-users \
    --key '{ "username": {"S": "<username here>"}}' \
    --update-expression "SET #p = :newval, suspended = :boolval" \
    --expression-attribute-names '{"#p":"permissions"}' \
    --expression-attribute-values '{":newval":{"L":[{"S":"PMO"}]}, ":boolval":{"BOOL":false}}' \
    --return-values ALL_NEW
Using the AWS Console
Log in to the AWS account where you’ve deployed MLSpace as a user with write permissions to DynamoDB (Admin works).
Navigate to the DynamoDB console.
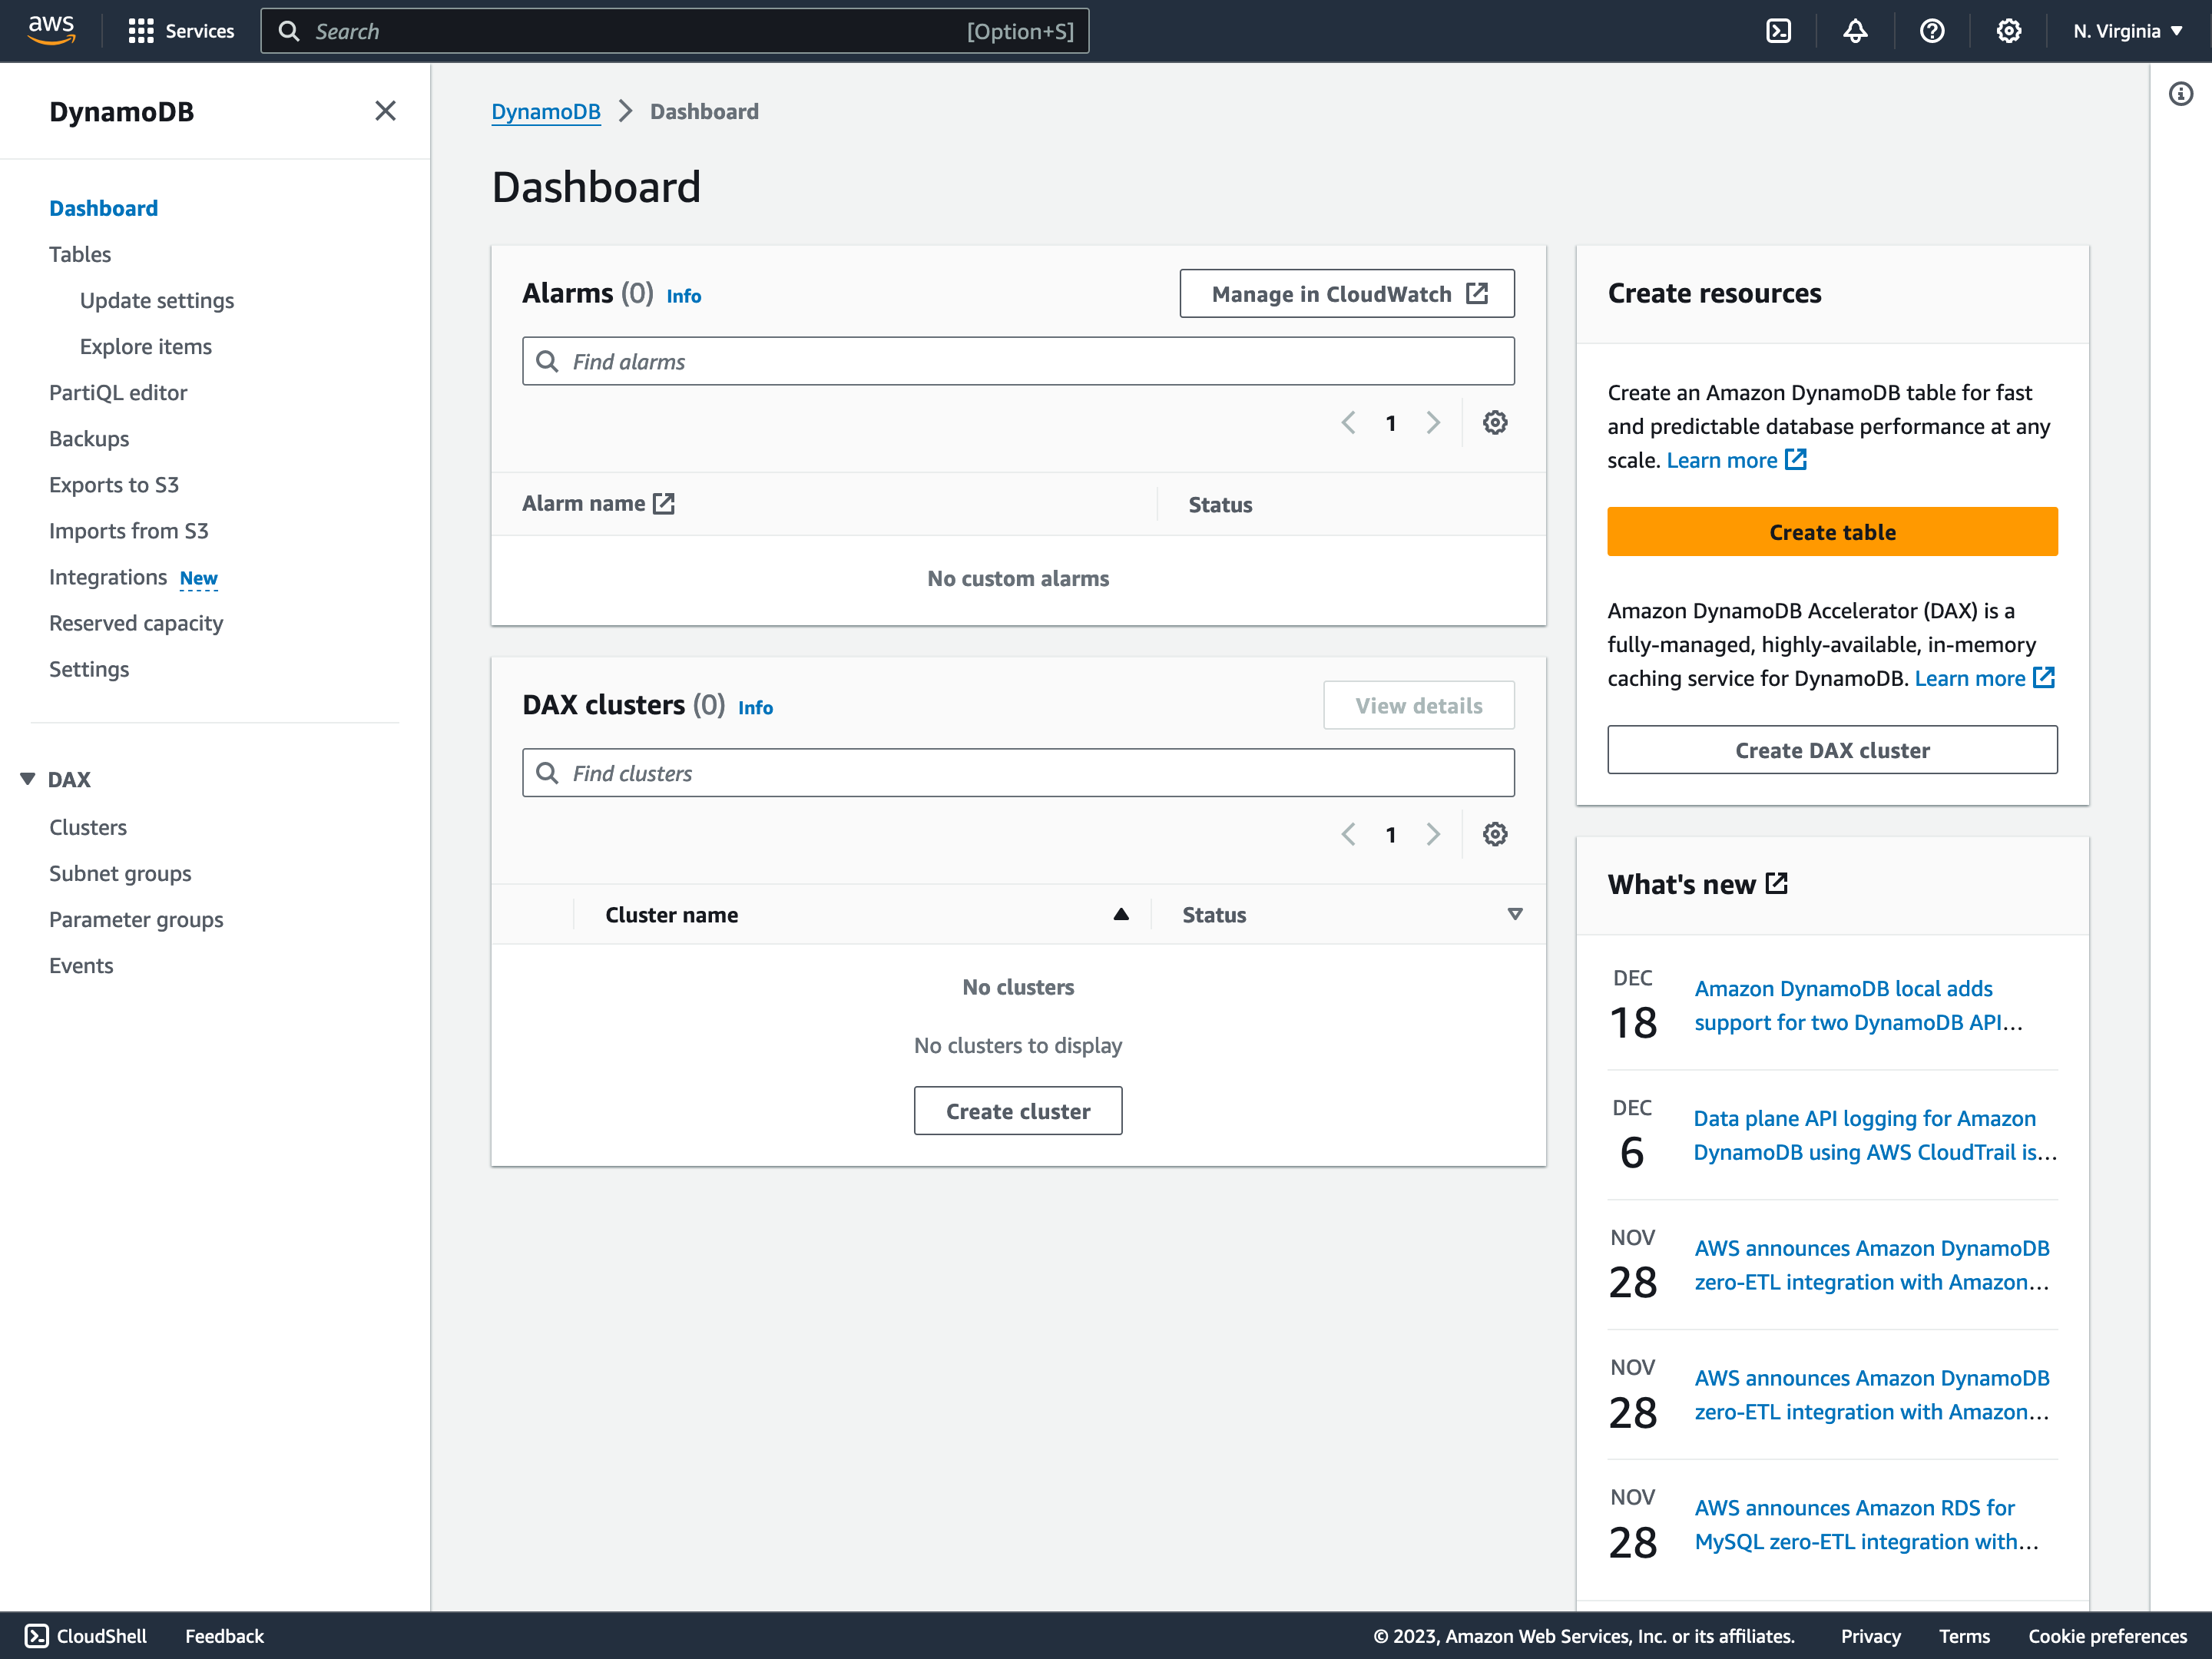
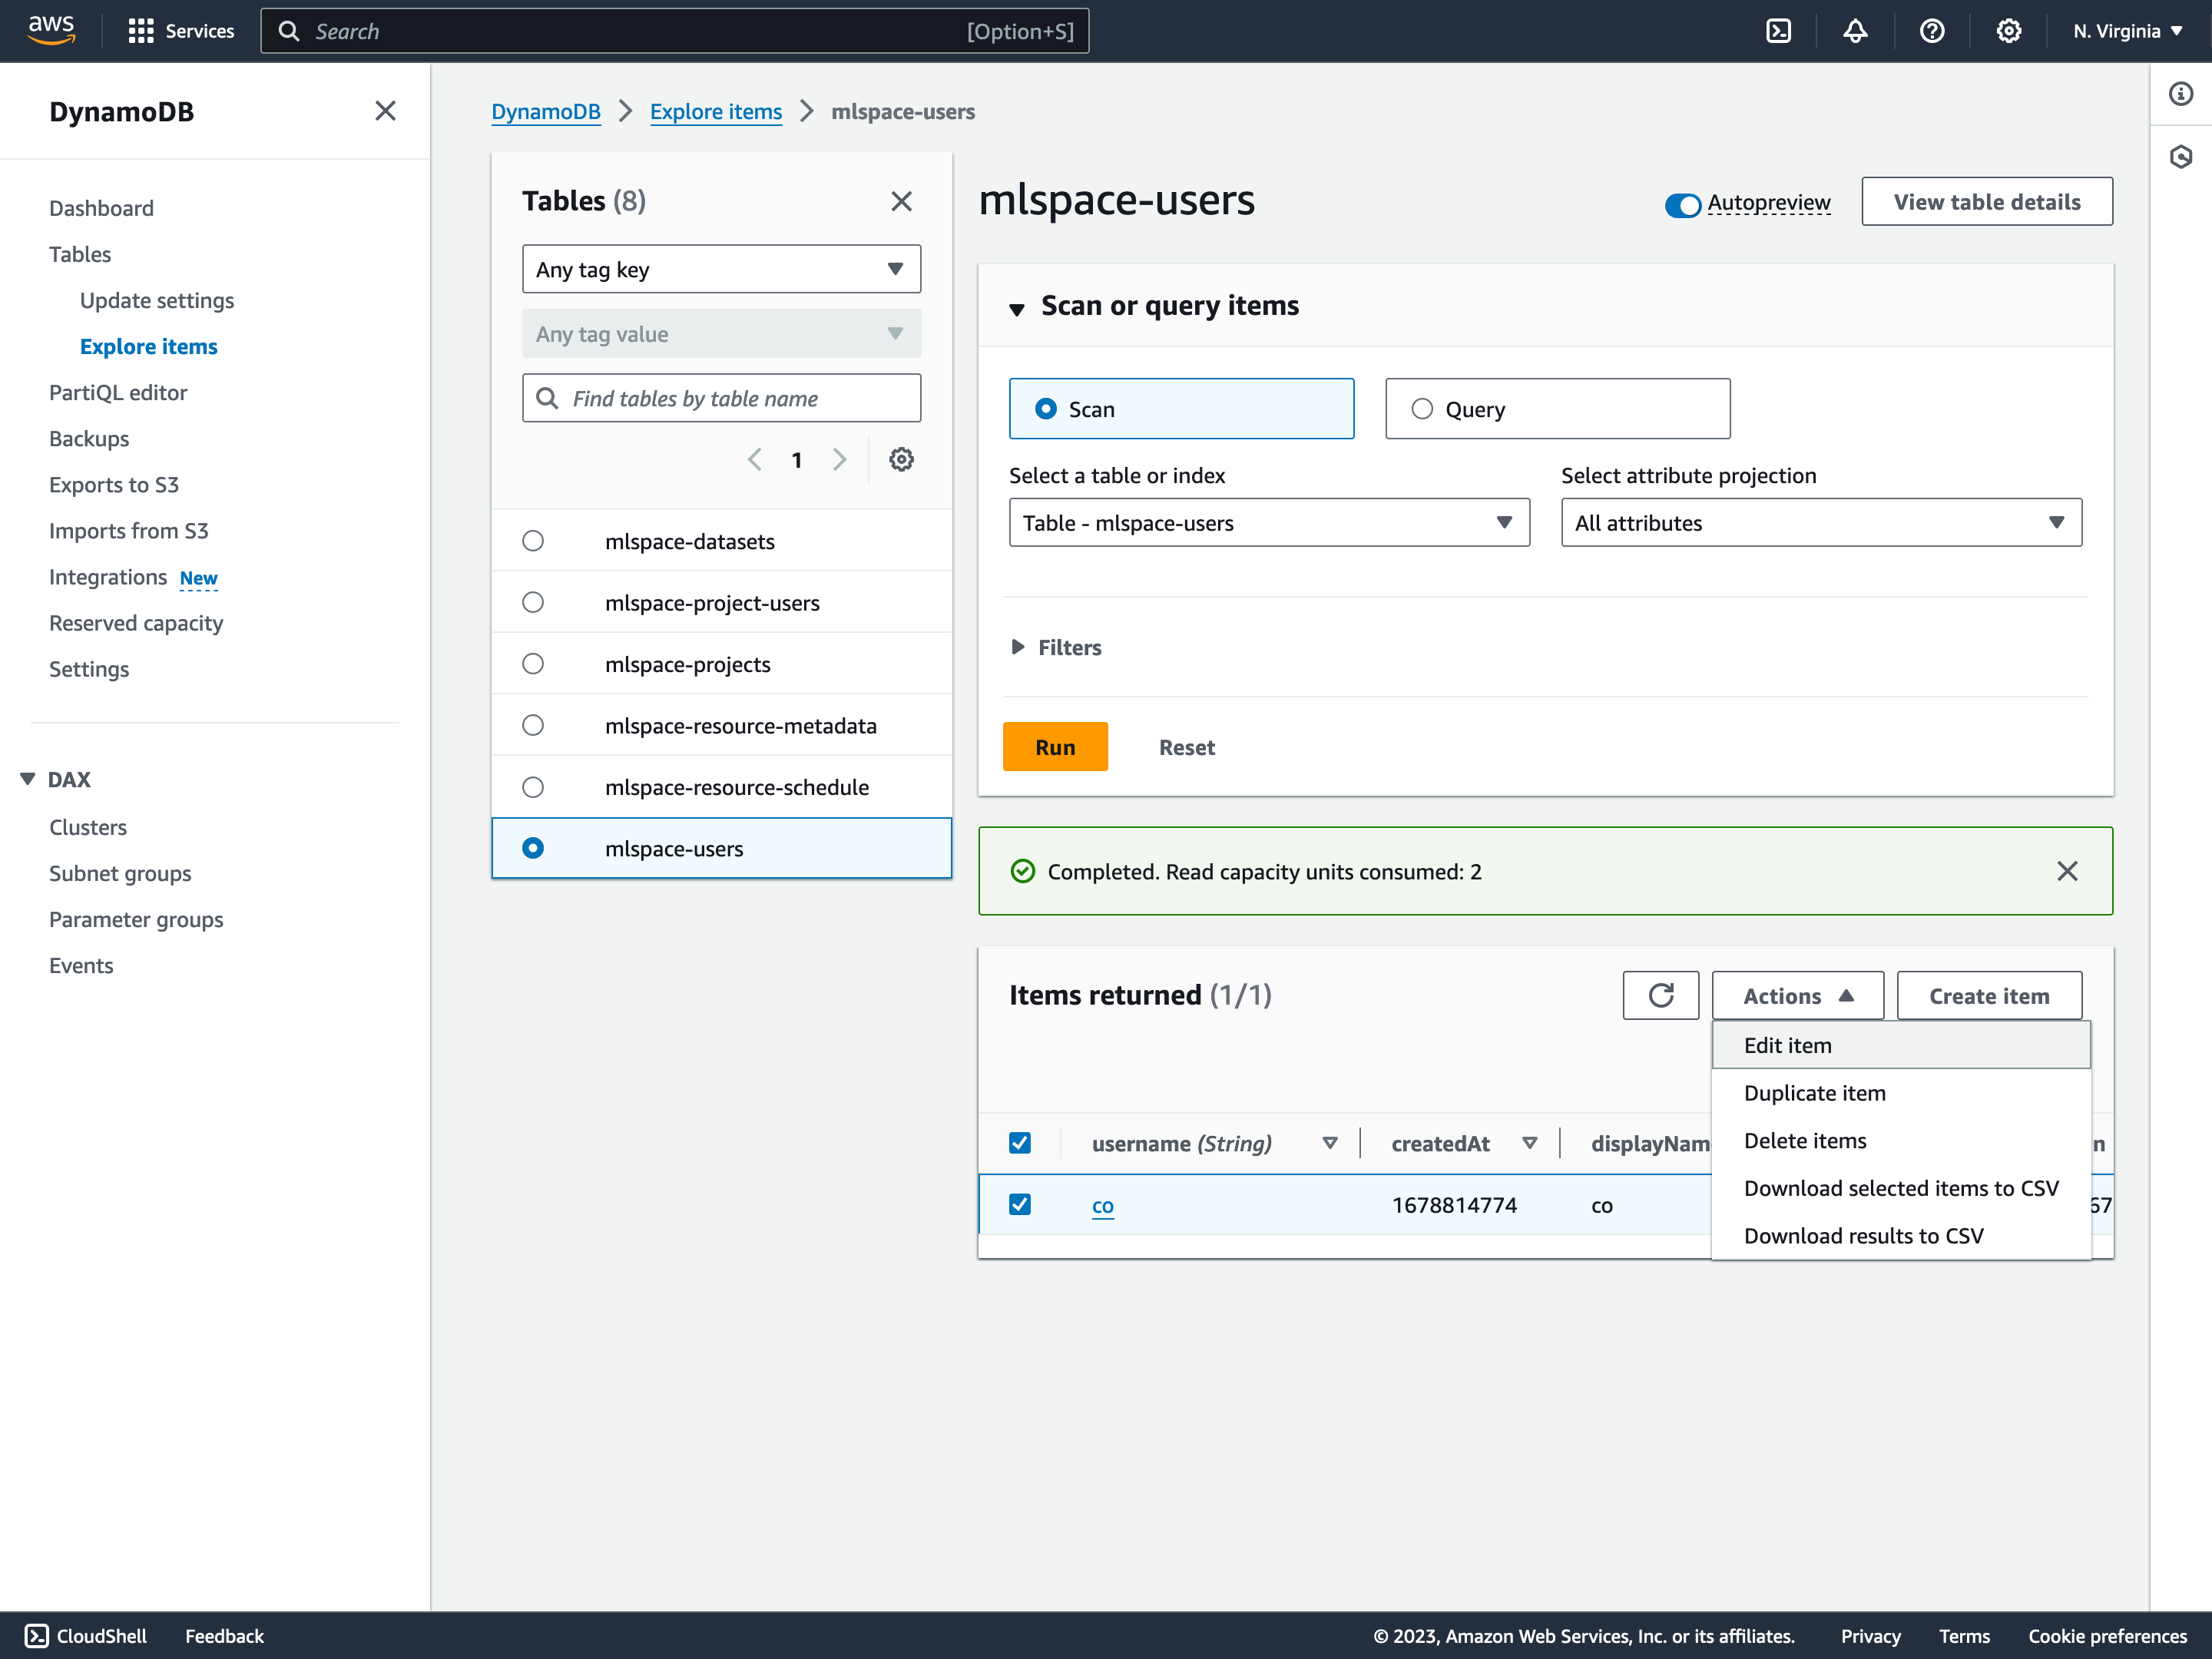
Select “Explore Items” on the left-hand side under “Tables.”
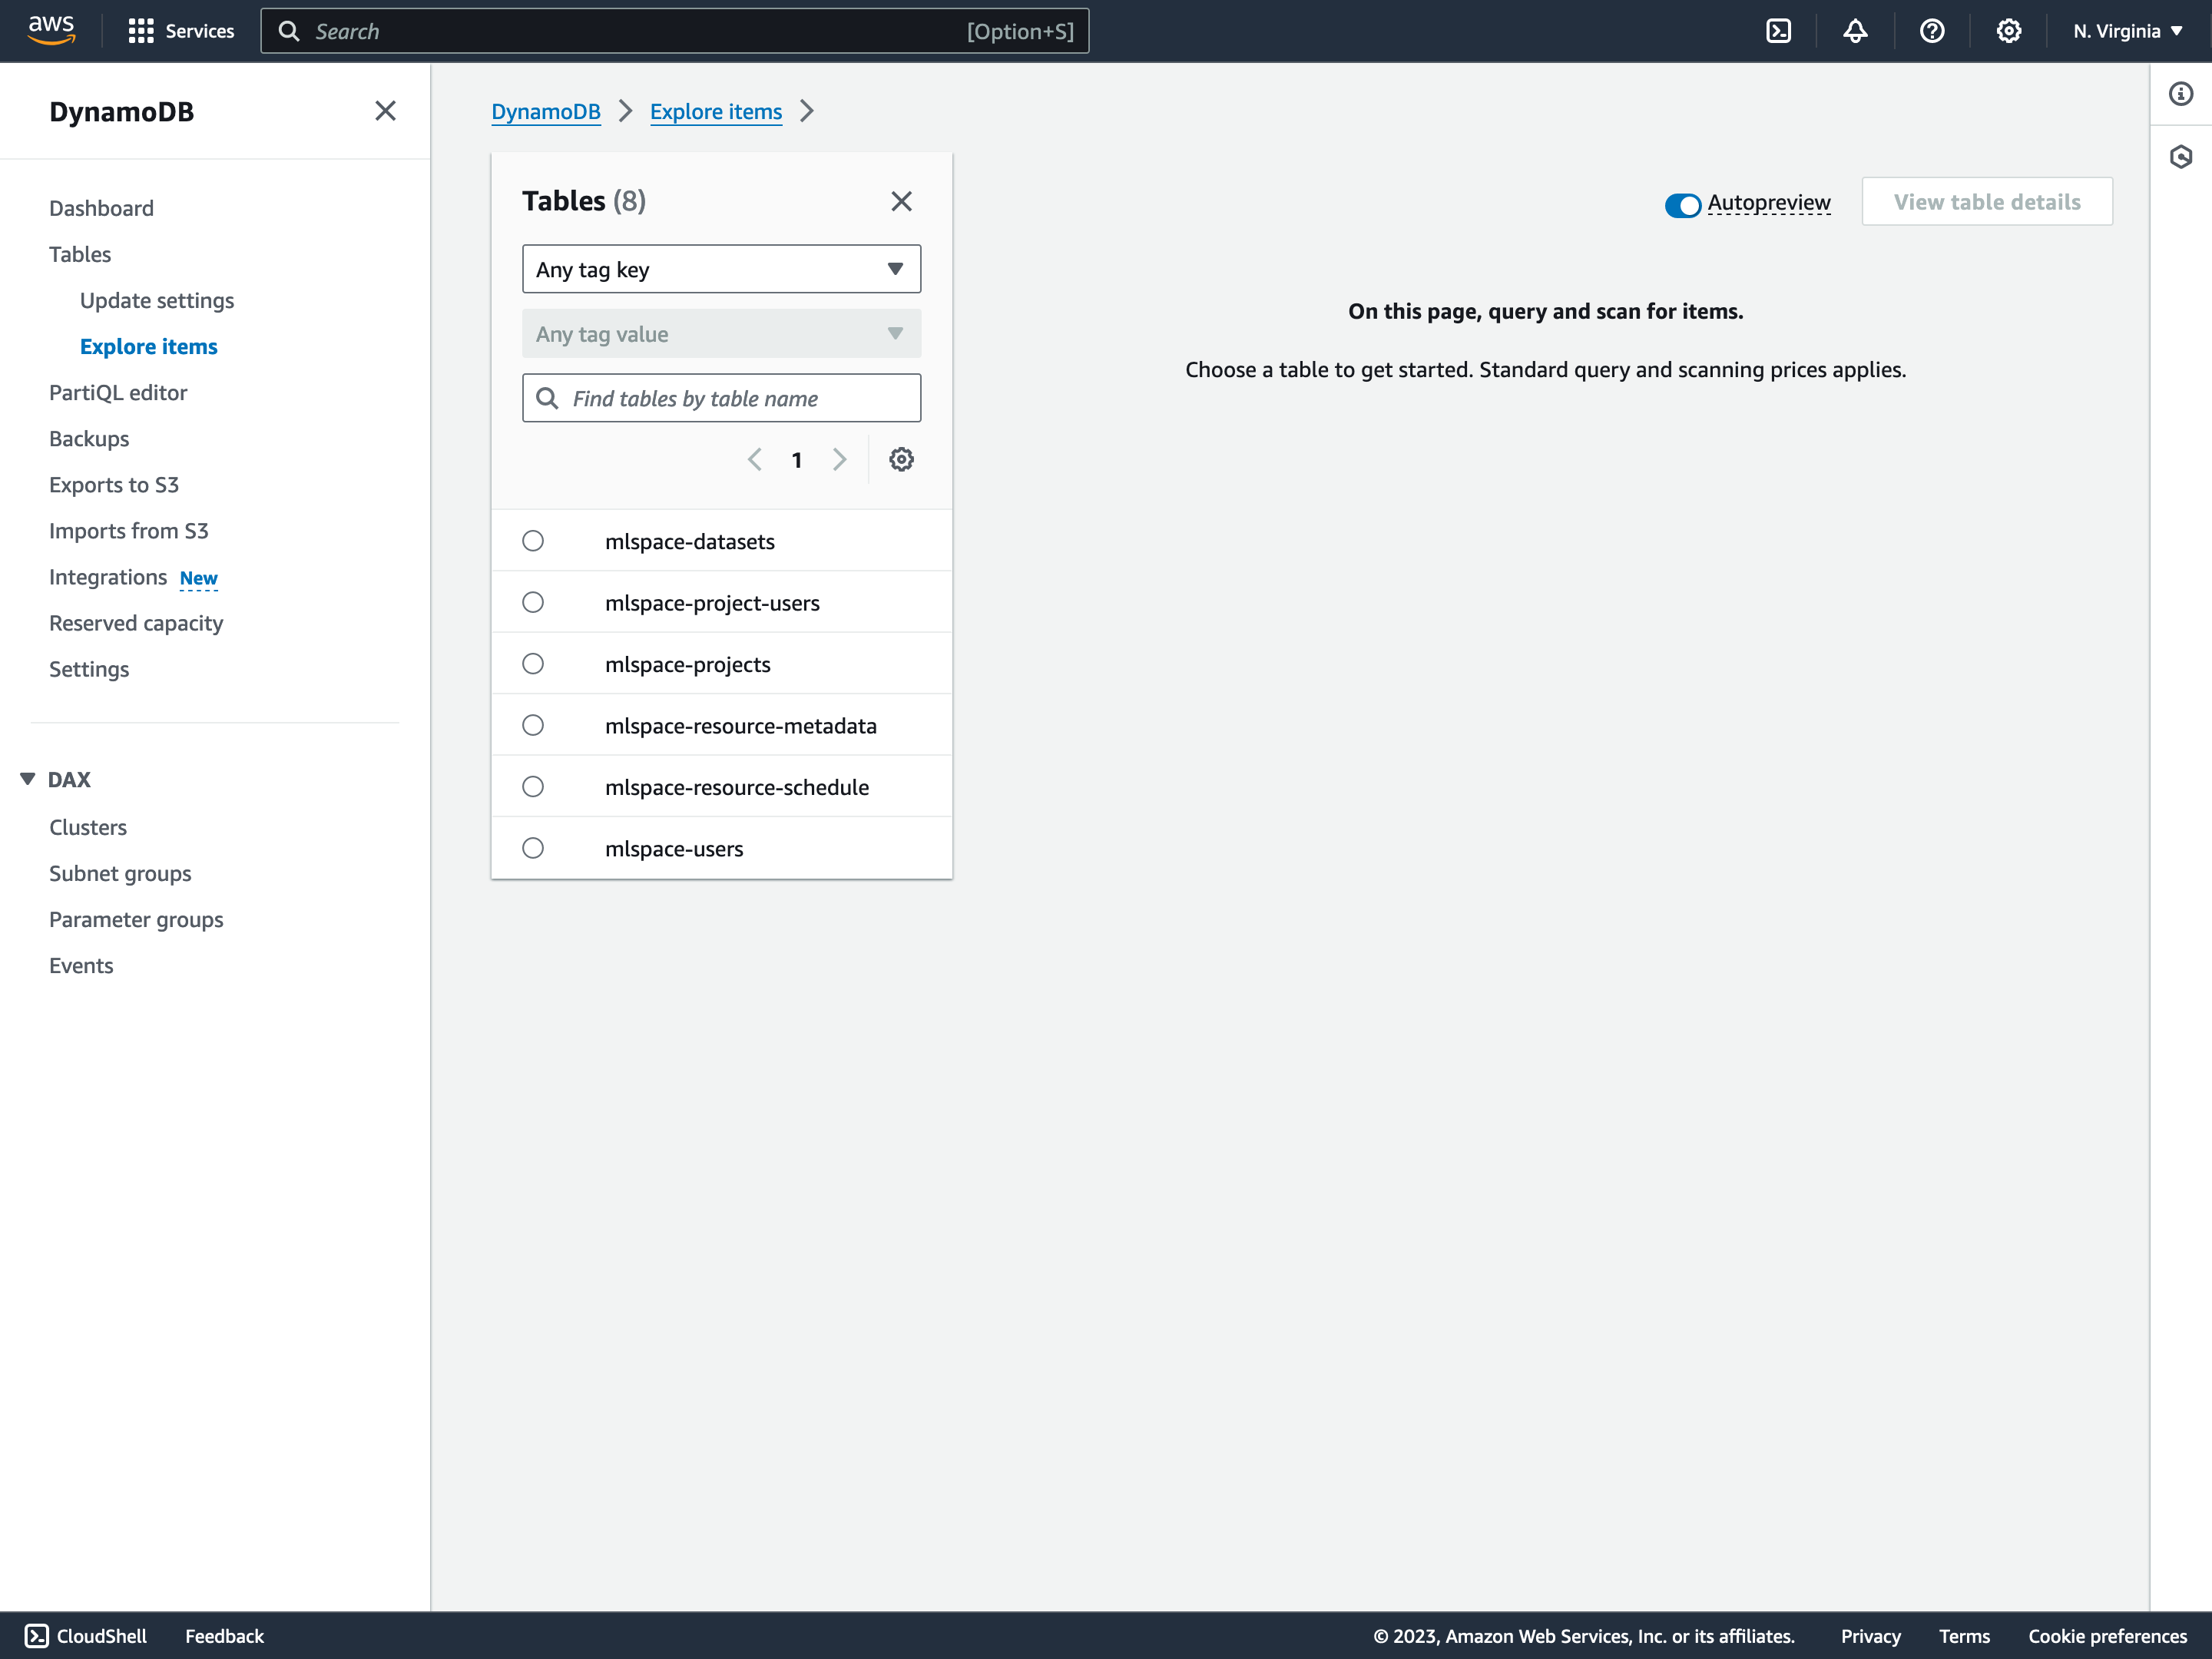
Select the “mlspace-users” table from the “Tables” list (if you renamed this table as part of setup, select the correct users table).
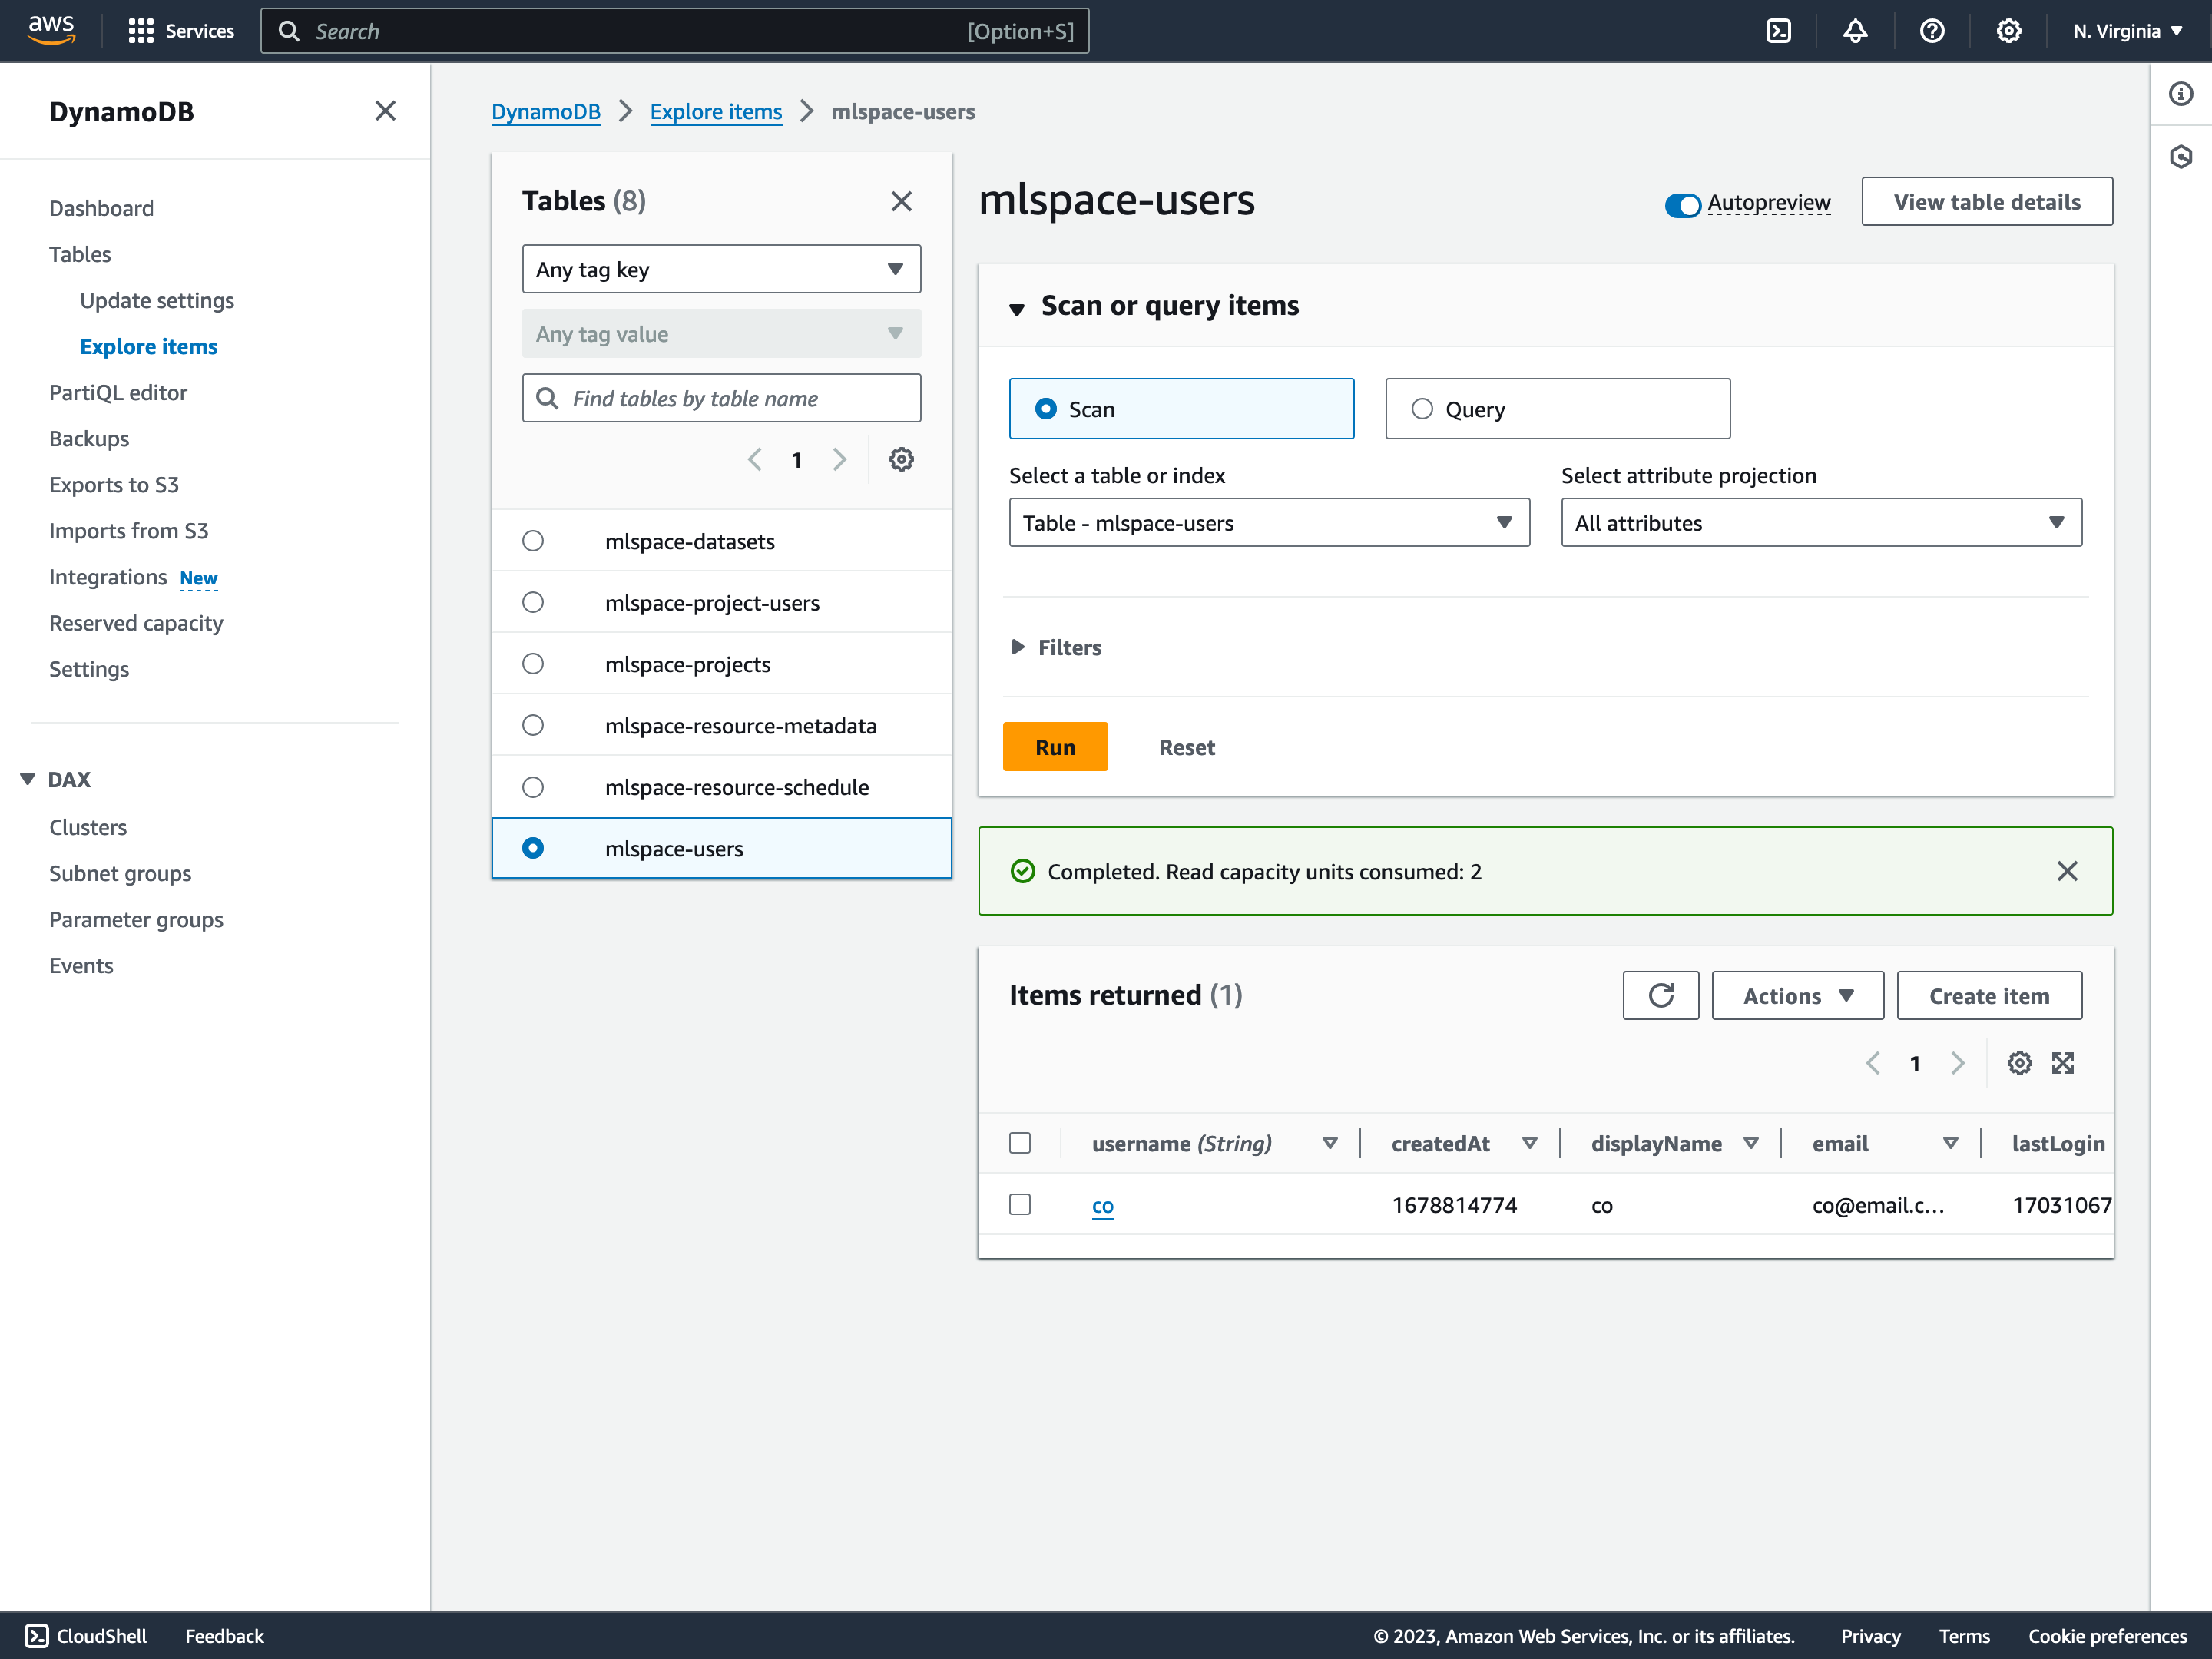
Next, select the checkmark next to the user you wish to make an admin and click “Actions” -> “Edit Item.”
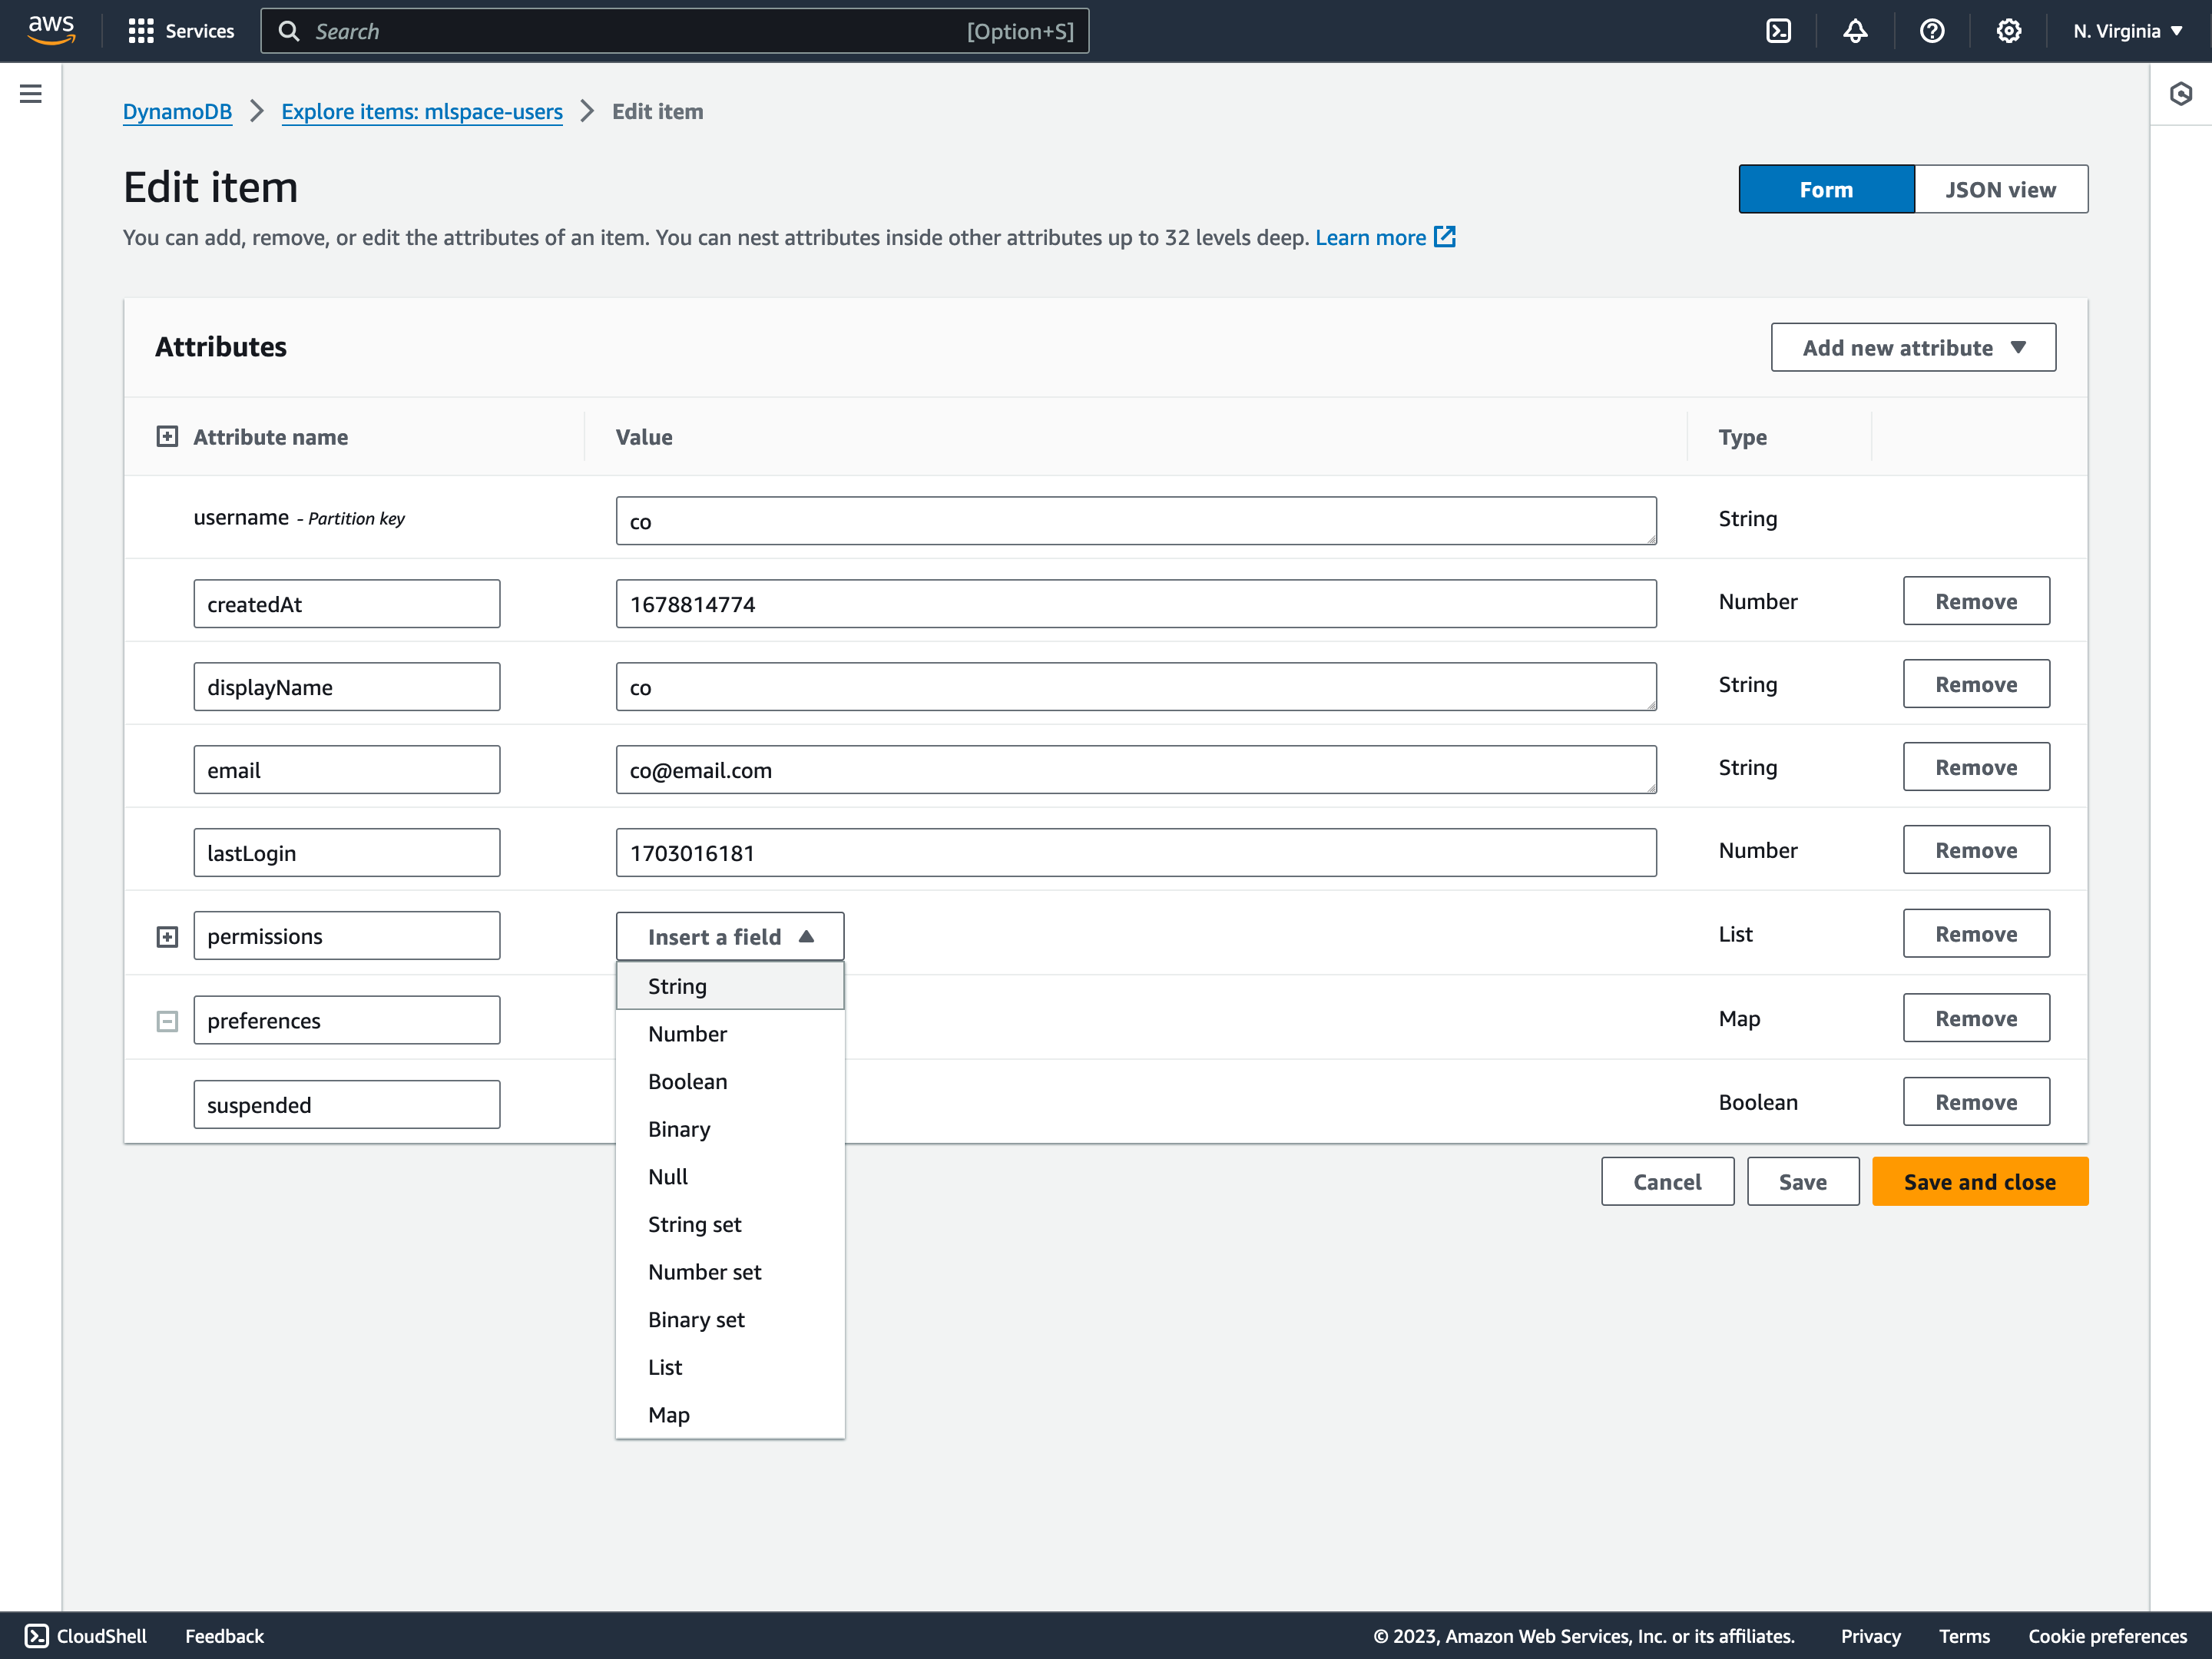
Next to the “permissions” attribute, select “Insert a field” to open the field type dropdown and select “String.”
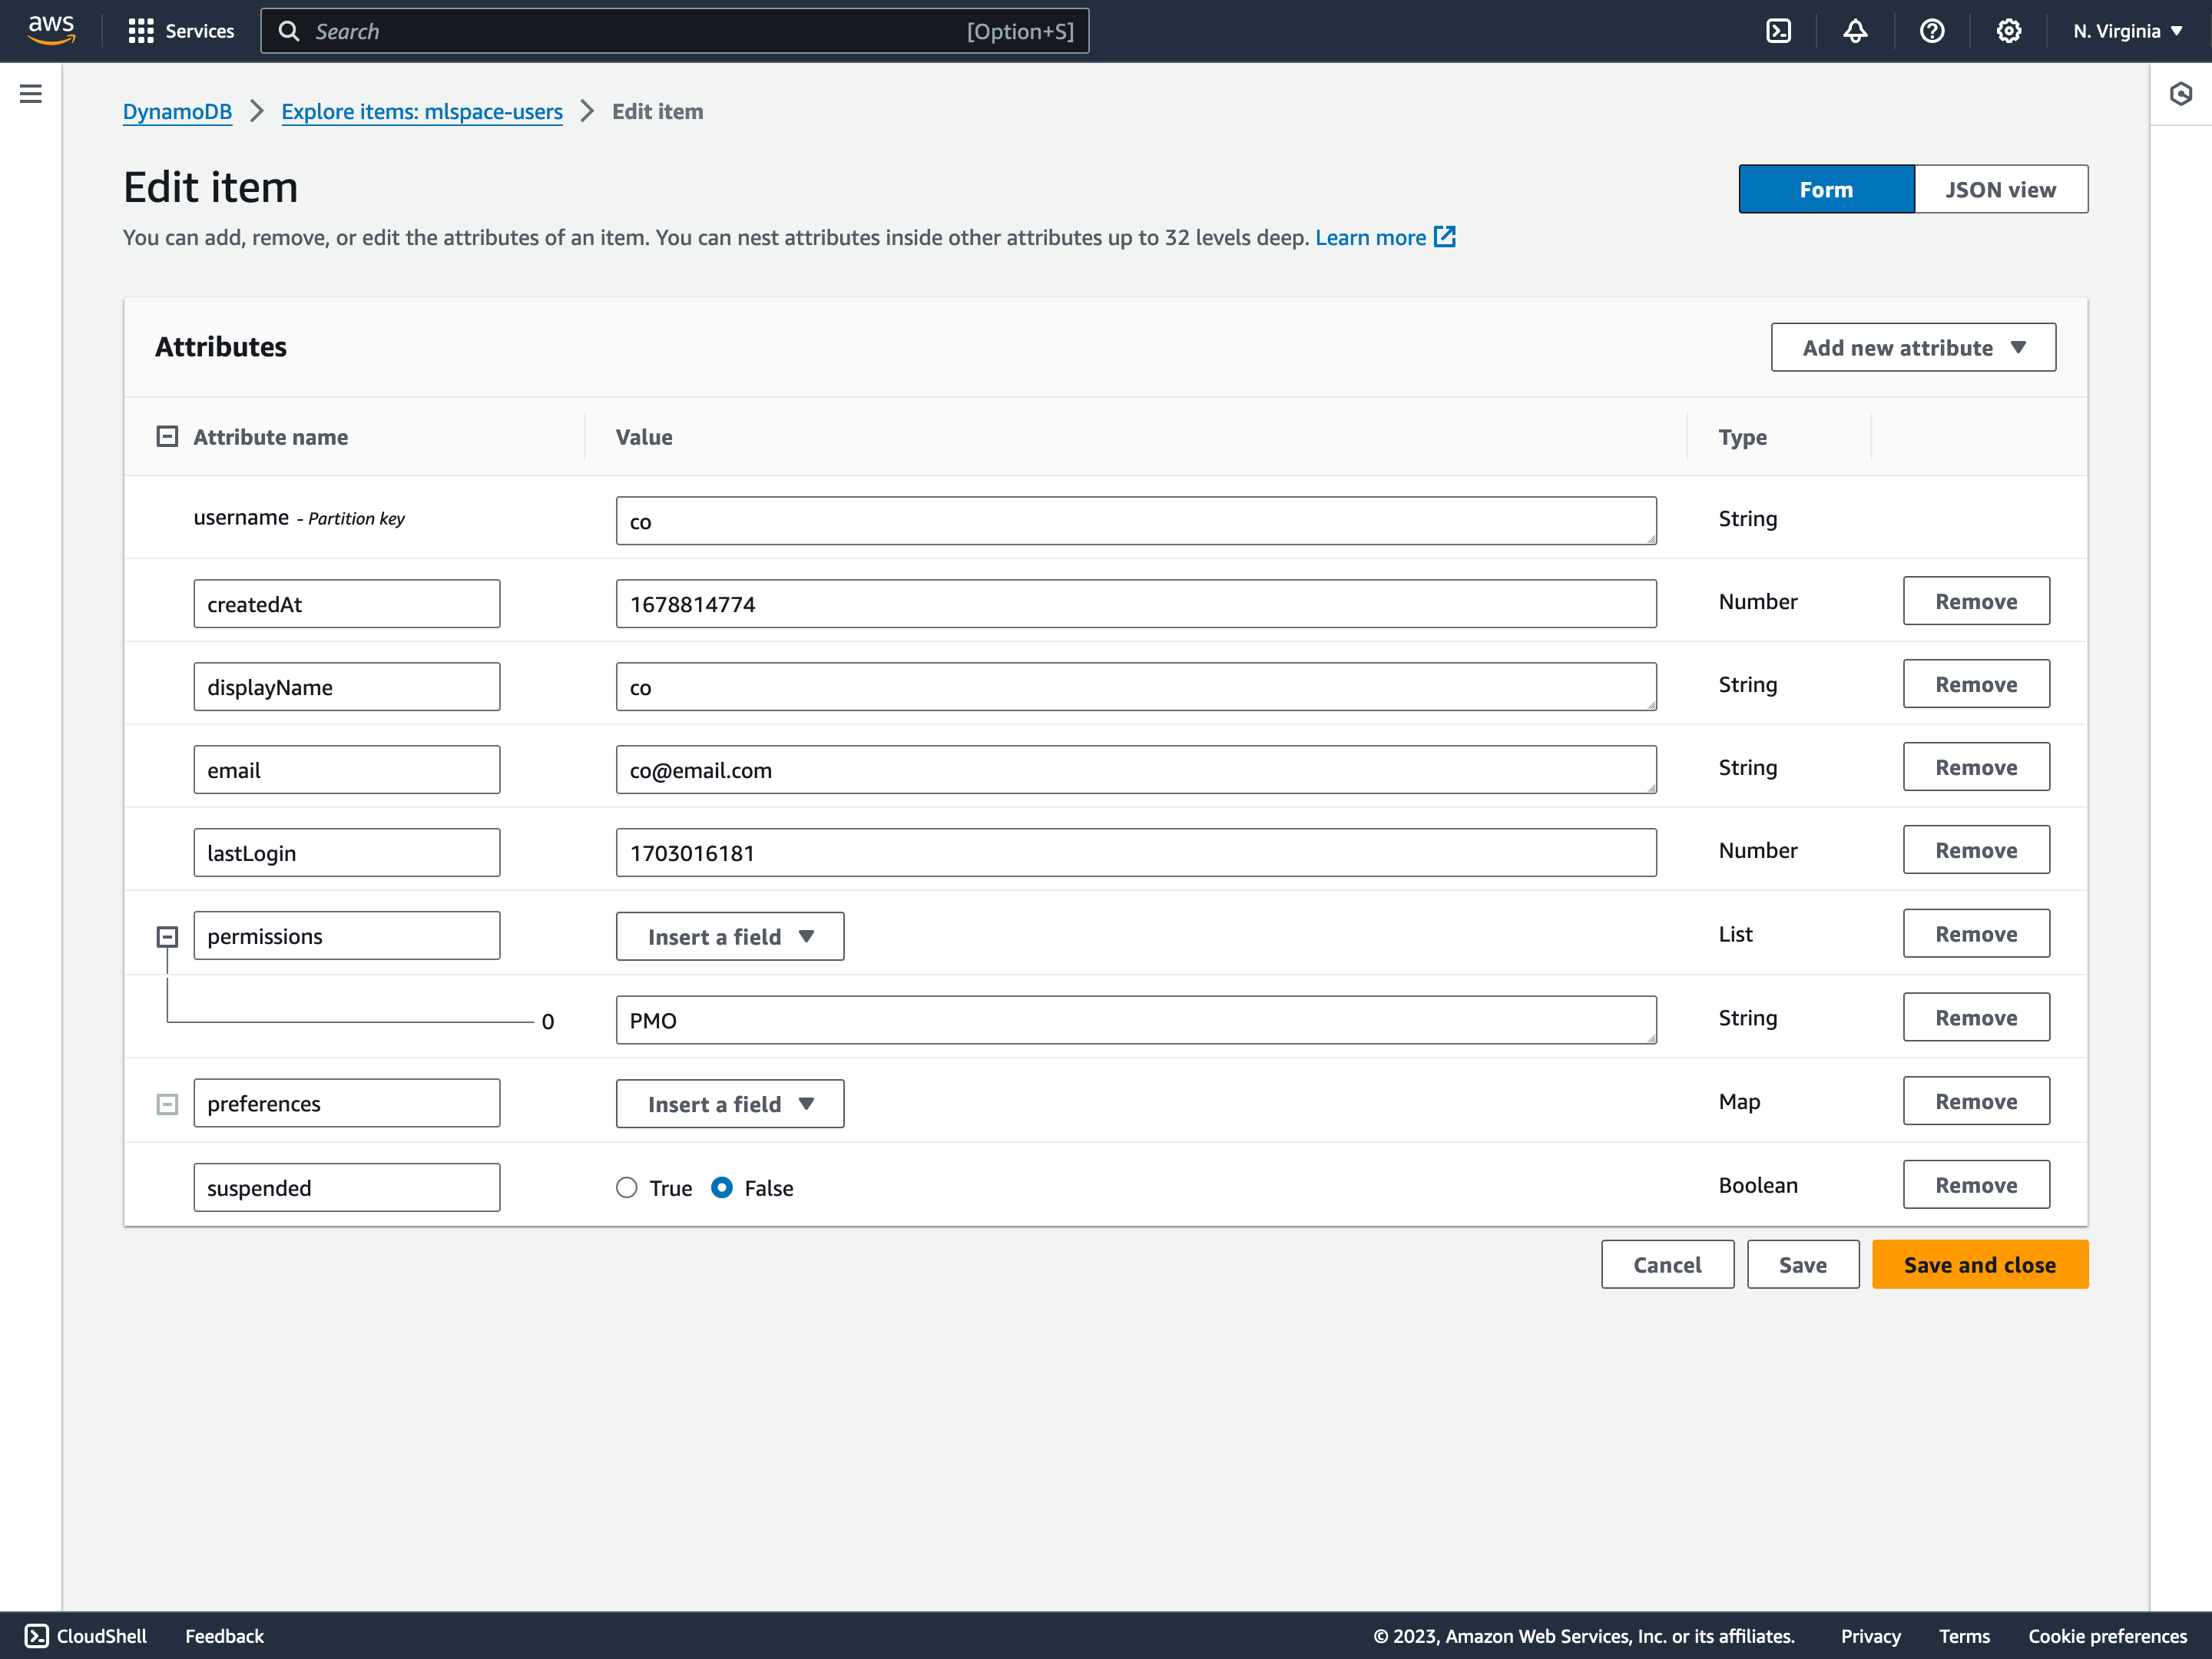
In the resulting text box, enter “PMO” and click “Save changes” in the bottom right.
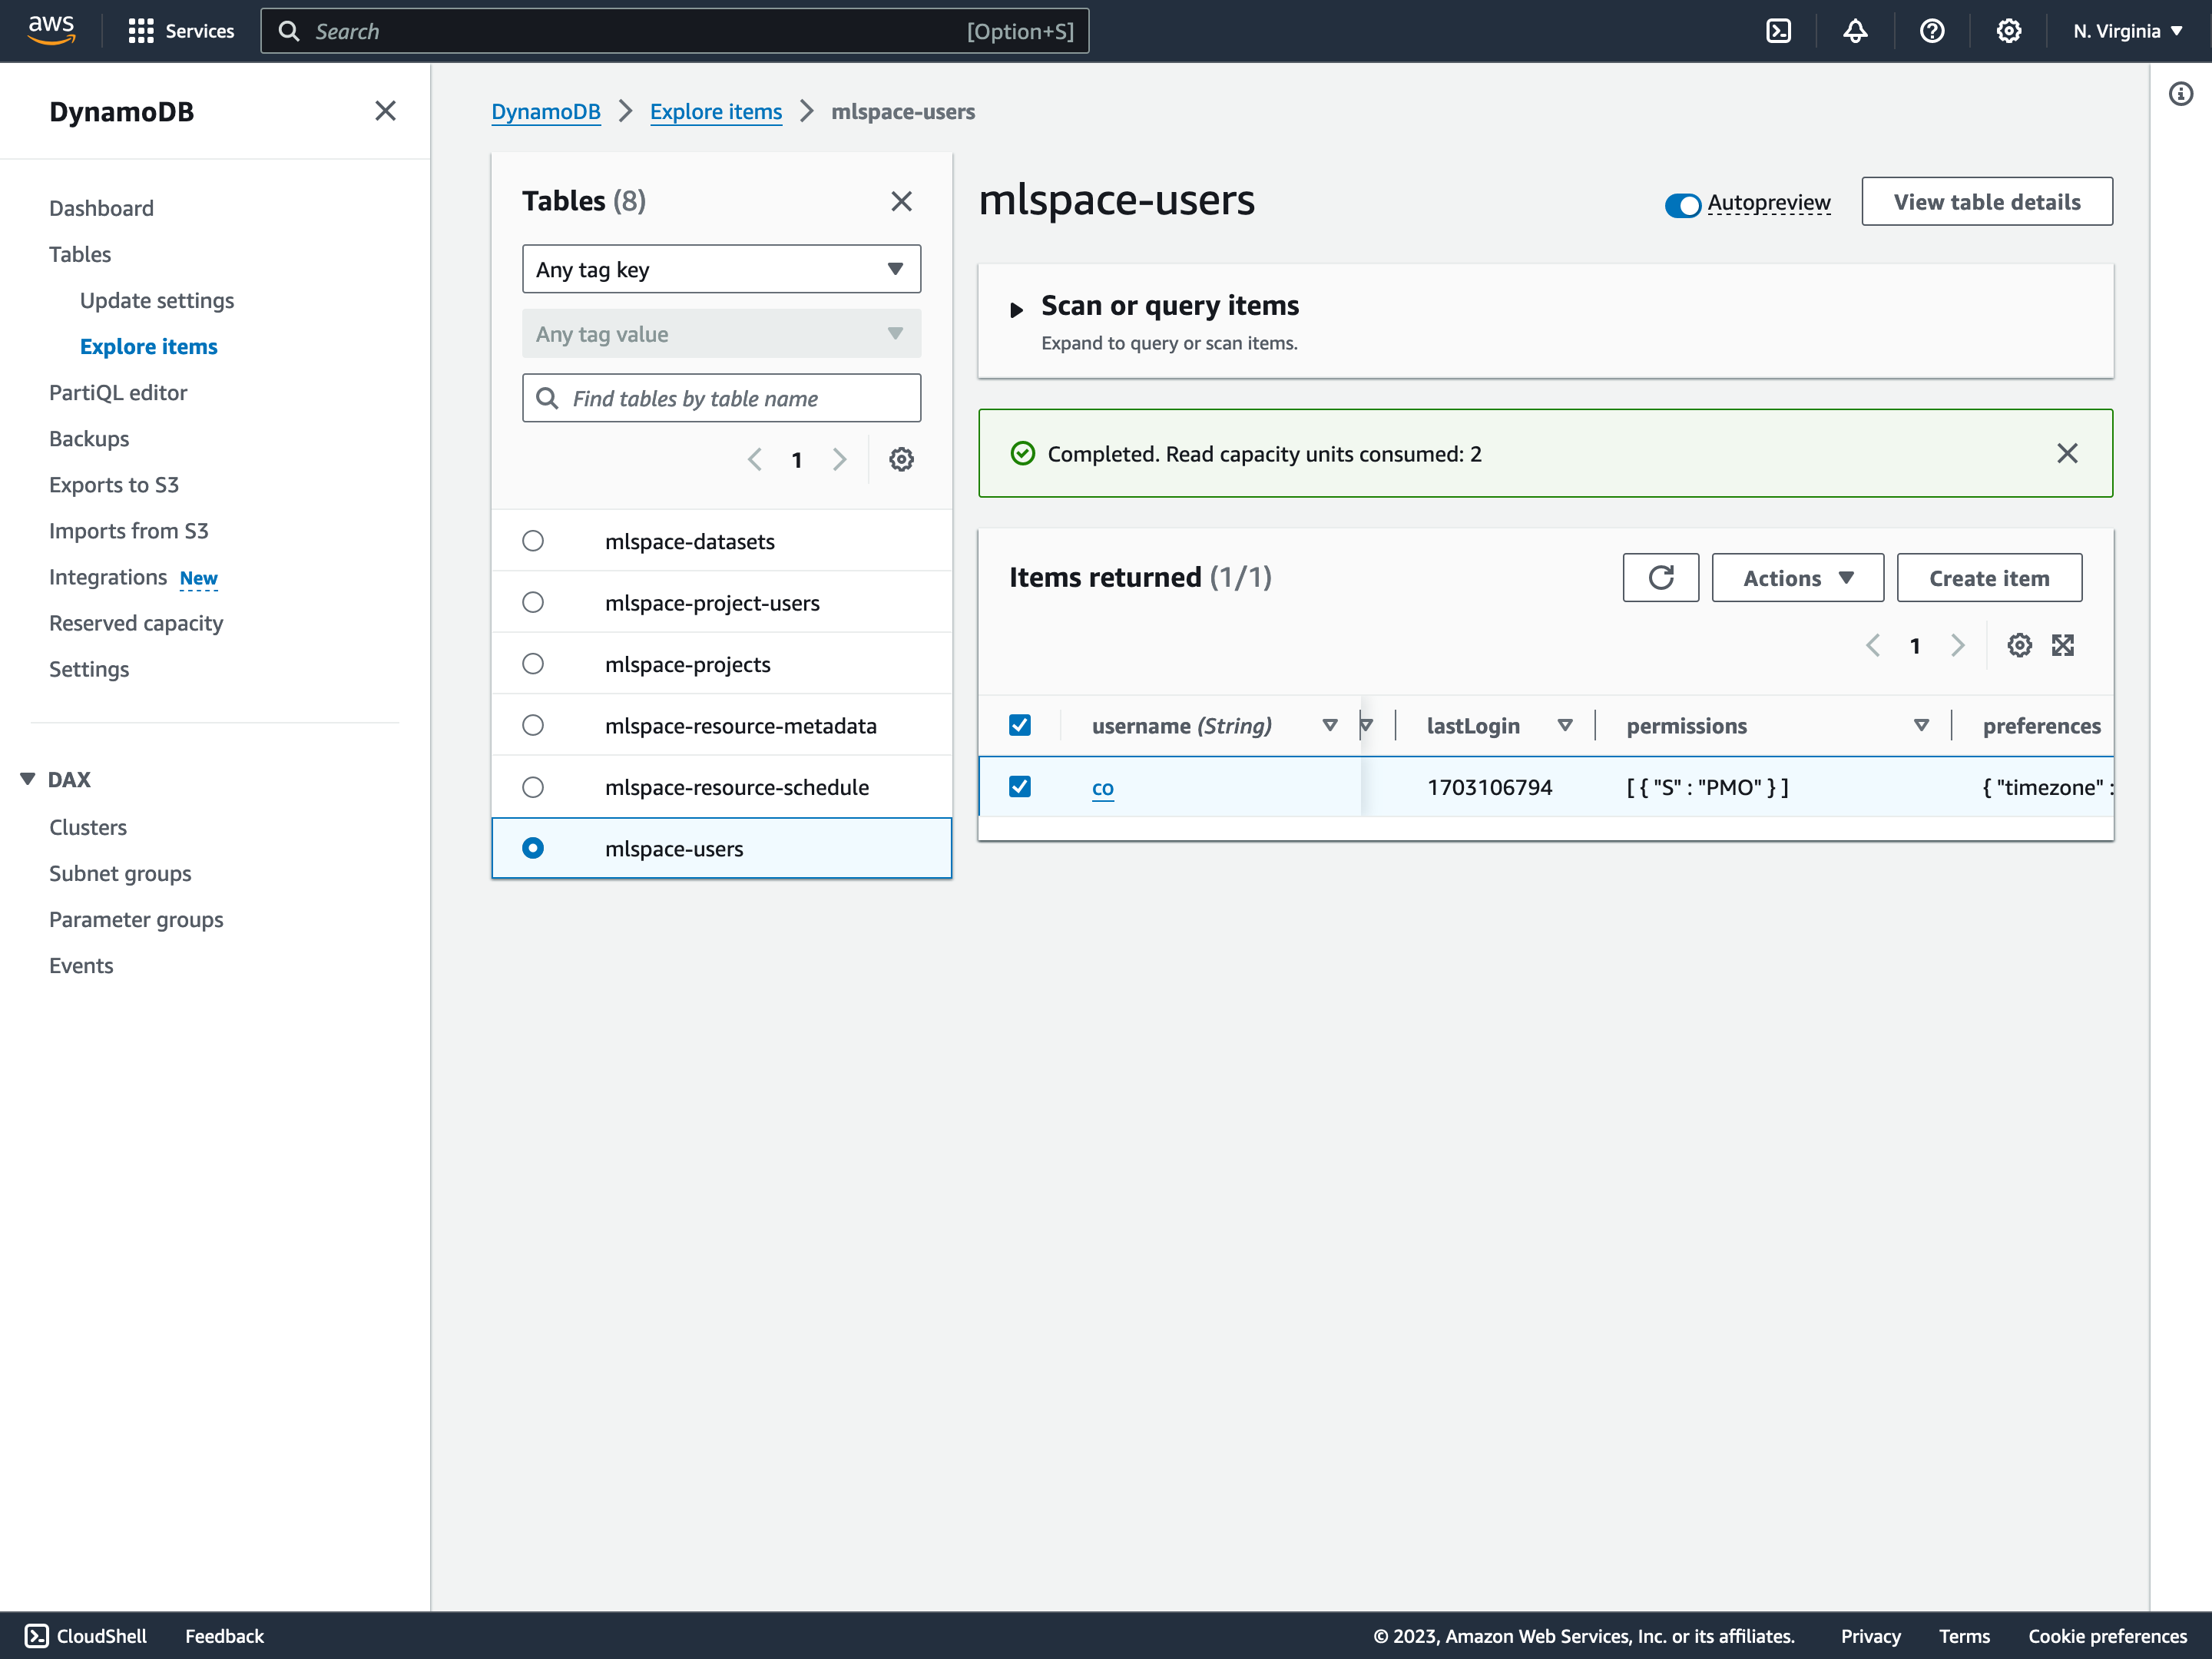
Verify the item has been correctly updated in the items view.
If necessary, you can use the same process to update a user's suspended status.