Configuring Service Workbench using Auth0
You can configure Service Workbench using Auth0 by first creating an application in Auth0. Next, configure SAML and download the SAML template. Finally, configure the Service Workbench environment.
Configuring Auth0
Auth0 is another IdP, which used for adding authentication and authorization to your applications. Service Workbench on AWS can be configured to authenticate users through Auth0 and SAML2. For more information about using Auth0, see Test SAML SSO with Auth0 as Service Provider and Identity Provider.
Prerequisites
You must have an existing account with Auth0.
Creating an application using Auth0
To create an application:
- Log in to your Auth0 account and navigate to the Applications page.
- If an application does not already exist, choose Create Application.
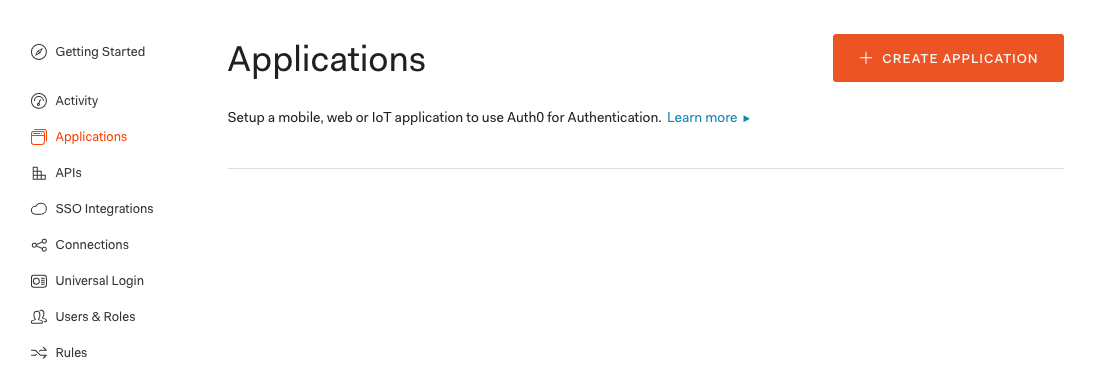
Figure 1: Applications webpage of Auth0.com
- Select the application type as Single Page Web Applications and choose Create.
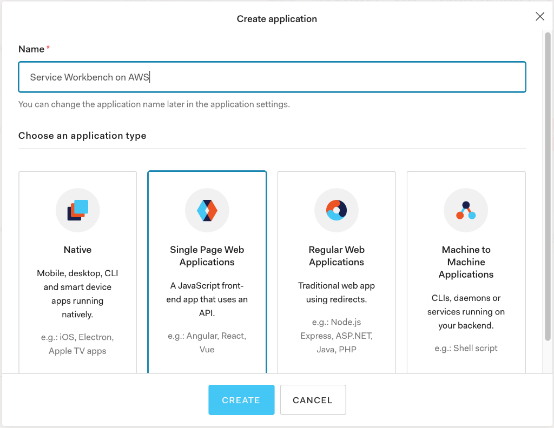
Figure 2: Application types
Configuring SAML2
SAML is an XML-based open standard for transferring identity data between two parties: an identity provider (IdP) and a service provider (SP). For more information about SAML authentication, see How does SAML Authentication Work?
To configure SAML2:
- Navigate to the Addons tab and enable SAML2 WEB APP.
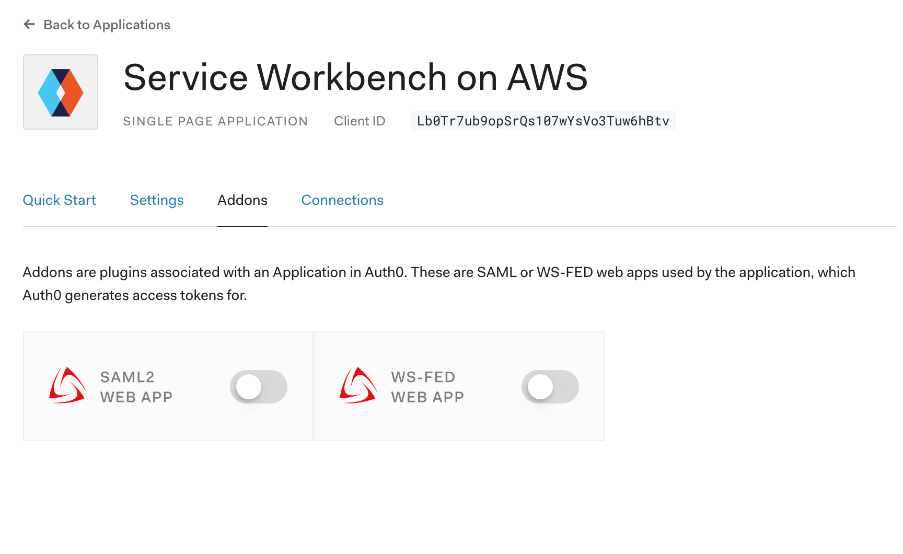
Figure 3: Addons tab for Single Page Web Applications
- In the Application Callback URL field, enter the following URL. Replace
STAGE_NAMEandSOLUTION_NAMEwith the values from the Service Workbench settings file andREGIONwith the appropriate region.
https://STAGE_NAME-SOLUTION_NAME.auth.REGION.amazoncognito.com/saml2/idpresponse
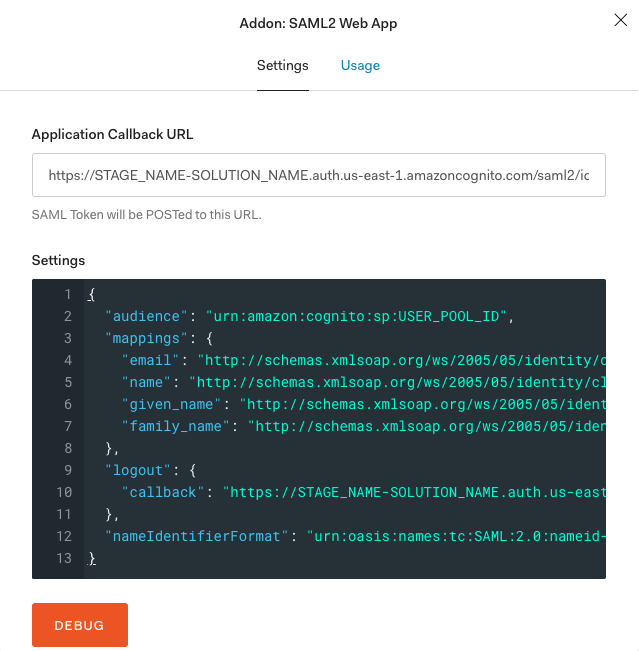
Figure 4: Application callback URL page and settings
Enter the JSON code into the settings block and replace
<USER_POOL_ID>with the Service Workbench Amazon Cognito user pool ID value found in the Amazon Cognito console.Enter same values for the
<STAGE_NAME>,<SOLUTION_NAME>, and<REGION>as in the previous step.After entering JSON with the appropriate values, scroll to the bottom and choose Save.
{
"audience": "urn:amazon:cognito:sp:USER_POOL_ID",
"Mappings": {
"Email": "http://schemas.xmlsoap.org/ws/2005/05/identity/claims/emailaddress",
"name": "http://schemas.xmlsoap.org/ws/2005/05/identity/claims/name",
"given_name": "http://schemas.xmlsoap.org/ws/2005/05/identity/claims/givenname",
"family_name": "http://schemas.xmlsoap.org/ws/2005/05/identity/claims/surname"
},
"logout": {
"callback": "https://STAGE_NAME-SOLUTION_NAME.auth.REGION.amazoncognito.com/saml2/logout"
},
"nameIdentifierFormat": "urn:oasis:names:tc:SAML:2.0:nameid-format:persistent"
}
For more information about IdP workflow, see Service Workbench and IdP workflow.
Downloading SAML2 template
To download SAML metadata:
- Choose SAML2 Web App again, and go to the Usage tab.
- Choose Download to download the SAML metadata XML file locally.
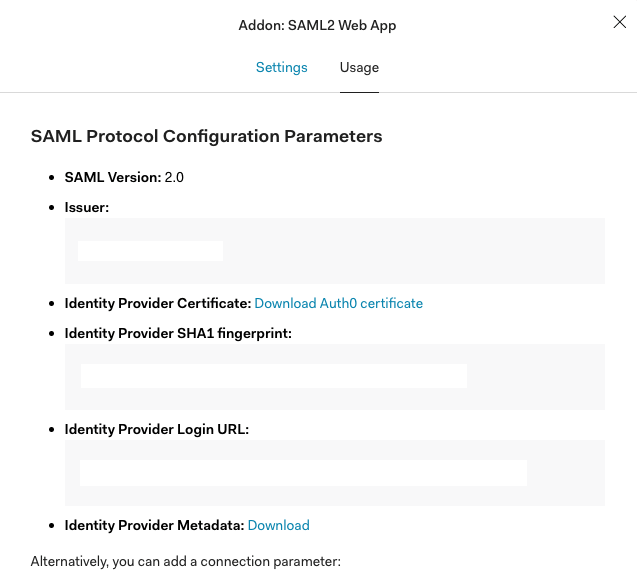
Figure 5: Usage tab of the SAML2 web application
- Rename and place the downloaded file in the repository at the following location:
main/solution/post-demployment/config/saml-metadata/auth0_com-metadata.xml
Configuring Service Workbench environment
Add the following items to the $STAGE.yml settings file for the environment (replace DOMAIN with your Auth0 domain).
fedIdpIds: '["Domain"]'
fedIdpNames: '["Auth0"]'
fedIdpDisplayNames: '["Auth0"]'
fedIdpMetadatas: '["s3://${self:custom.settings.deploymentBucketName}/saml-metadata/auth0_com-metadata.xml"]'
Finally, redeploy the system using the scripts/environment-deploy.sh STAGE_NAME command.
The reference documentation can be found here.