The AI on EKS content is being migrated to a new repository. 🔗 👉 Read the full migration announcement »
Deployment of ML models on EKS requires access to GPUs or Neuron instances. If your deployment isn't working, it’s often due to missing access to these resources. Also, some deployment patterns rely on Karpenter autoscaling and static node groups; if nodes aren't initializing, check the logs for Karpenter or Node groups to resolve the issue.
JupyterHub on EKS
JupyterHub s a powerful multi-user server that enables users to access and interact with Jupyter notebooks and other Jupyter-compatible environments. It provides a collaborative platform where multiple users can simultaneously access and utilize notebooks, fostering collaboration and sharing among users. JupyterHub allows users to create their own isolated computing environments (known as "spawners") and launch Jupyter notebooks or other interactive computing environments within those environments. This provides each user with their own workspace, including files, code, and computational resources.
JupyterHub on EKS
Deploying JupyterHub on Amazon Elastic Kubernetes Service (EKS) combines the versatility of JupyterHub with the scalability and flexibility of Kubernetes. This blueprint enables users to build a multi-tenant JupyterHub platform on EKS with the help of JupyterHub profiles. By leveraging EFS shared filesystems for each user, it facilitates easy sharing of notebooks and provides individual EFS storage so that user pods can securely store data, even if the user pod is deleted or expired. When users log in, they can access all their scripts and data under the existing EFS volume.
By leveraging the capabilities of EKS, you can seamlessly scale your JupyterHub environment to meet the needs of your users, ensuring efficient resource utilization and optimal performance. With EKS, you can take advantage of Kubernetes features such as automated scaling, high availability, and easy deployment of updates and upgrades. This enables you to provide a reliable and robust JupyterHub experience for your users, empowering them to collaborate, explore, and analyze data effectively.
To get started with JupyterHub on EKS, follow the instructions in this guide to set up and configure your JupyterHub environment.
Deploying the Solution
👈Verify the resources
👈Type1 deployment: Login to JupyterHub
Exposing JupyterHub with port-forward:
Execute the command below to make the JupyterHub service accessible for viewing the Web User Interface locally. It’s important to note that our current dummy deployment only establishes a Web UI service with a ClusterIP. Should you wish to customize this to an internal or internet-facing load balancer, you can make the necessary adjustments in the JupyterHub Helm chart values file.
kubectl port-forward svc/proxy-public 8080:80 -n jupyterhub
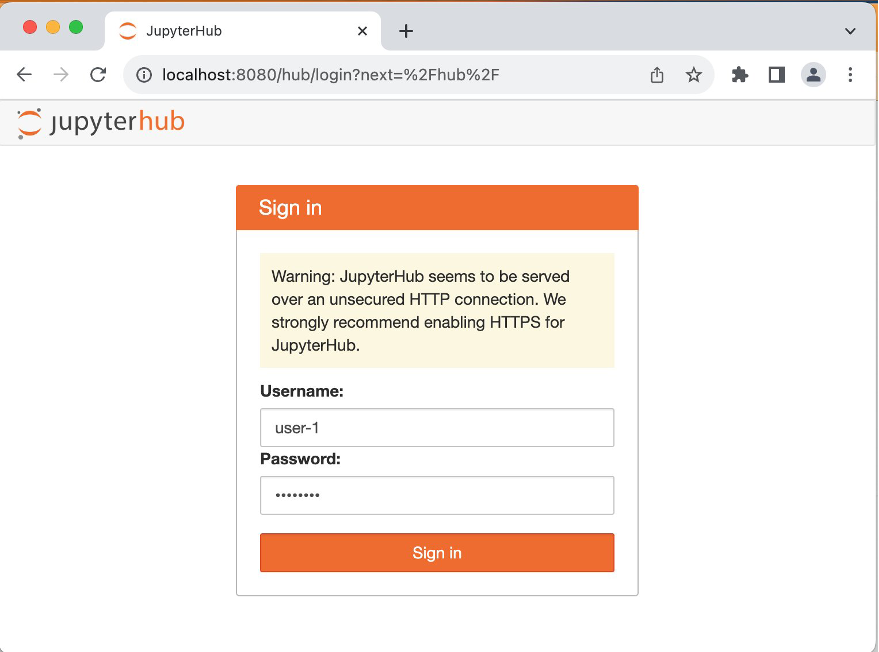
Sign-in: Navigate to http://localhost:8080/ in your web browser. Input user-1 as the username and choose any password.
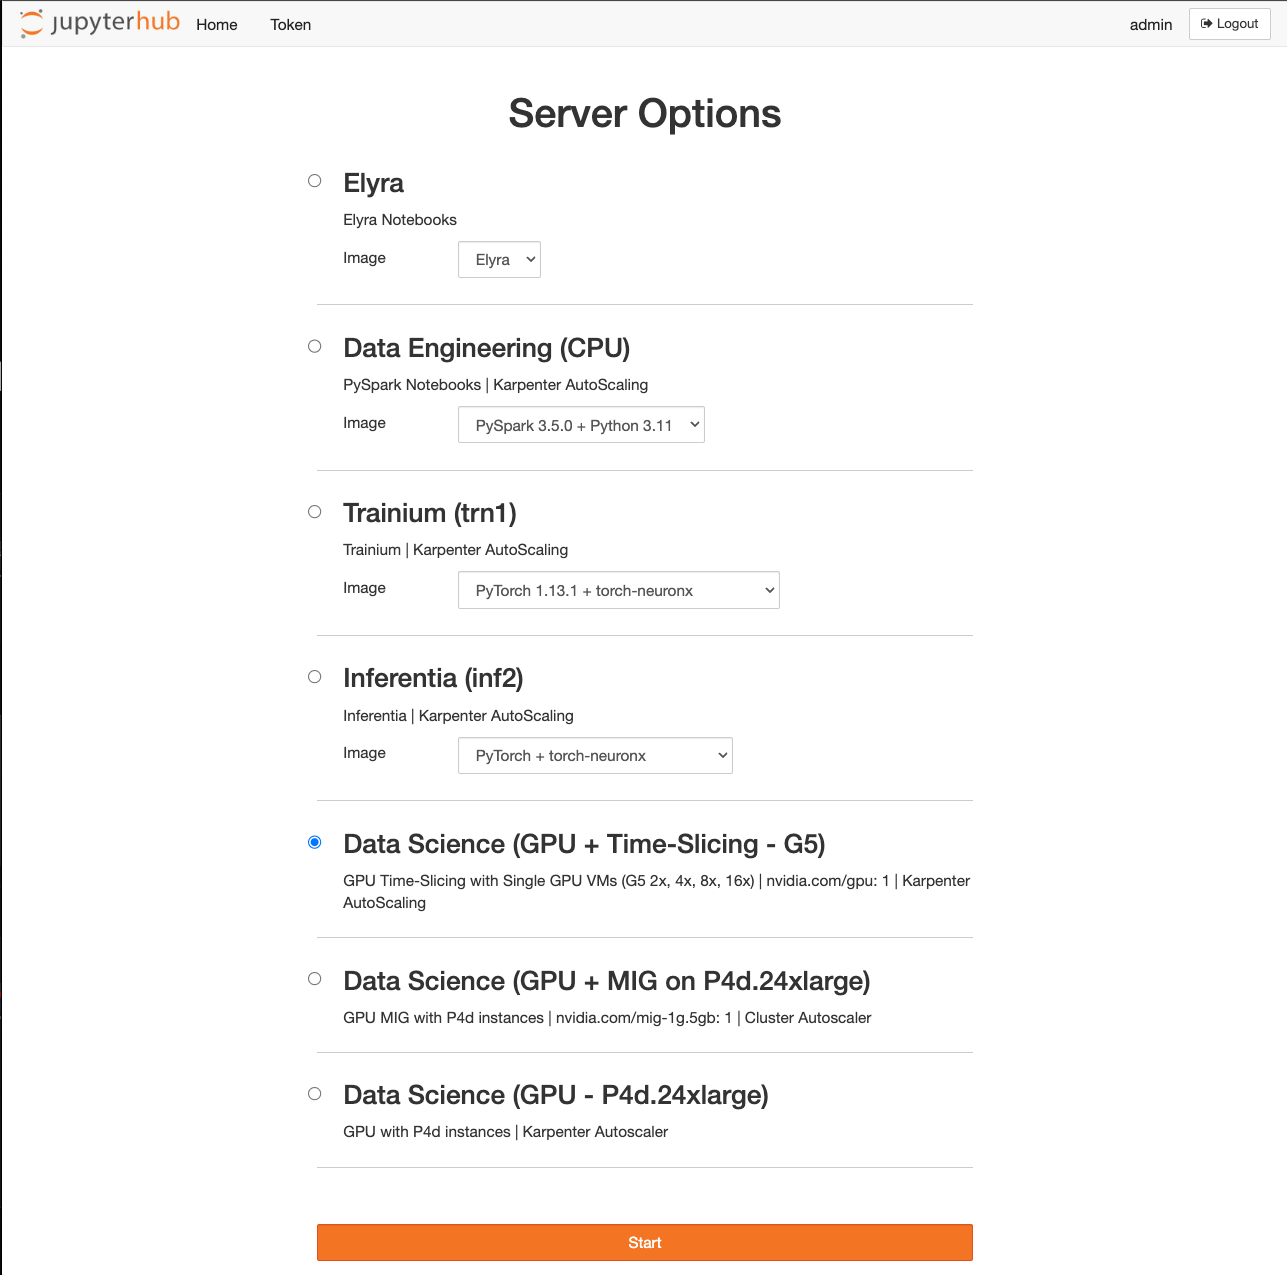
Select server options: Upon sign-in, you’ll be presented with a variety of Notebook instance profiles to choose from. The Data Engineering (CPU) server is for traditional, CPU based notebook work. The Elyra server provides Elyra functionality, allowing you to quickly develop pipelines: 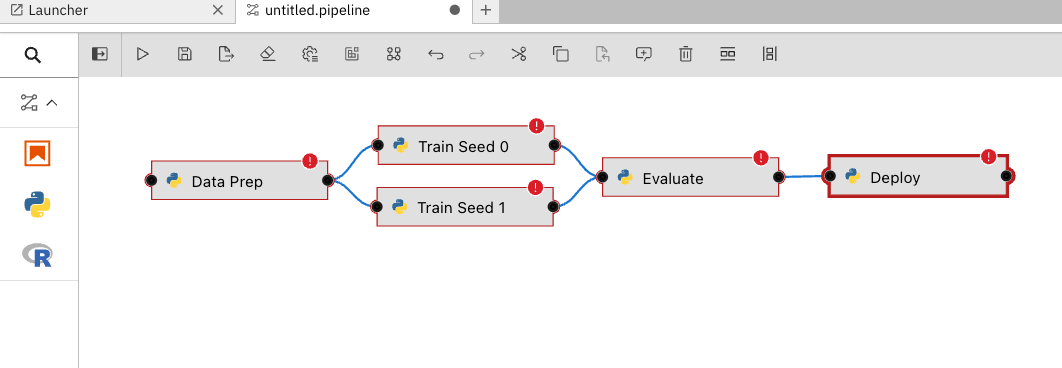 .
. Trainium and Inferentia servers will deploy the notebook server onto Trainium and Inferentia nodes, allowing accelerated workloads. Time Slicing and MIG are two different strategies for GPU sharing. Finally, the Data Science (GPU) server is a traditional server running on an NVIDIA GPU.
For this time-slicing feature demonstration, we’ll be using the Data Science (GPU + Time-Slicing – G5) profile. Go ahead and select this option and choose the Start button.
The new node created by Karpenter with the g5.2xlarge instance type has been configured to leverage the timeslicing feature provided by the NVIDIA device plugin. This feature allows for efficient GPU utilization by dividing a single GPU into multiple allocatable units. In this case, we have defined 4 allocatable GPUs in the NVIDIA device plugin Helm chart config map. Below is the status of the node:
GPUs: The node is configured with 4 GPUs through the NVIDIA device plugin's timeslicing feature. This allows the node to allocate GPU resources more flexibly to different workloads.
status:
  capacity:
    cpu: '8'                           # The node has 8 CPUs available
    ephemeral-storage: 439107072Ki     # The node has a total ephemeral storage capacity of 439107072 KiB
    hugepages-1Gi: '0'                 # The node has 0 1Gi hugepages
    hugepages-2Mi: '0'                 # The node has 0 2Mi hugepages
    memory: 32499160Ki                 # The node has a total memory capacity of 32499160 KiB
    nvidia.com/gpu: '4'                # The node has a total of 4 GPUs, configured through timeslicing
    pods: '58'                         # The node can accommodate up to 58 pods
  allocatable:
    cpu: 7910m                         # 7910 millicores of CPU are allocatable
    ephemeral-storage: '403607335062'  # 403607335062 KiB of ephemeral storage is allocatable
    hugepages-1Gi: '0'                 # 0 1Gi hugepages are allocatable
    hugepages-2Mi: '0'                 # 0 2Mi hugepages are allocatable
    memory: 31482328Ki                 # 31482328 KiB of memory is allocatable
    nvidia.com/gpu: '4'                # 4 GPUs are allocatable
    pods: '58'                         # 58 pods are allocatable
Setting up second user (user-2) environment:
To demonstrate GPU time-slicing in action, we’ll provision another Jupyter Notebook instance. This time, we’ll validate that the second user’s pod is scheduled on the same node as the first user’s, taking advantage of the GPU time-slicing configuration we set up earlier. Follow the steps below to achieve this:
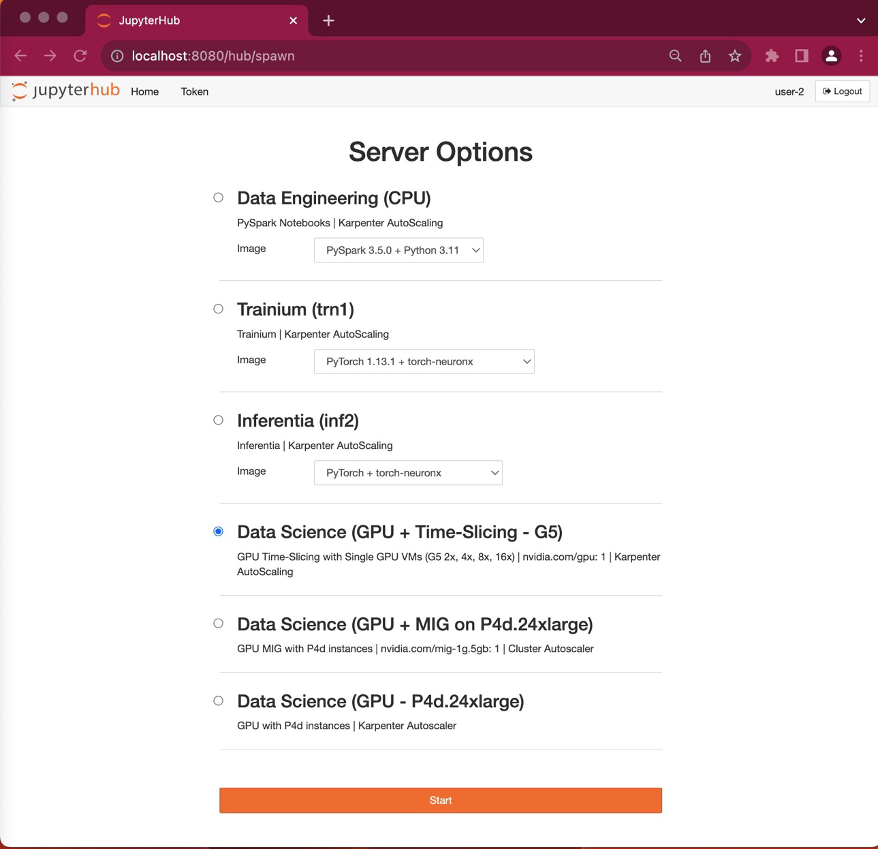
Open JupyterHub in an Incognito browser window: Navigate to http://localhost:8080/ in the new incognito window in web browser. Input user-2 as the username and choose any password.
Choose server options: After logging in, you’ll see the server options page. Ensure that you select the Data Science (GPU + Time-Slicing – G5) radio button and select Start.
Verify pod placement: Notice that this pod placement takes only few seconds unlike the user-1. It’s because the Kubernetes scheduler is able to place the pod on the existing g5.2xlarge node created by the user-1 pod. user-2 is also using the same docker image so there is no delay in pulling the docker image and it leveraged local cache.
Open a terminal and execute the following command to check where the new Jupyter Notebook pod has been scheduled:
kubectl get pods -n jupyterhub -owide | grep -i user
Observe that both the user-1 and user-2 pods are running on the same node. This confirms that our GPU time-slicing configuration is functioning as expected.
Checkout the AWS blog: Building multi-tenant JupyterHub Platforms on Amazon EKS for more details
Type2 deployment(Optional): Login into JupyterHub via Amazon Cognito
Add the CNAME DNS record in ChangeIP for the JupyterHub domain with the load balancer DNS name.
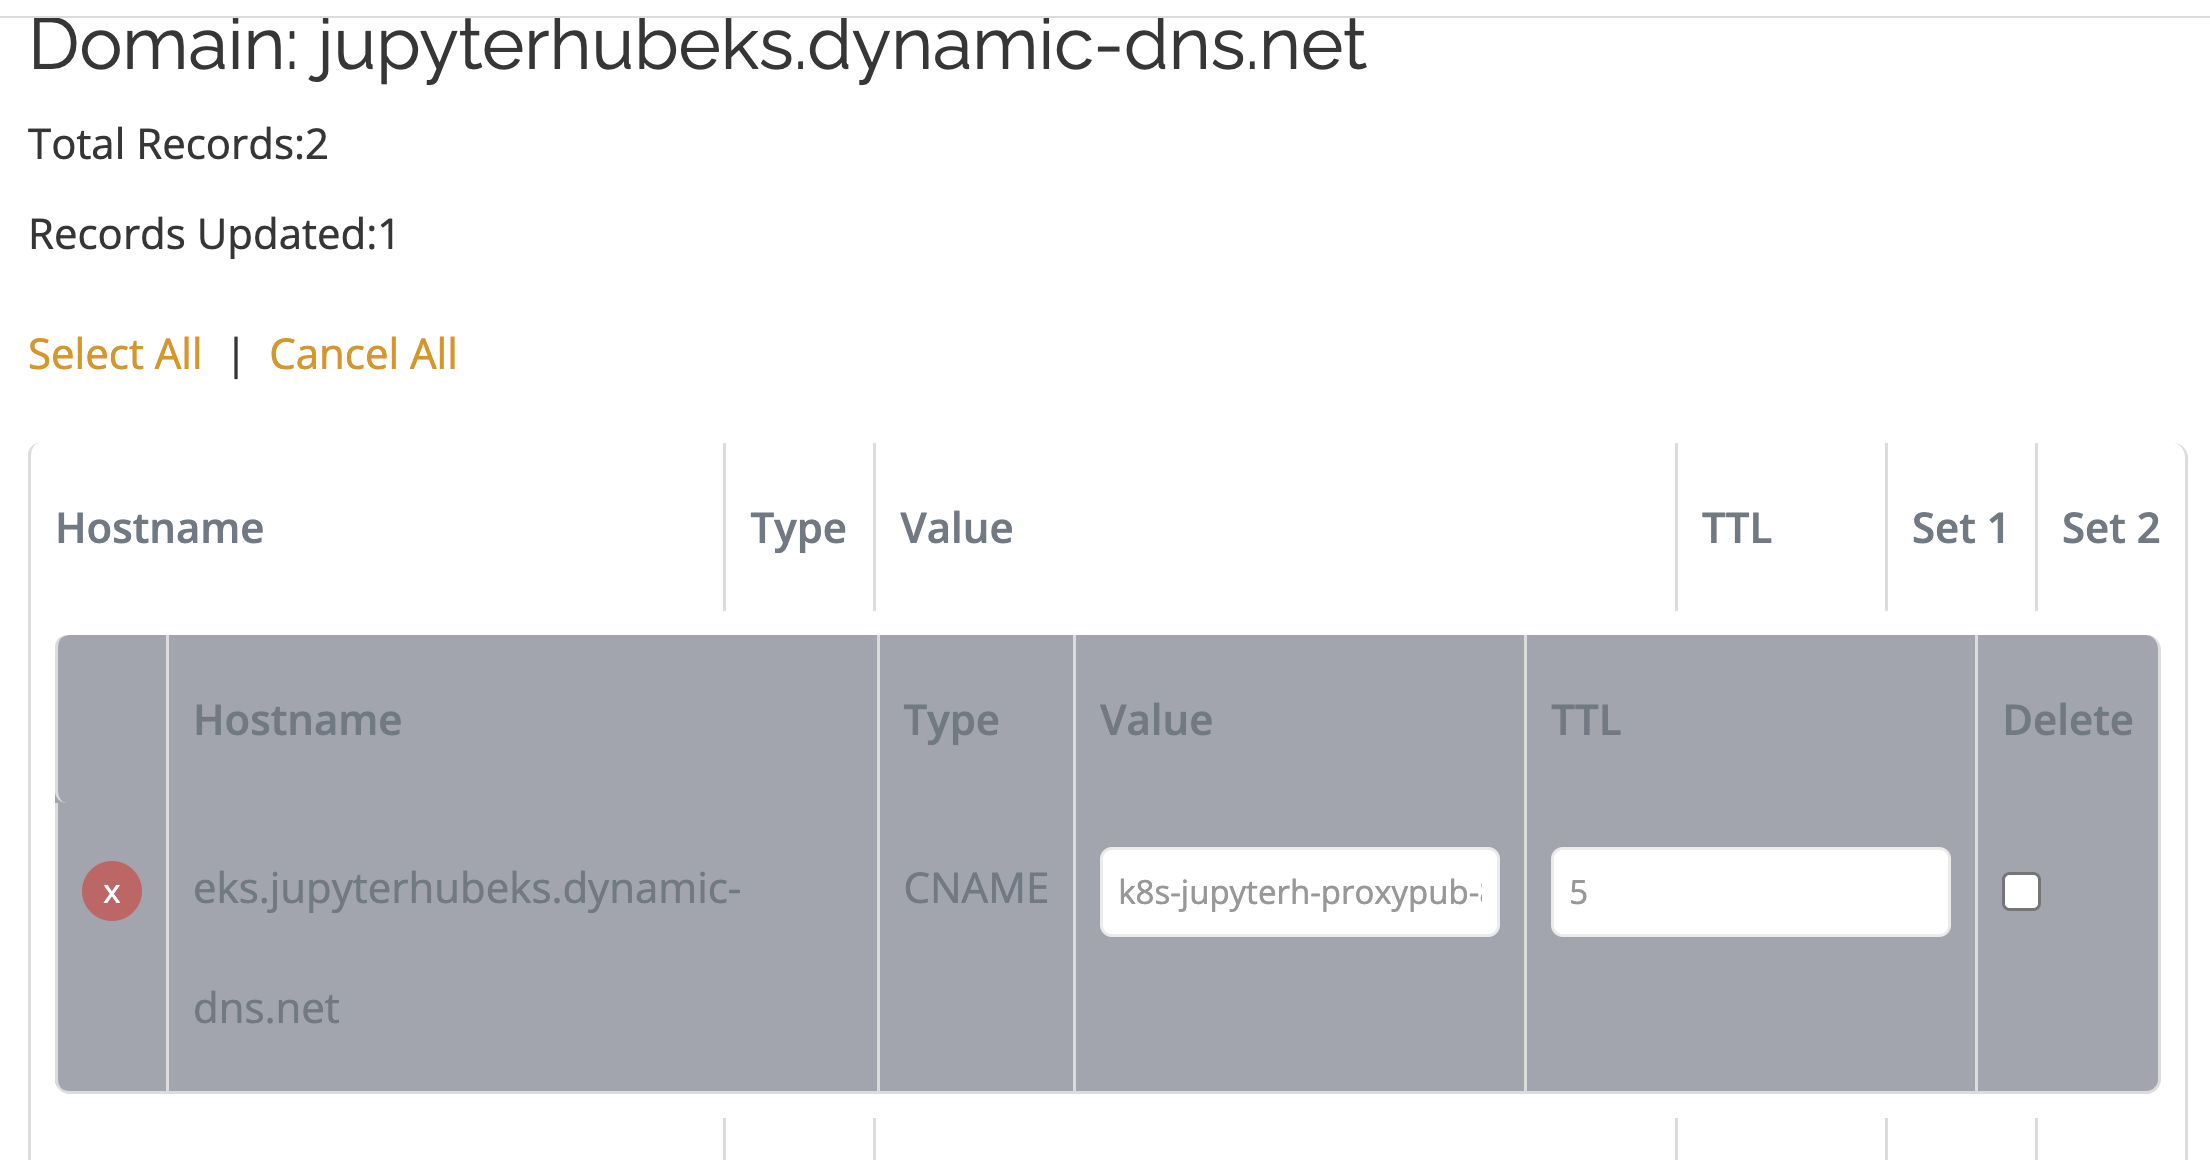
When adding the load balancer DNS name in the value field of CNAME in ChangeIP make sure to add a dot(.) at the end of the load-balancer DNS name.
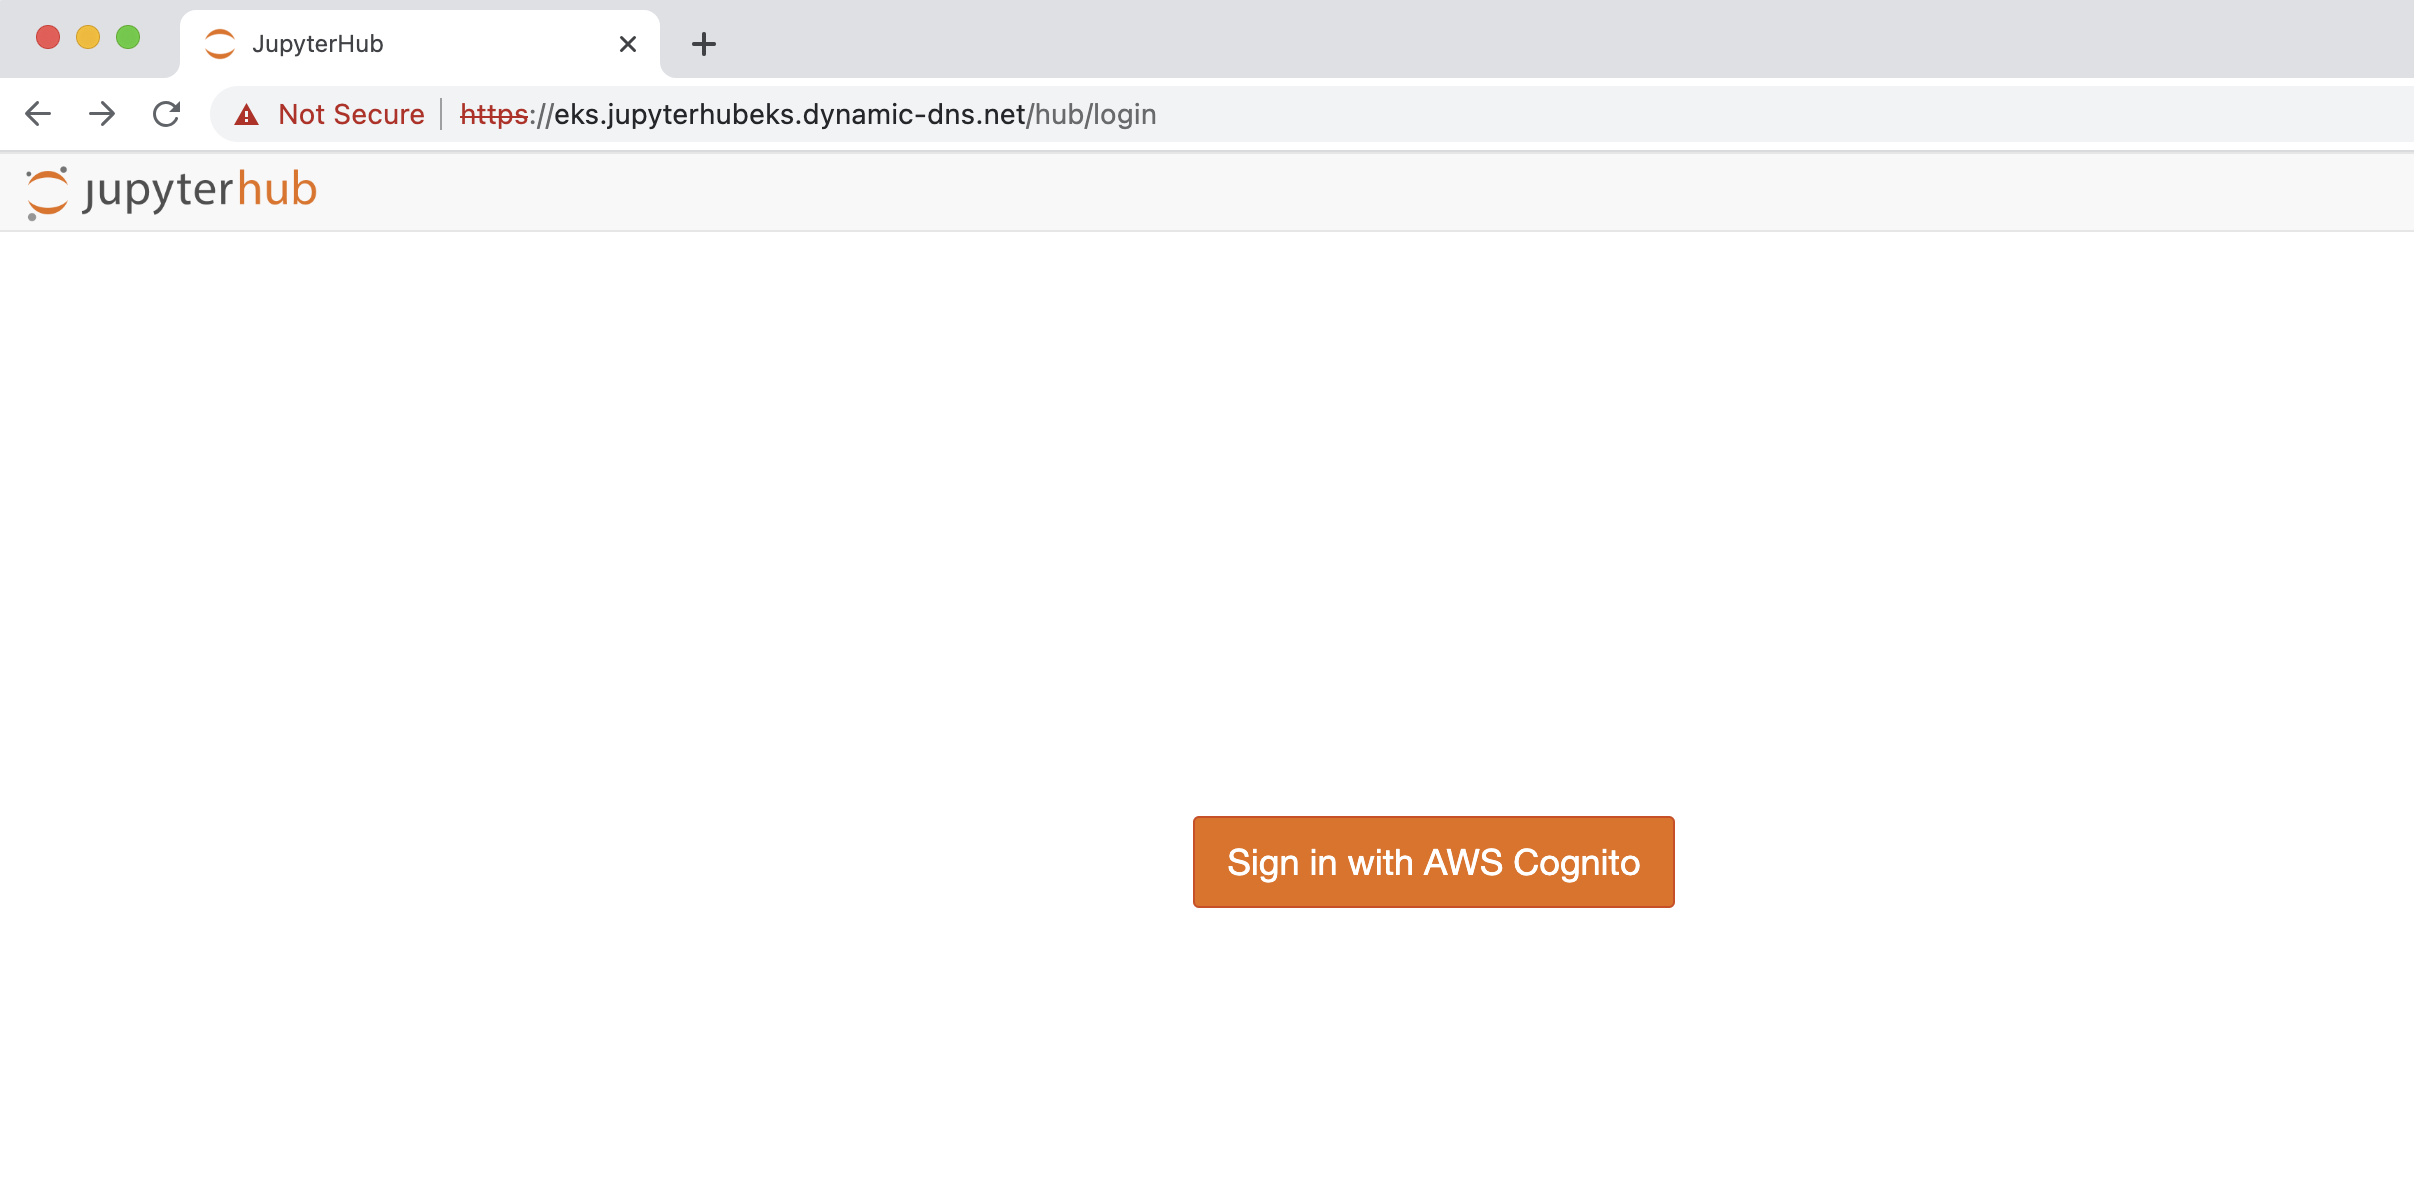
Now typing the domain url in the browser should redirect to the Jupyterhub login page.
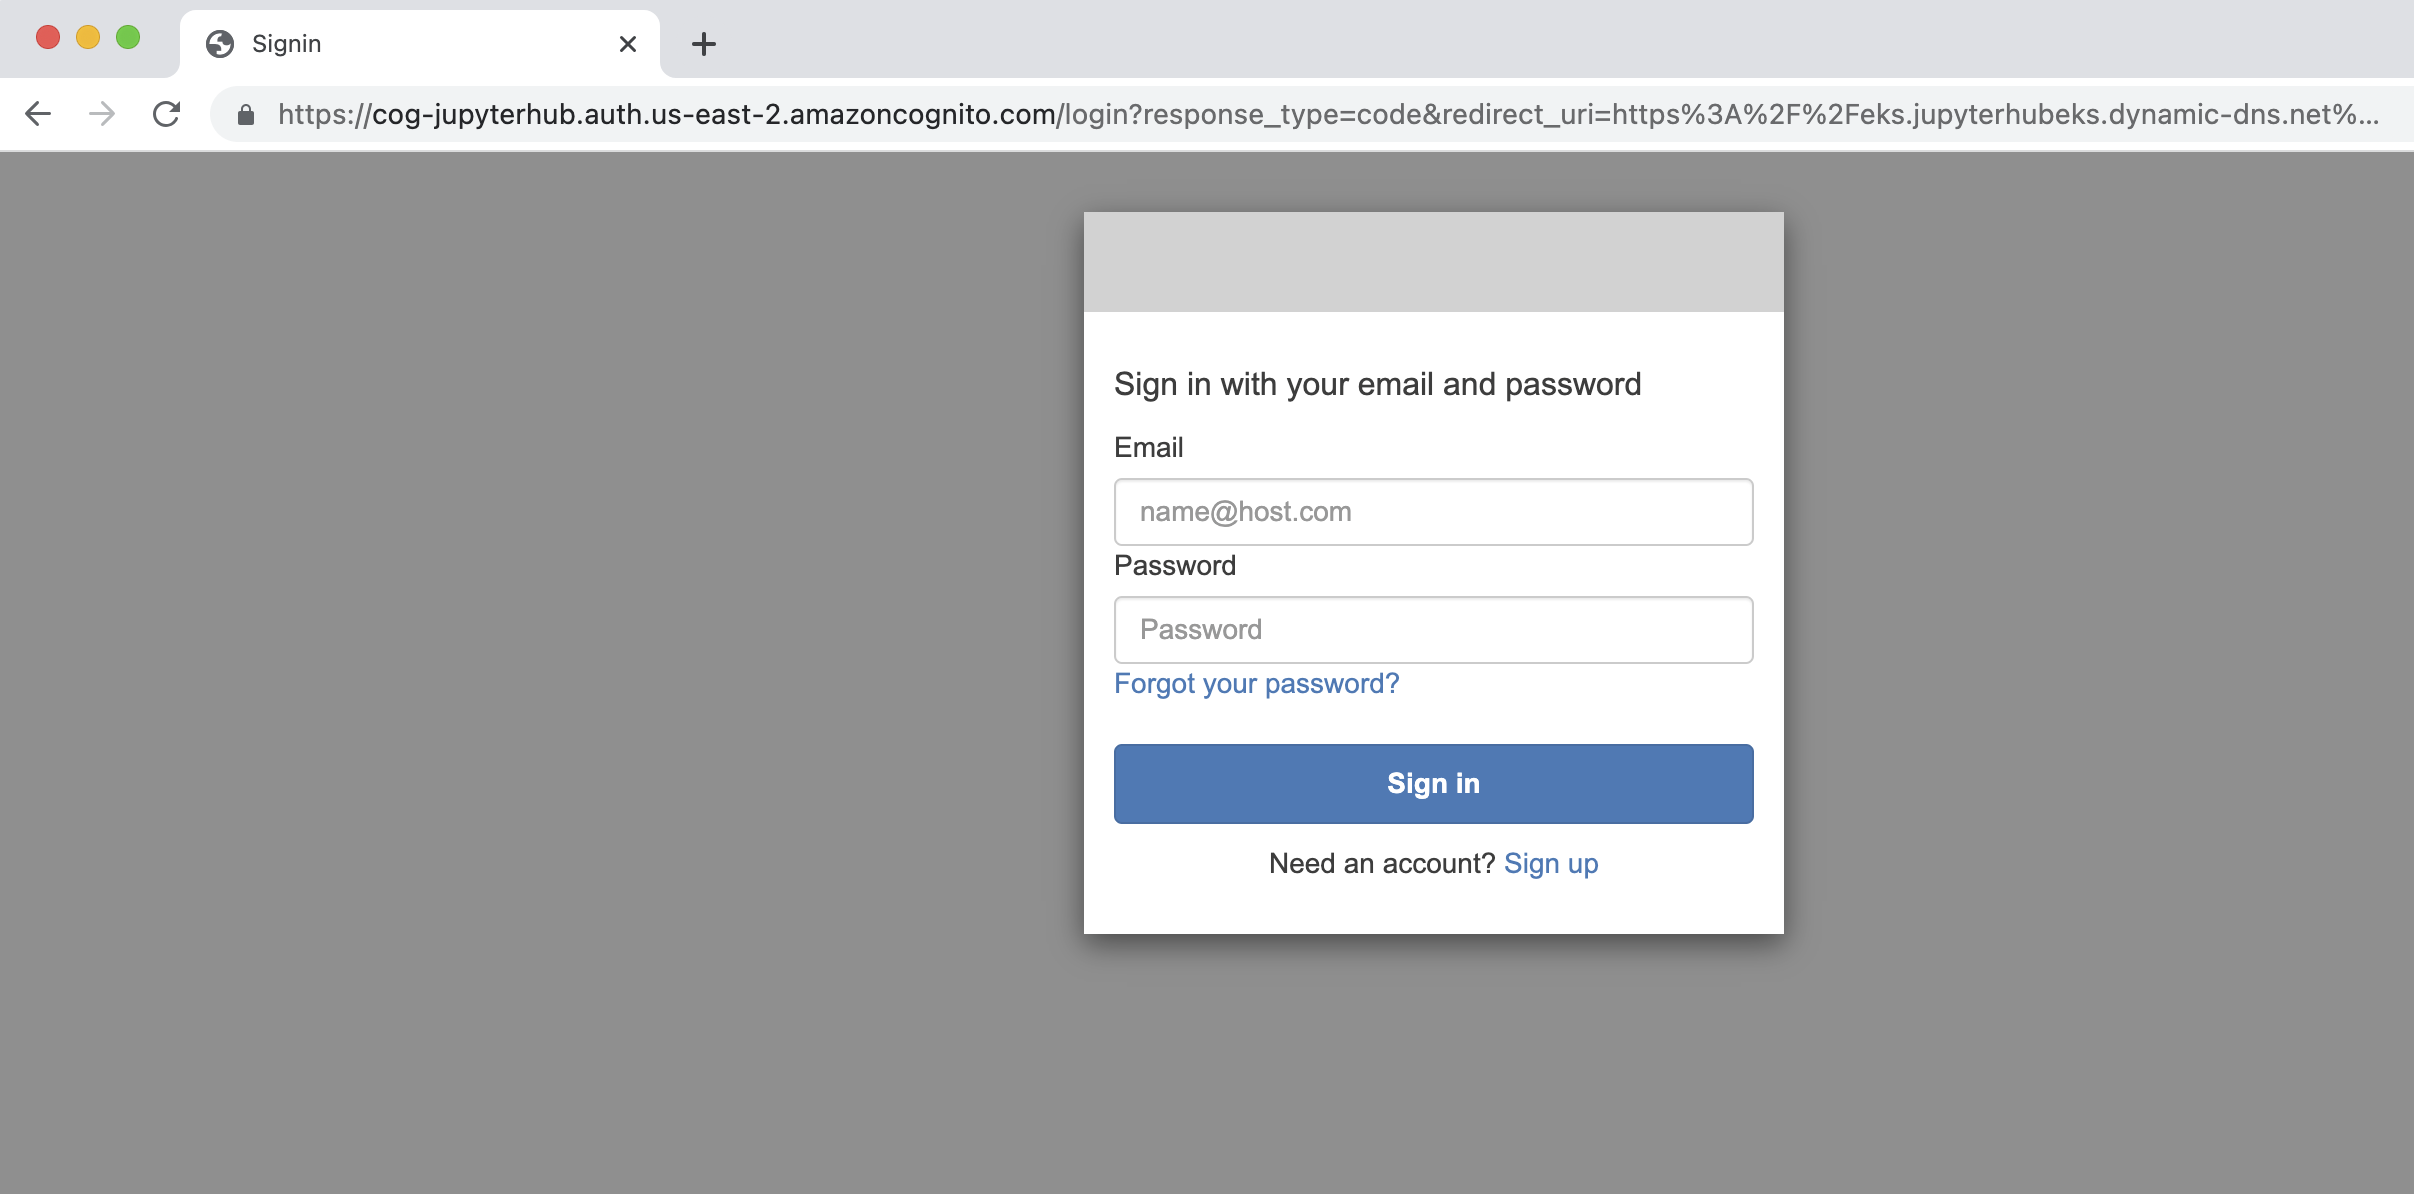
Follow the Cognito sign-up and sign-in process to login.
Successful sign-in will open up the JupyterHub environment for the logged in user.
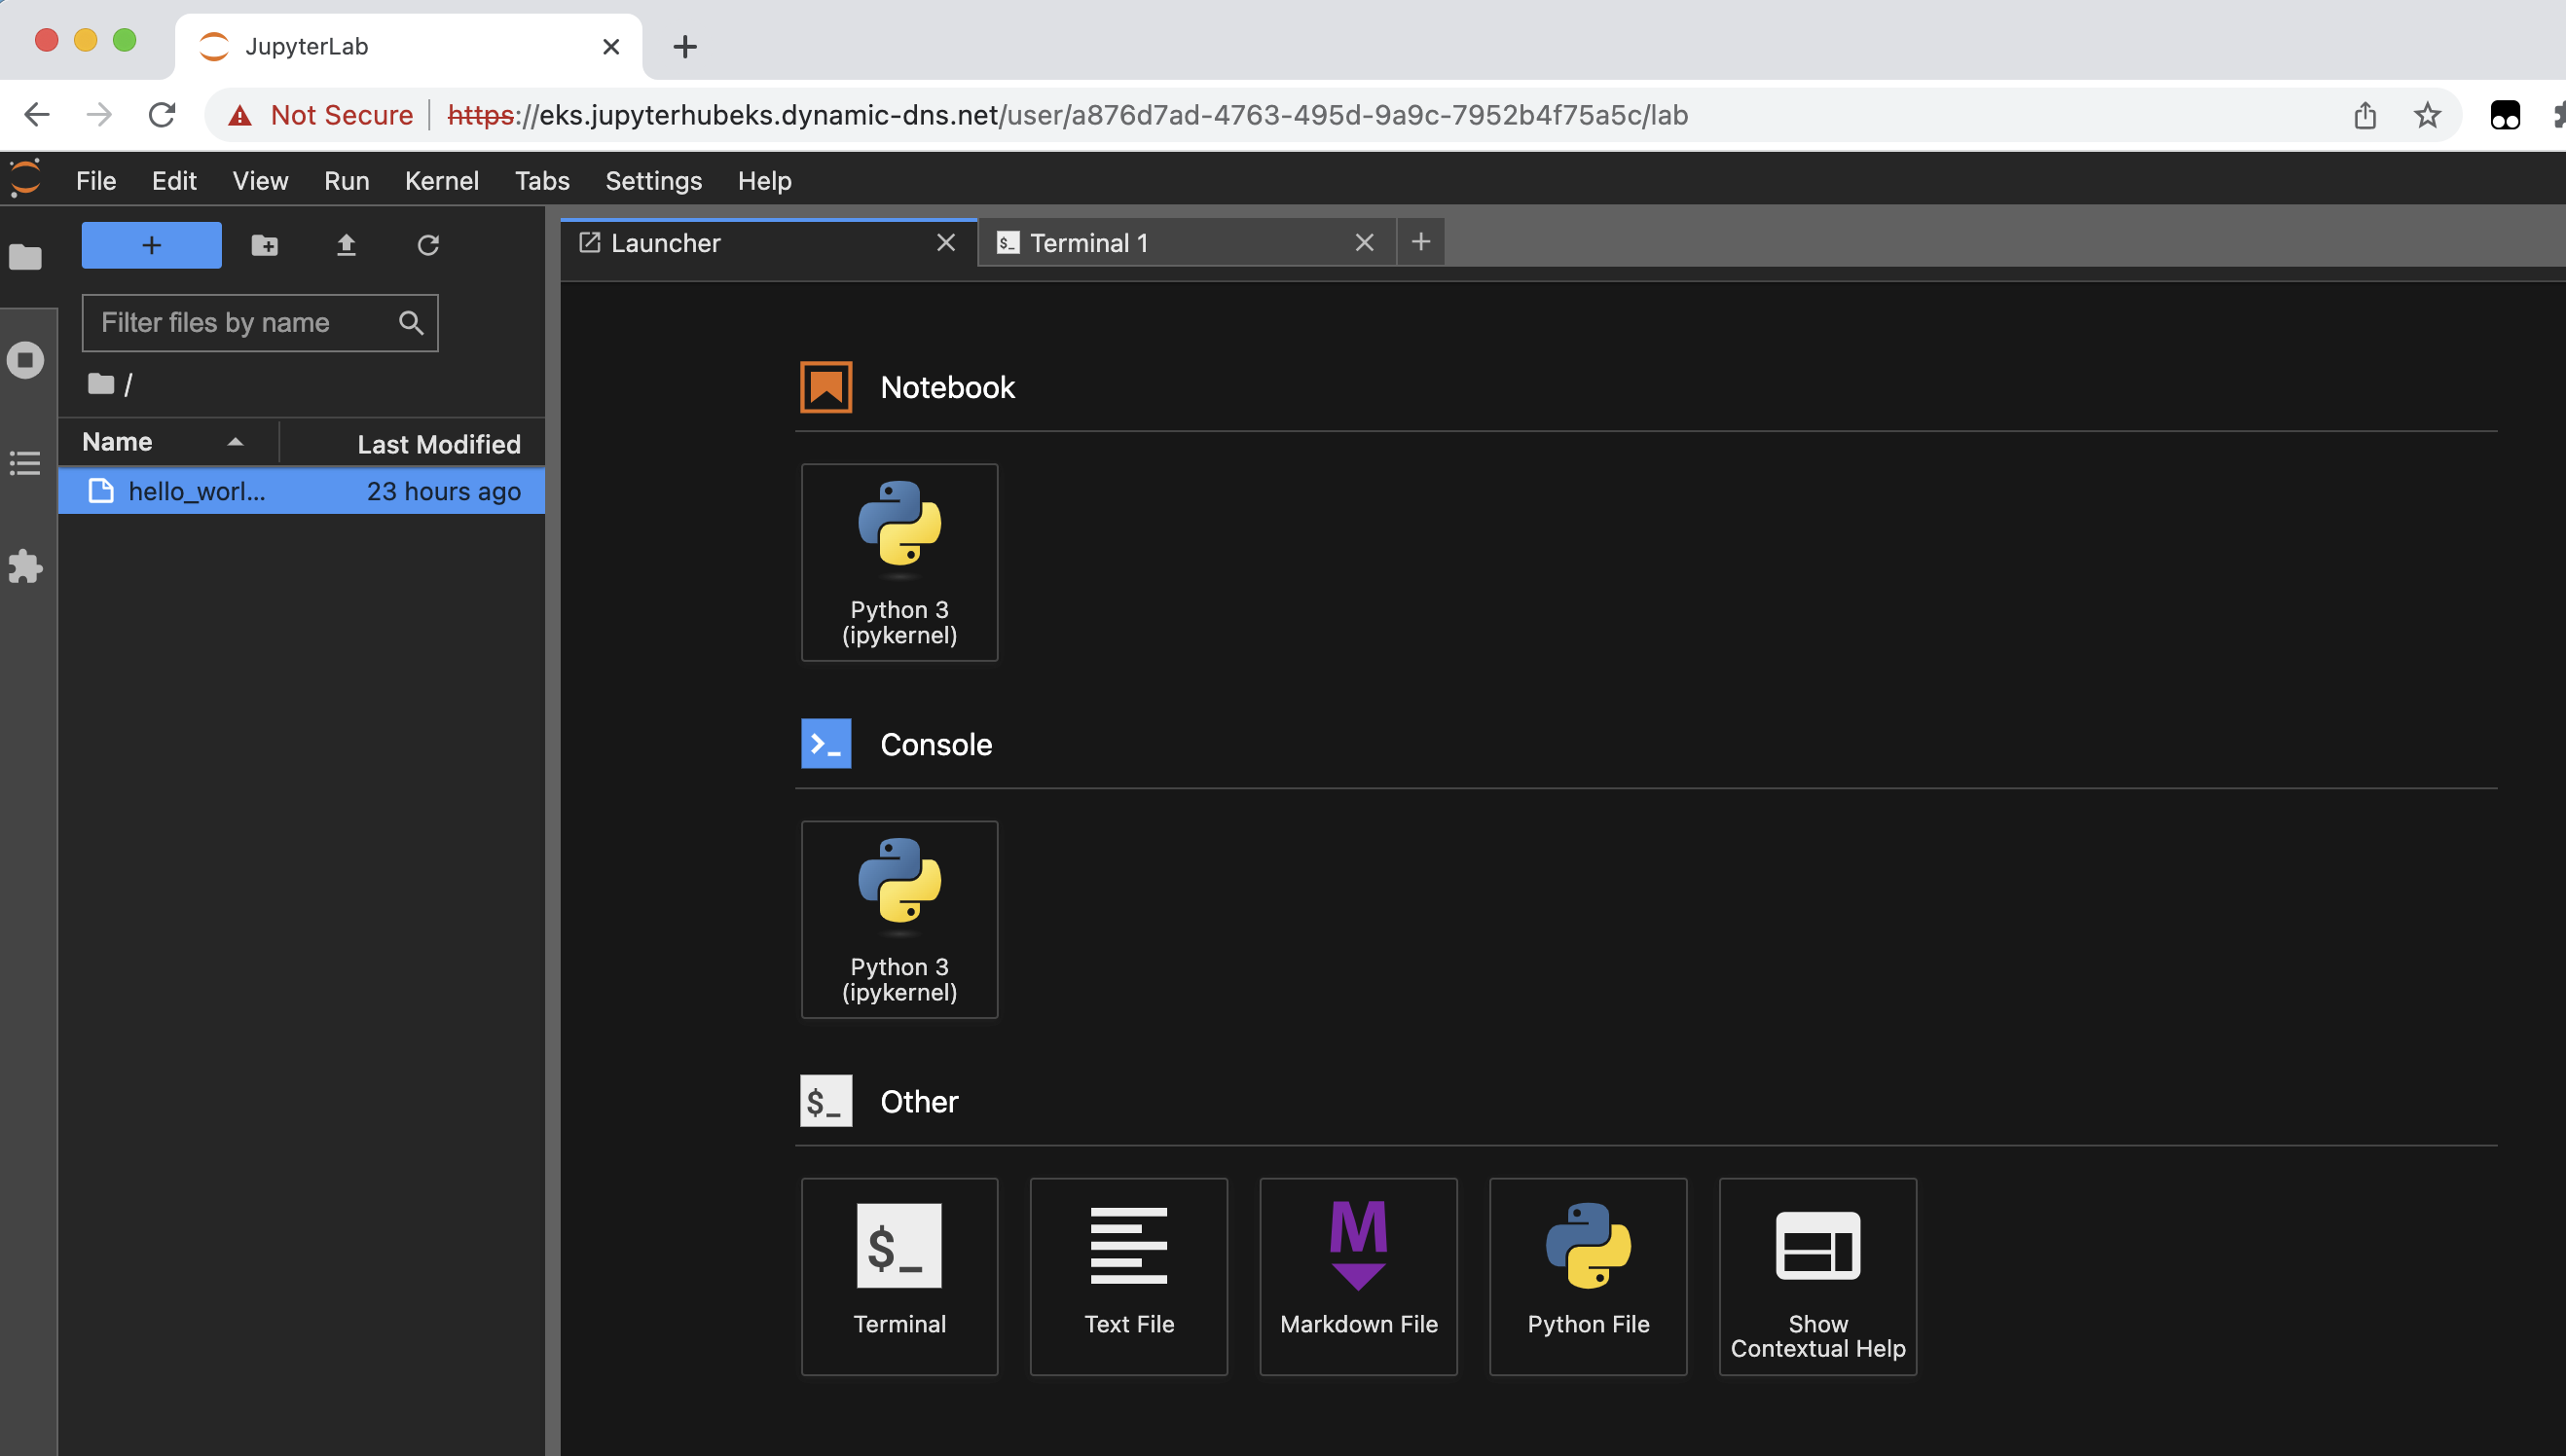
To test the setup of the shared and personal directories in JupyterHub, you can follow these steps:
- Open a terminal window from the launcher dashboard.

- execute the command
df -h
Verify EFS mounts created. Each user's private home directory is available at /home/jovyan. The shared directory is available at /home/shared
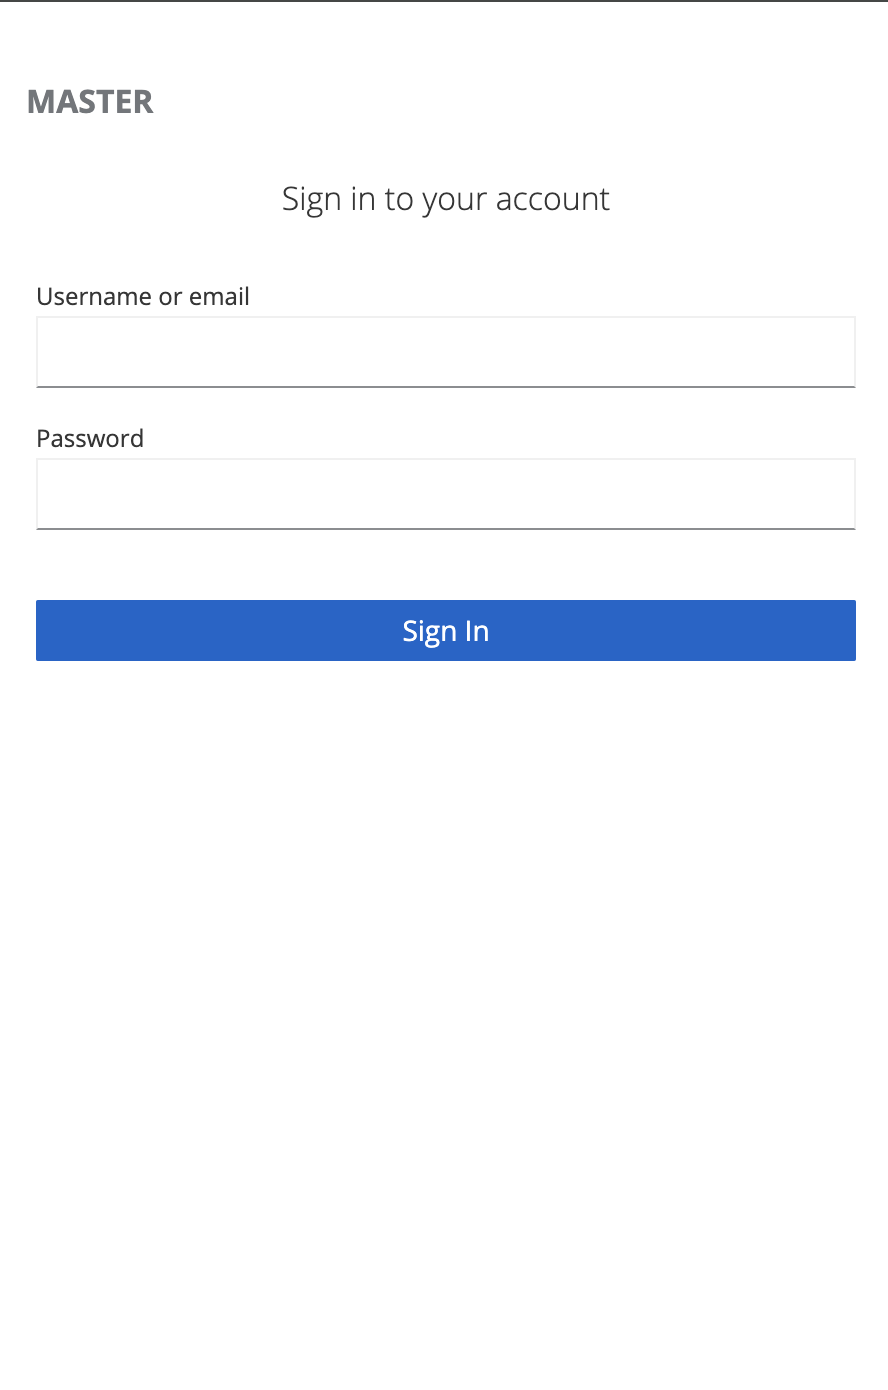
Type3 deployment(Optional): Login into JupyterHub via OAuth (Keycloak)
Note: This will look a little different depending on your OAuth provider.
Add the CNAME DNS record in ChangeIP for the JupyterHub domain with the load balancer DNS name.
When adding the load balancer DNS name in the value field of CNAME in ChangeIP make sure to add a dot(.) at the end of the load-balancer DNS name.
Now typing the domain url in the browser should redirect to the Jupyterhub login page.

Follow the Keycloak sign-up and sign-in process to login.
Successful sign-in will open up the JupyterHub environment for the logged in user.