Create or add accounts
After logging in as root user for the first time, go to the 'Accounts' page in the SideBar. Service Workbench uses AWS accounts on this page for launching research workspaces. You can add existing AWS accounts or create new ones on the 'Accounts' tab. Accounts are responsible for the charges incurred by the resources that are deployed within the Service Workbench.
Create AWS Account: Creates a new AWS account using AWS Organizations.
Add AWS Account: Imports an existing AWS account, which will be responsible for its own billing.
Every user is linked to an Account through a Project and an Index, so at least one account must be created or added before creating the first user.
Important: If you do not need to create new AWS accounts from within Service Workbench, then skip to the next section, 'Add AWS Account' section below.
Create or add compute hosting accounts
After logging in as the root user for the first time, go to the Accounts page.
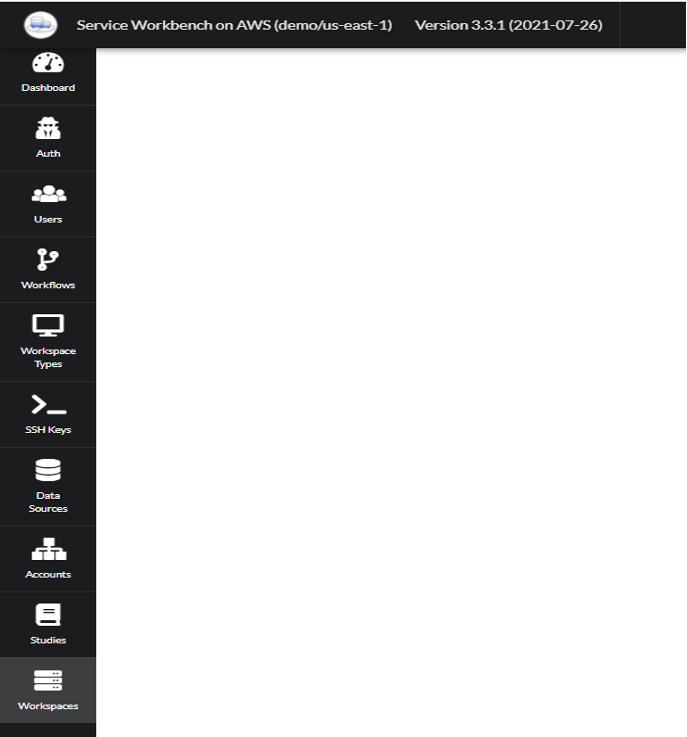
Figure: Service Workbench navigation bar
Service Workbench uses AWS accounts on this page for launching research workspaces. You can add existing AWS accounts or create new ones on the Accounts tab.
Create AWS Account: Creates a new AWS account using AWS Organizations. Note that Preparing the organizational account steps outlined above are a pre-requisite should you require this capability.
Add AWS Account: Associates an existing AWS account for purposes of hosting compute resources. This account can be responsible for its own billing.
Every user is linked to an account through a project and an index, so at least one account must be created or added before associating the first user to a project.
Note: If you do not need to create new AWS accounts from within Service Workbench, then skip to Add AWS Account section.
Create AWS Account
Prerequisites
Before creating an AWS account from Service Workbench, configure an existing AWS account to be the organizational account for Service Workbench (steps outlined in Preparing the organizational account above). When Service Workbench creates new AWS accounts, billing for those accounts is applicable to the organizational account.
Creating a new Account
This creates a new hosting AWS account in the organization, whose billing goes to the organizational account.
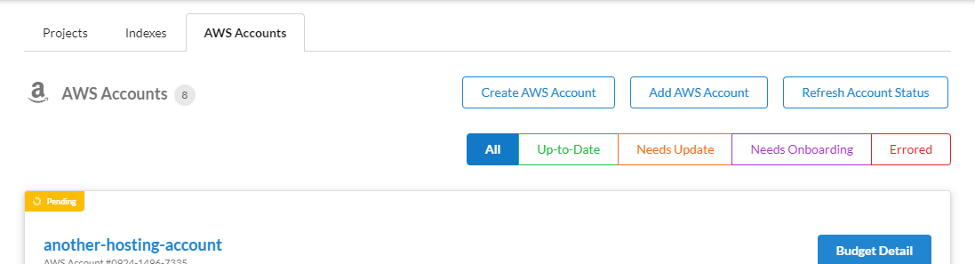
Figure: Create a new hosting account
To create an account:
In the Service Workbench console, choose AWS Accounts and then choose Create AWS Account.
- In Role ARN, enter the Master Role ARN copied from the Preparing the organizational account steps.
- The email address that you specify here must be unique within the organization.
- The External ID is workbench by default. See IAM for information on how to configure this to another value.
During processing, the following information displays in the AWS Accounts tab:
‘Trying to create accountID: xxx’
A workflow in progress in Workflows > Provision Account
Note: If instead you see an error message such as,
Stop Internal State Account ID not found, check that there is an AWS Organization in the console of your organizational account, if deploying Service Workbench in the organizational account. If you are deploying in a member account, check and ensure that you followed the steps described in Preparing the organizational account.Optionally, in the console, you can inspect the following resources deployed by this script.
- In AWS CloudFormation, a stack prep-master is running. It creates the master role and its output is the master role ARN.
- In AWS Organizations, in the organizational account (see IAM), the new account displays.
- In IAM, the new master role is created.
Once the account is created, it is listed in AWS Accounts.
Add AWS Account
Adding an existing AWS account enables Service Workbench to launch research workspaces. The existing account alignment (standalone or associated to an an organization) determines the billing responsibility.
On the Accounts Page, choose AWS Accounts, and then choose Add AWS Account.

Figure: Add an existing account
Create and run the AWS CloudFormation template.
If AppStream is not enabled
- Enter the Account Name, Account ID (12-digit AWS account ID for the account you wish to add), and Description.

Figure: Specify account details
The Onboard AWS Account screen is displayed, where you can select either of the following options:
- I have admin access : You have administrator-level access to the hosting account that is being onboarded. Selecting this and then proceeding launches the CloudFormation template within the hosting account. Note that you need to be logged into the AWS account console for the hosting account when selecting this option and proceeding.
- I do not have admin access : The CloudFormation template is generated and you can then share the template to be run by the party that does have administrator access in the AWS account that you are onboarding.
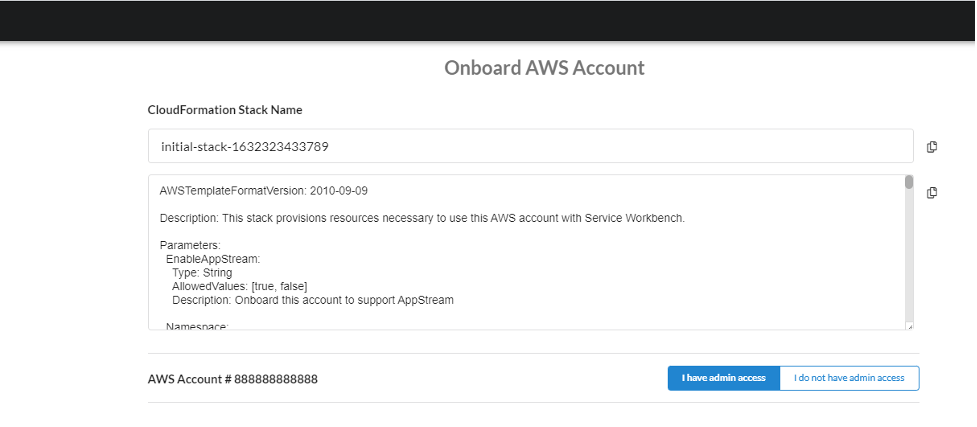
Figure: Onboard AWS account
If AppStream is enabled
If you have chosen to enable AppStream for your installation, there are additional values required when onboarding a hosting account.
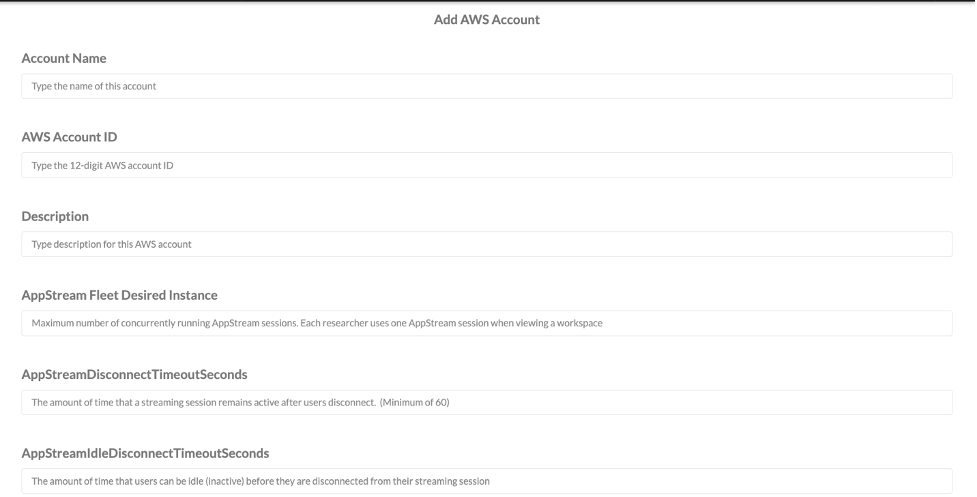
Figure: Add account when AppStream is enabled
- AppStream Fleet Desired Instance: The maximum number of concurrently running AppStream sessions allowed. If you set this to 5, that would mean that five workspaces can be viewed concurrently.
- AppStreamDisconnectTimeoutSeconds: With a minimum of 60 seconds, this is the amount between a researcher disconnection from a session (Manual Stop, Auto Stop, or Terminate) and the release of the AppStream instance that is supporting that session.
- AppStreamIdleDisconnectTimeoutSeconds: The amount of time that an AppStream session idle time (meaning no activity within the session) before the AppStream instance disconnects.

Figure: Add account when AppStream is enabled (contd..)
- AppStreamMaxUserDurationSeconds: The maximum amount of time for an AppStream session.
- AppStreamImageName: The exact image name produced when you follow the instructions to build your AppStream image.
- AppStreamInstanceType: The instance type for your AppStream fleet. Note that these instance types are unique to AppStream. A complete list and specifications for valid instance types is available at https://aws.amazon.com/appstream2/pricing/
- AppStreamFleetType:
ALWAYS_ONensures that the desired number of instances remain available at all times.ON_DEMANDonly runs the instances when required. It is a cost versus convenience choice.
Note: If you needed to change these values later, you can do so through the AWS Console of the hosting account without negative impact to Service Workbench.
Once these options are specified, choosing Onboard Account displays the Onboard AWS Account screen. The same choice of admin vs. no admin access applies, but there are several important pre-requisites to complete before proceeding.
Creating RStudio ALB workspace
Accessing RStudio workspace
You can access the RStudio workspace type by using the template and AMI provided in AWS partner's repository. RStudio legacy and RStudio ALB both use custom domain names. You can define custom domain name in /main/config/settings/<stage.yml>.
Important: The legacy RStudio workspace type will be deprecated soon in a future release.
Application load balancing for RStudio ALB workspace
When you create RStudio Application Load Balancer (ALB) workspace, an ALB is created that can host upto 100 workspaces per hosting account. Per workspace, you can have upto 4 CIDR blocks (IP ranges) for port 443 only. This is updated in the hosting accounts. If there are no ALBs for that hosting account and you have created the very first workspace, then ALB will be created for the first time and it will be common for every workspace that you create subsequently. Once you terminate all the workspaces and you terminate the last workspace for that hosting account, the ALB is deleted. An ALB is created for minimum one active workspace.
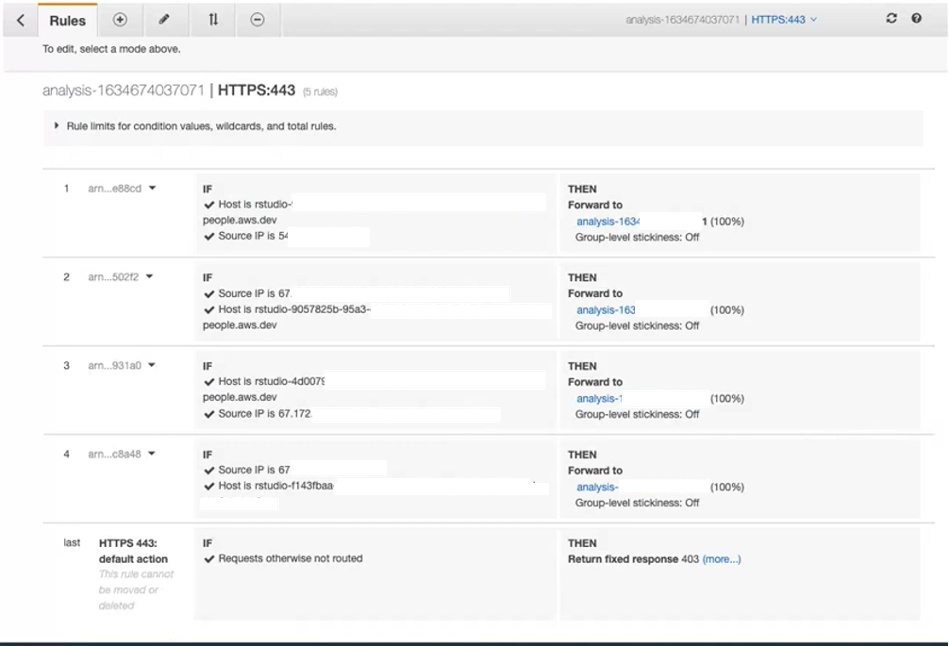
Each workspace type corresponds to one listener rule and there can be 100 such rules. In each rule, users can specify the IP ranges that user wants to allowlist. You can specify only upto 4 IP ranges per listener rule. For more information about ALB, refer to Application Load Balancer.
Limitations
- With RStudio ALB implementation, you can create only upto 100 workspaces per hosting account.
- Per workspace, you can specify only upto 4 CIDR blocks for port 443.