Import AWS Service Catalog products
Service Workbench uses AWS Service Catalog to manage different types of computation resources available for researchers to use through the platform.
With AWS Service Catalog integration, Service Workbench allows admin users to create and manage catalogs of IT services that are approved for use on AWS. These IT services can include everything from virtual machine images, servers, software, and databases to complete multi-tier application architectures.
With this integration, Service Workbench helps organization to centrally manage commonly deployed IT services, and helps achieve consistent governance and meet compliance requirements, while enabling users to quickly deploy only the approved IT services they need.
When Service Workbench is deployed, an AWS Service Catalog portfolio is created by default with four commonly used products: Amazon SageMaker, Amazon EC2 for Windows, Amazon EC2 for Linux and Amazon EMR. The administrator needs to import and configure these products using Service Workbench user interface before they can be deployed. If you want to include additional custom products in the AWS Service Catalog portfolio, complete these steps:
- Add the AWS CloudFormation template in the following directory:
addons/addon-base-raas/packages/base-raas-cfn-templates/src/templates/service-catalog - Add the AWS CloudFormation template file name in the productsToCreate list in the following location:
addons/addon-base-raas/packages/base-raas-post-deployment/lib/steps/create-service-catalog-portfolio.js - Deploy Service Workbench.
Note: If products are updated directly in Service Catalog in the AWS Management console, then their automatic version updates via Service Workbench are not guaranteed anymore.
Import a Product
In this step, you import a pre-defined product, configure parameters to be used for product launch, and approve the configured product to be used. The following sections use Amazon EC2 Linux as an example, followed by setting different configuration required for Amazon EC2 Windows, Amazon SageMaker and Amazon EMR.
Prerequisites
Ensure the following prerequisites are met in order to import a product.
Creating AMI
Make sure you completed the step, Deploy the Machine Images SDC as part of the deployment process.
To check if AMIs were created successfully:
- Navigate to Amazon EC2.
- Choose the AMI tab.
- Note down the four AMIs created for Amazon EC2 Linux, Amazon EC2 Windows, Amazon EMR, and Amazon EC2 RStudio.
- Copy the AMI IDs and use for workspace import and configuration. Alternatively, you can also copy these AMI IDs from the terminal when the machine-images SDC is deployed.
Note: If you run the machine images SDC multiple times, duplicated AMIs are created. This is okay and will not affect any Service Workbench functionalities. You can choose to remove the duplicates to avoid confusion or leave them.
Viewing Service Catalog Portfolio
- Log in to Service Workbench UI as an administrator.
- Navigate to ‘Workspace Types’ tab. Four AWS Service Catalog Products display as shown below.
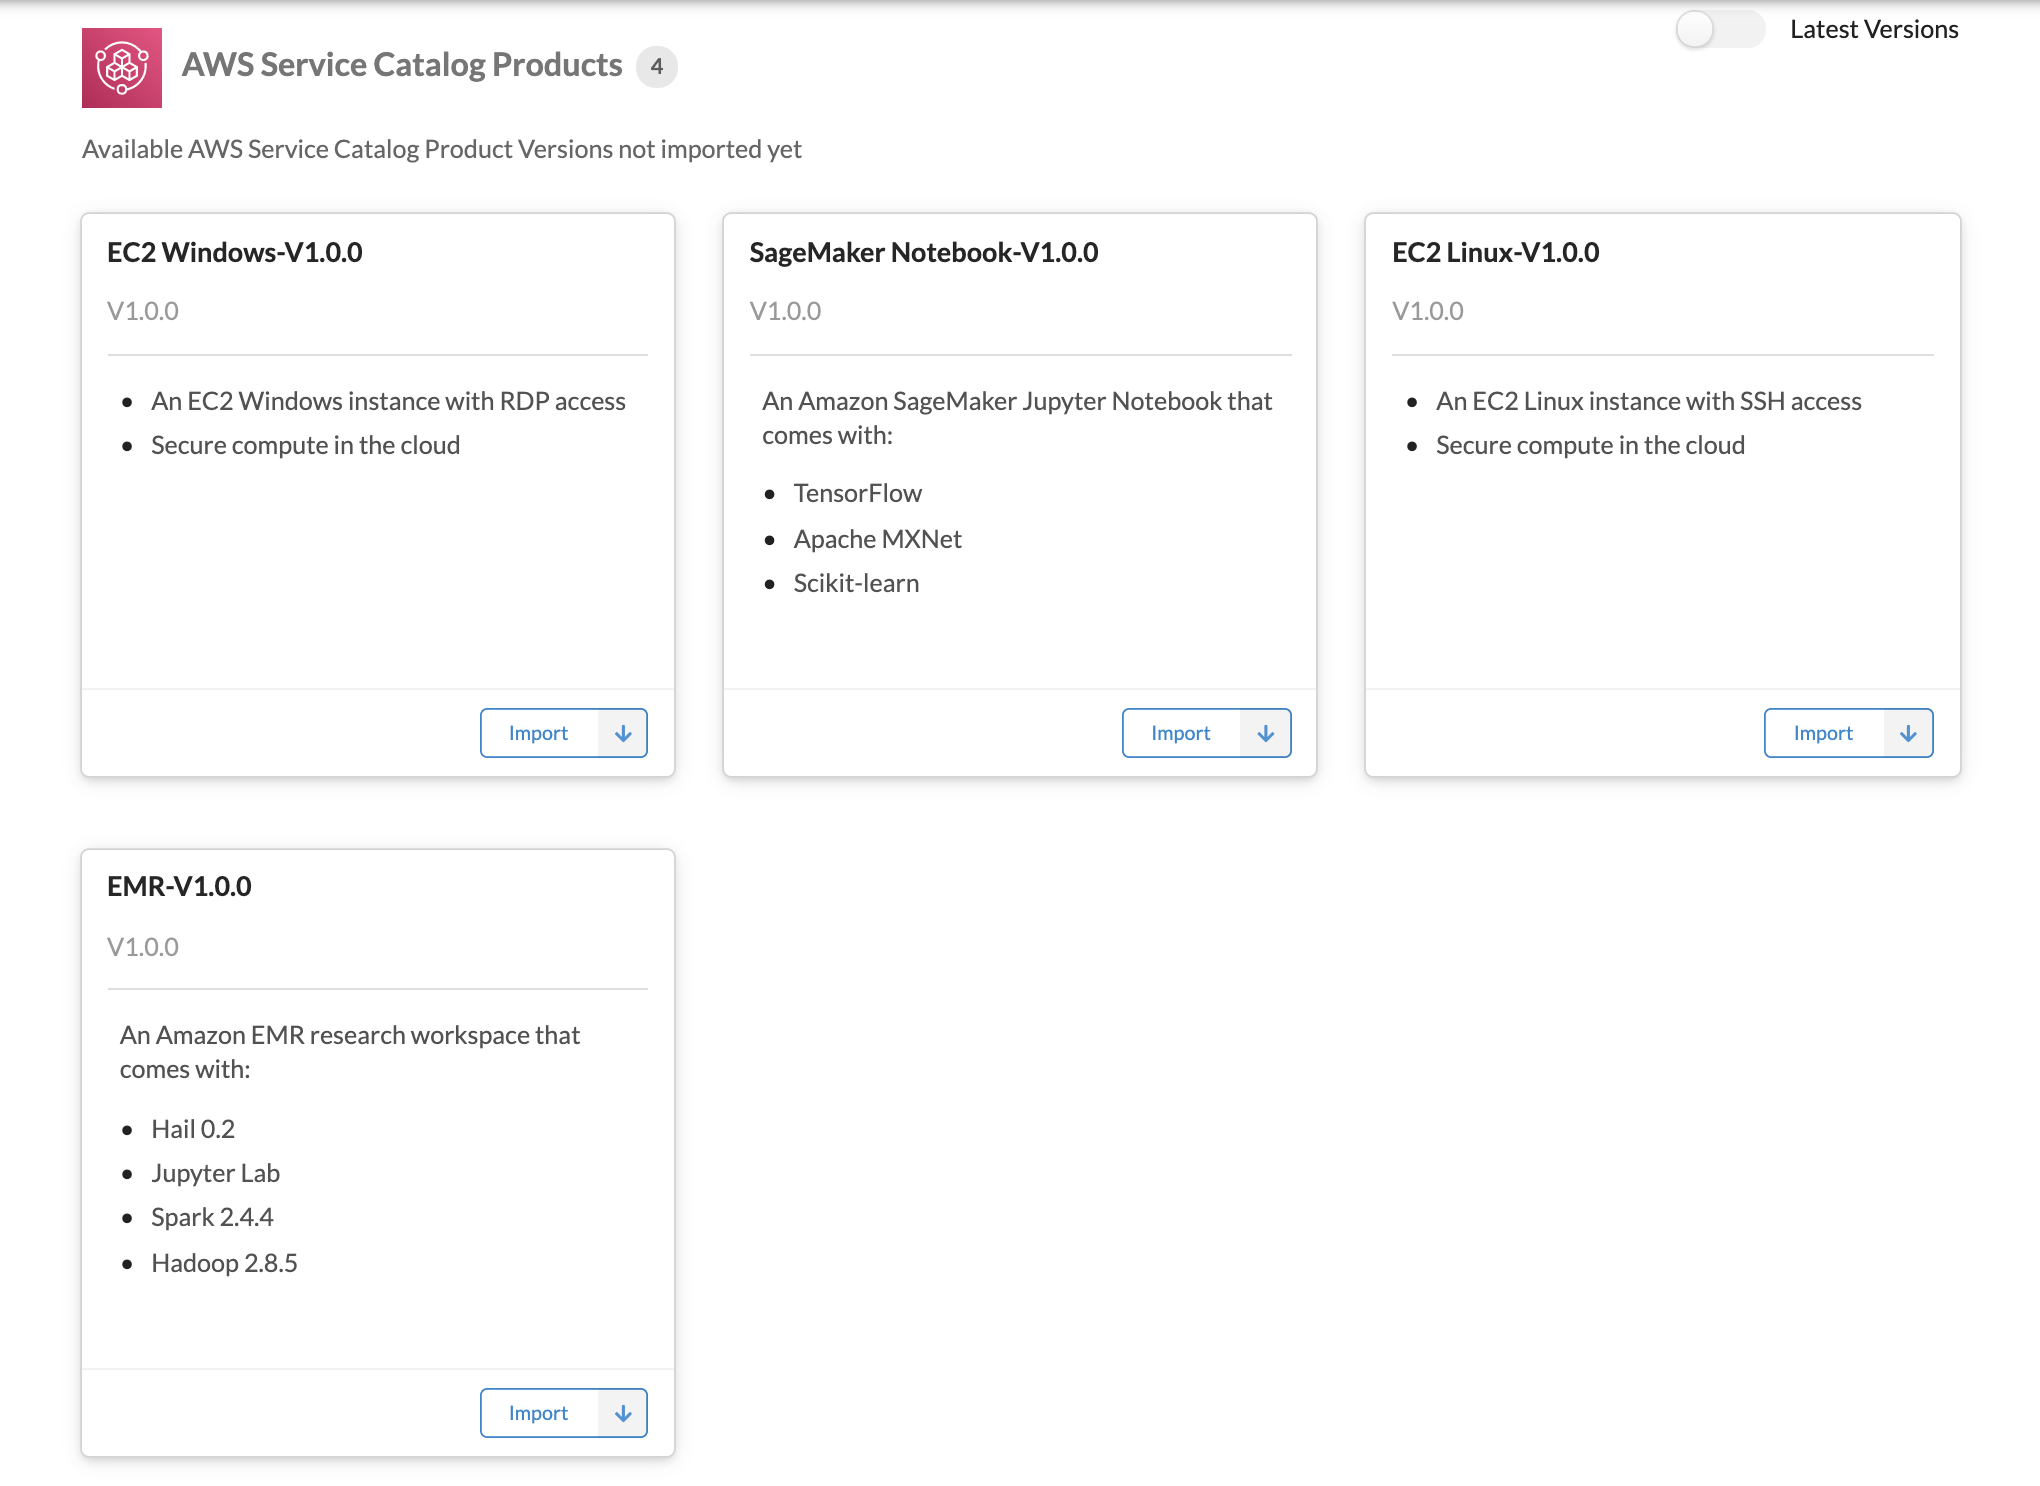
Figure: AWS Service Catalog Products
These four products come from the AWS Service Catalog portfolio created by the system during deployment. And they'll be ready for use once imported and configured.
If you wish to include other AWS computation resources in the future:
- Add a new product to the existing Service Workbench portfolio in AWS Service Catalog
- Update the role
ServiceCatalogLaunchConstraintRolein cloudformation.yml to include permission needed to launch and terminate the product
Importing a workspace
In this section, the Amazon EC2 Linux is used as an example.
- Choose 'Import' under
ec2-linux-instance. - Enter the Name and Description so you can easily identify the workspace.
Configuring the workspace
Once you import a workspace type, perform the following actions:
- Choose 'Add Configuration'
- Enter the ID, Name, Description, and Estimated Costs for the configuration. A common naming convention here is to attach the instance size after the product name. For example, use
ec2-linux-instance-V1-smallfor a small Linux Amazon EC2 instance. - Choose ‘Next’.
- Enter access control for the workspace configuration.
- Enter 'Next'.
The input parameters are parameters used for the product, AWS CloudFormation template. The number and type of parameters are different for different products. Most of the parameters used for the four system created products can be evaluated automatically at launch time. These parameters are available for selection in the drop-down when filling the input parameters page.
Configuration for EC2 Linux
For Amazon EC2 Linux, the only two fields that are not available in the drop-down are InstanceType and AmiId.
The following figures display screenshot images that exemplify Amazon EC2 Linux configurations.
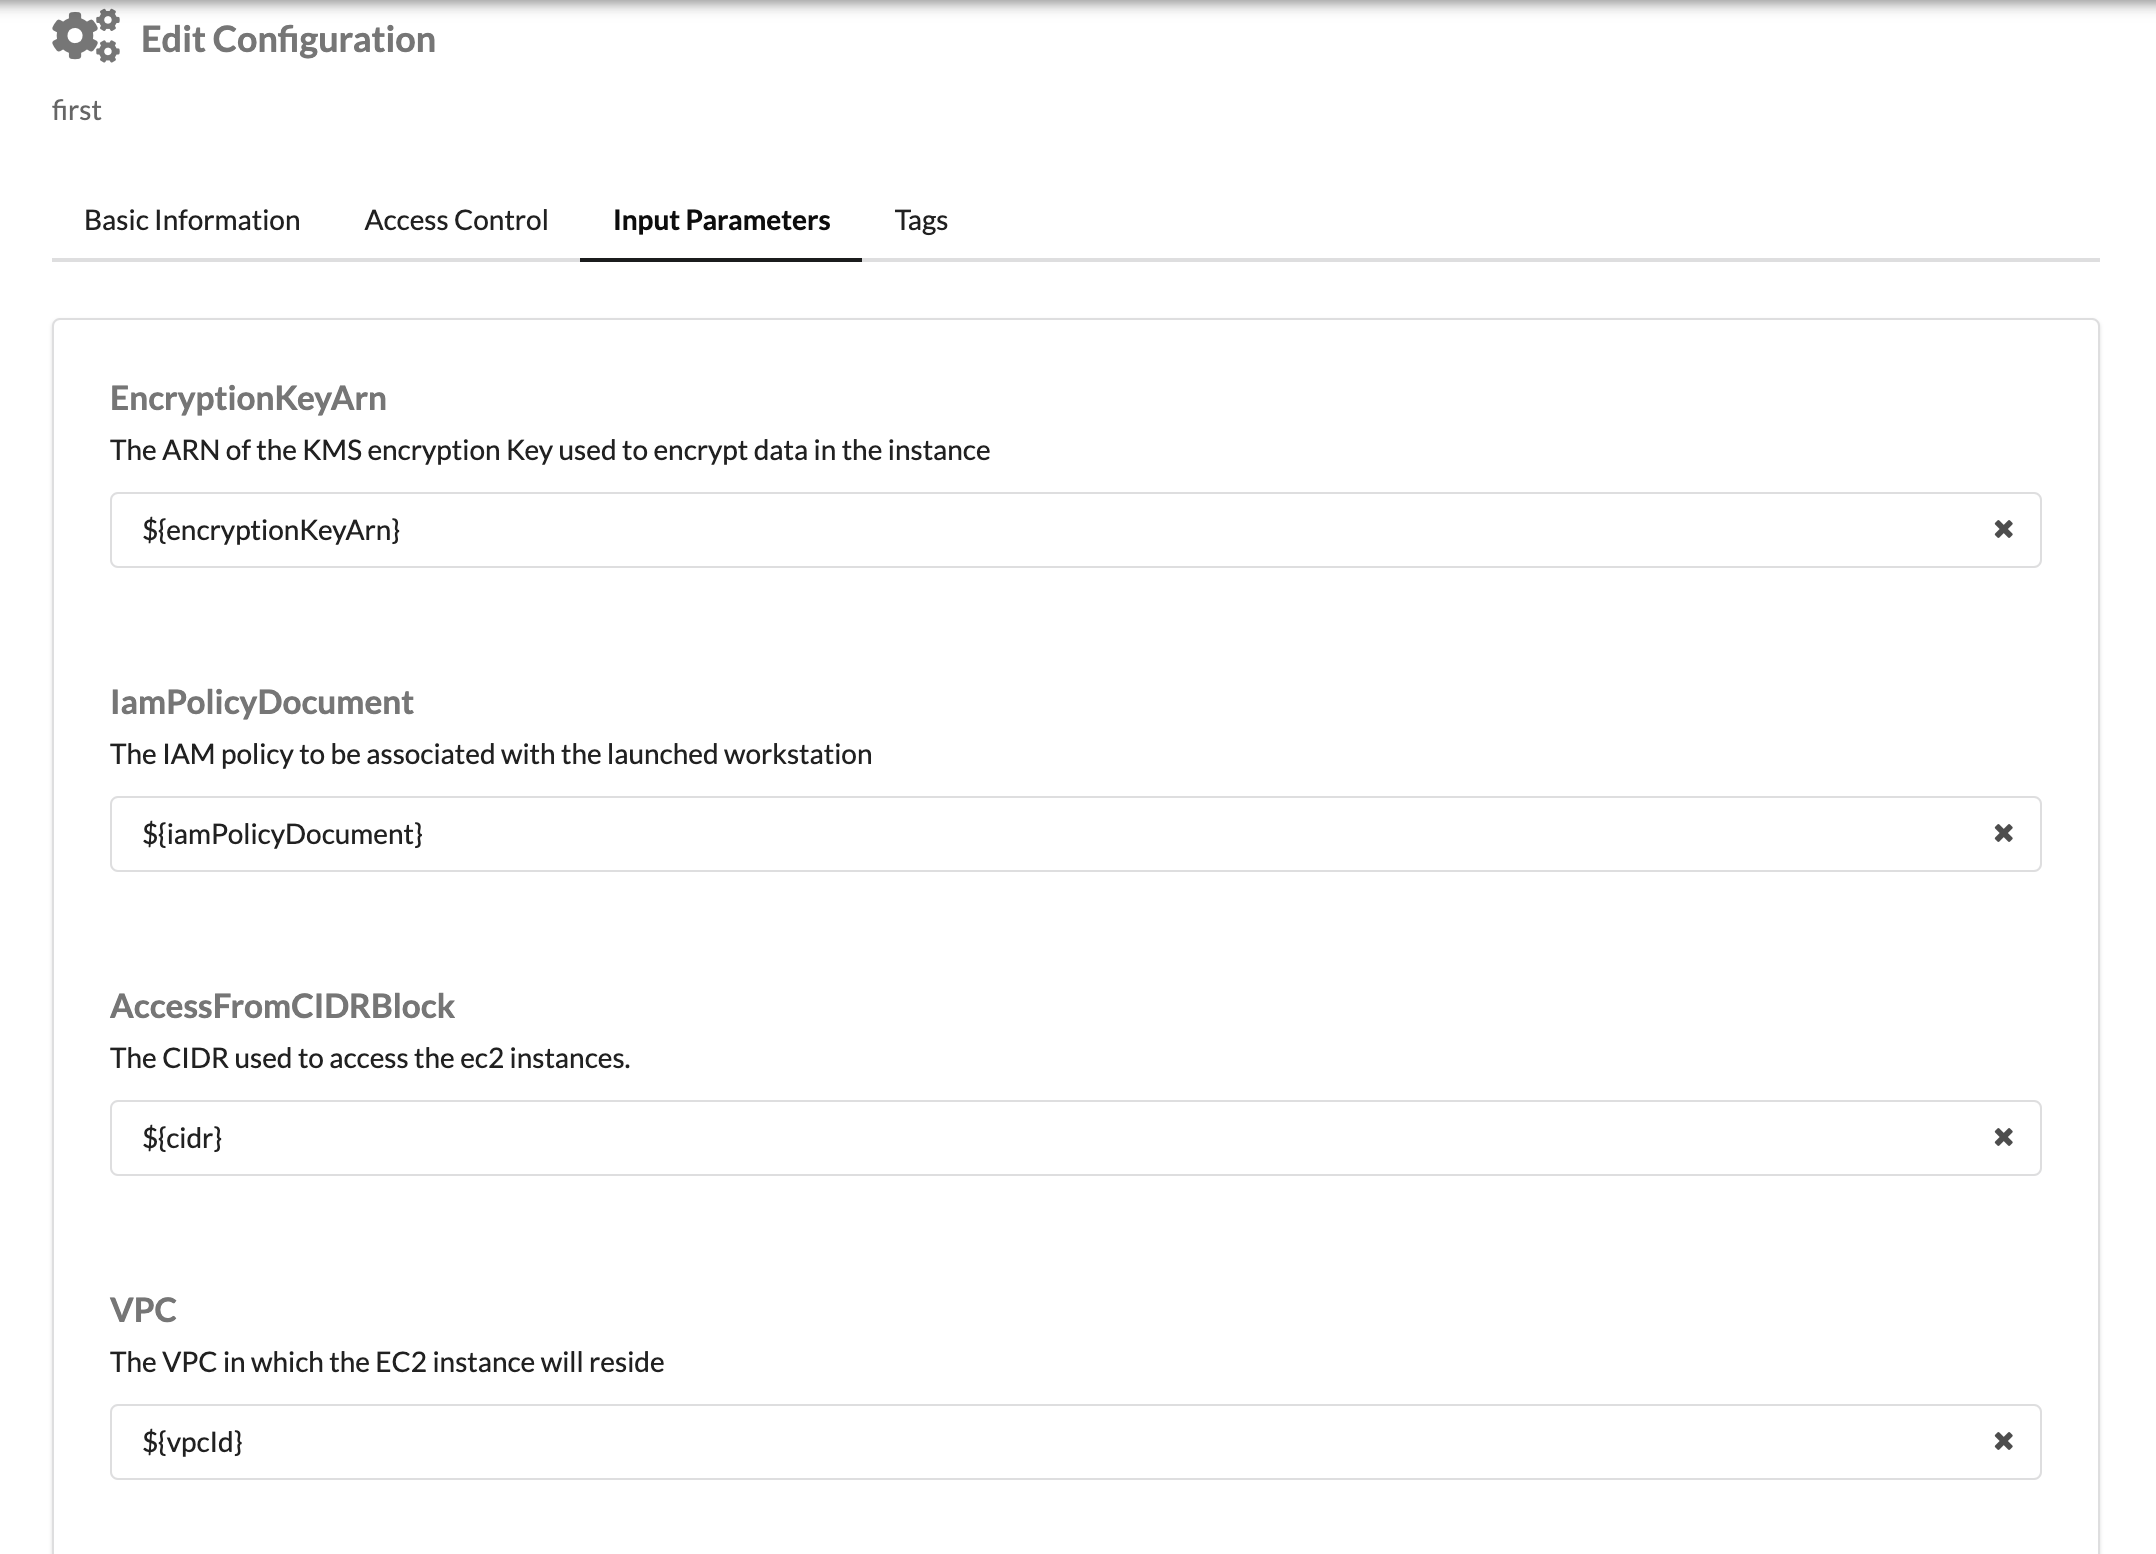
Figure: Configurations for Amazon EC2 Linux

Figure: Configurations for Amazon Linux EC2
Configuration for Amazon EC2 Windows
For Amazon EC2 Windows, the only two fields that are not available in the drop-down are ‘InstanceType’ and ‘AmiId’. (Use the AMI ID you copied in Prerequisites - AMI)
The following figures display screenshot images that exemplify Amazon EC2 Windows configurations.
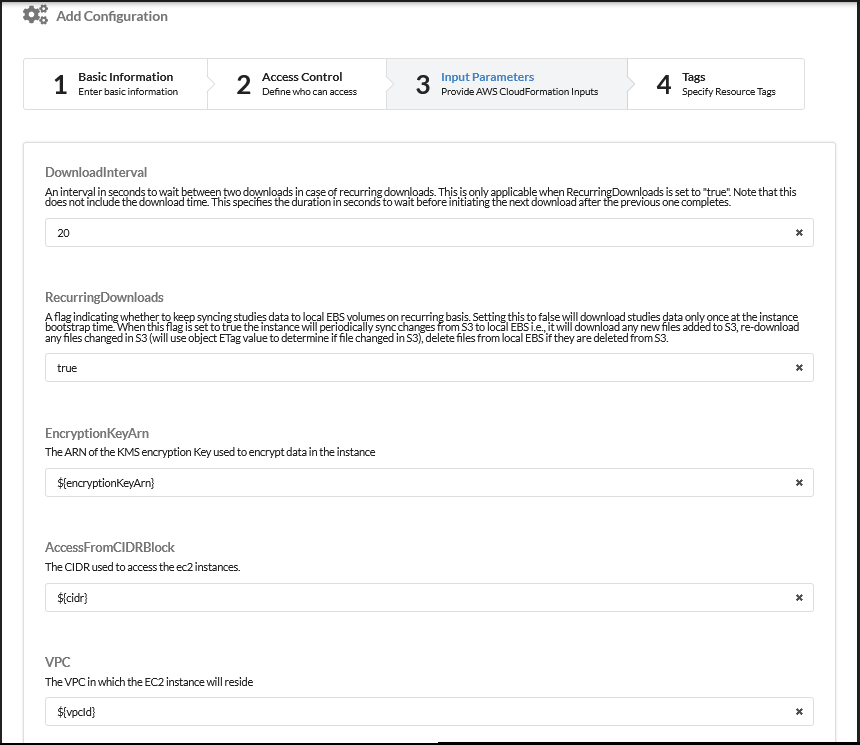
Figure: Configurations for EC2 Windows
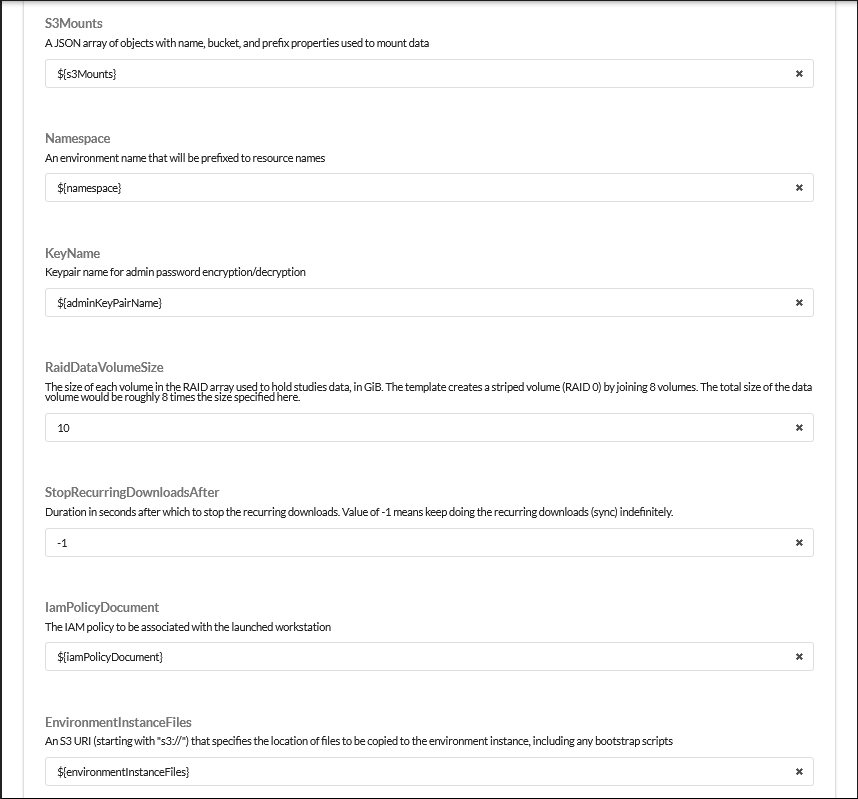
Figure: Configurations for EC2 Windows
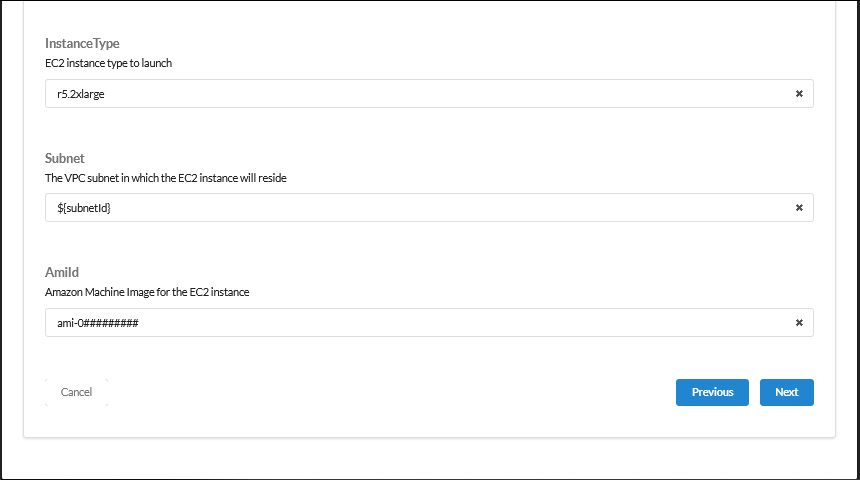
Figure: Configurations for EC2 Windows
Configuration for Amazon SageMaker
For Amazon SageMaker, the only field that’s not available in the drop-down is ‘InstanceType’.
The following figures display screenshot images that exemplify Amazon SageMaker configurations.
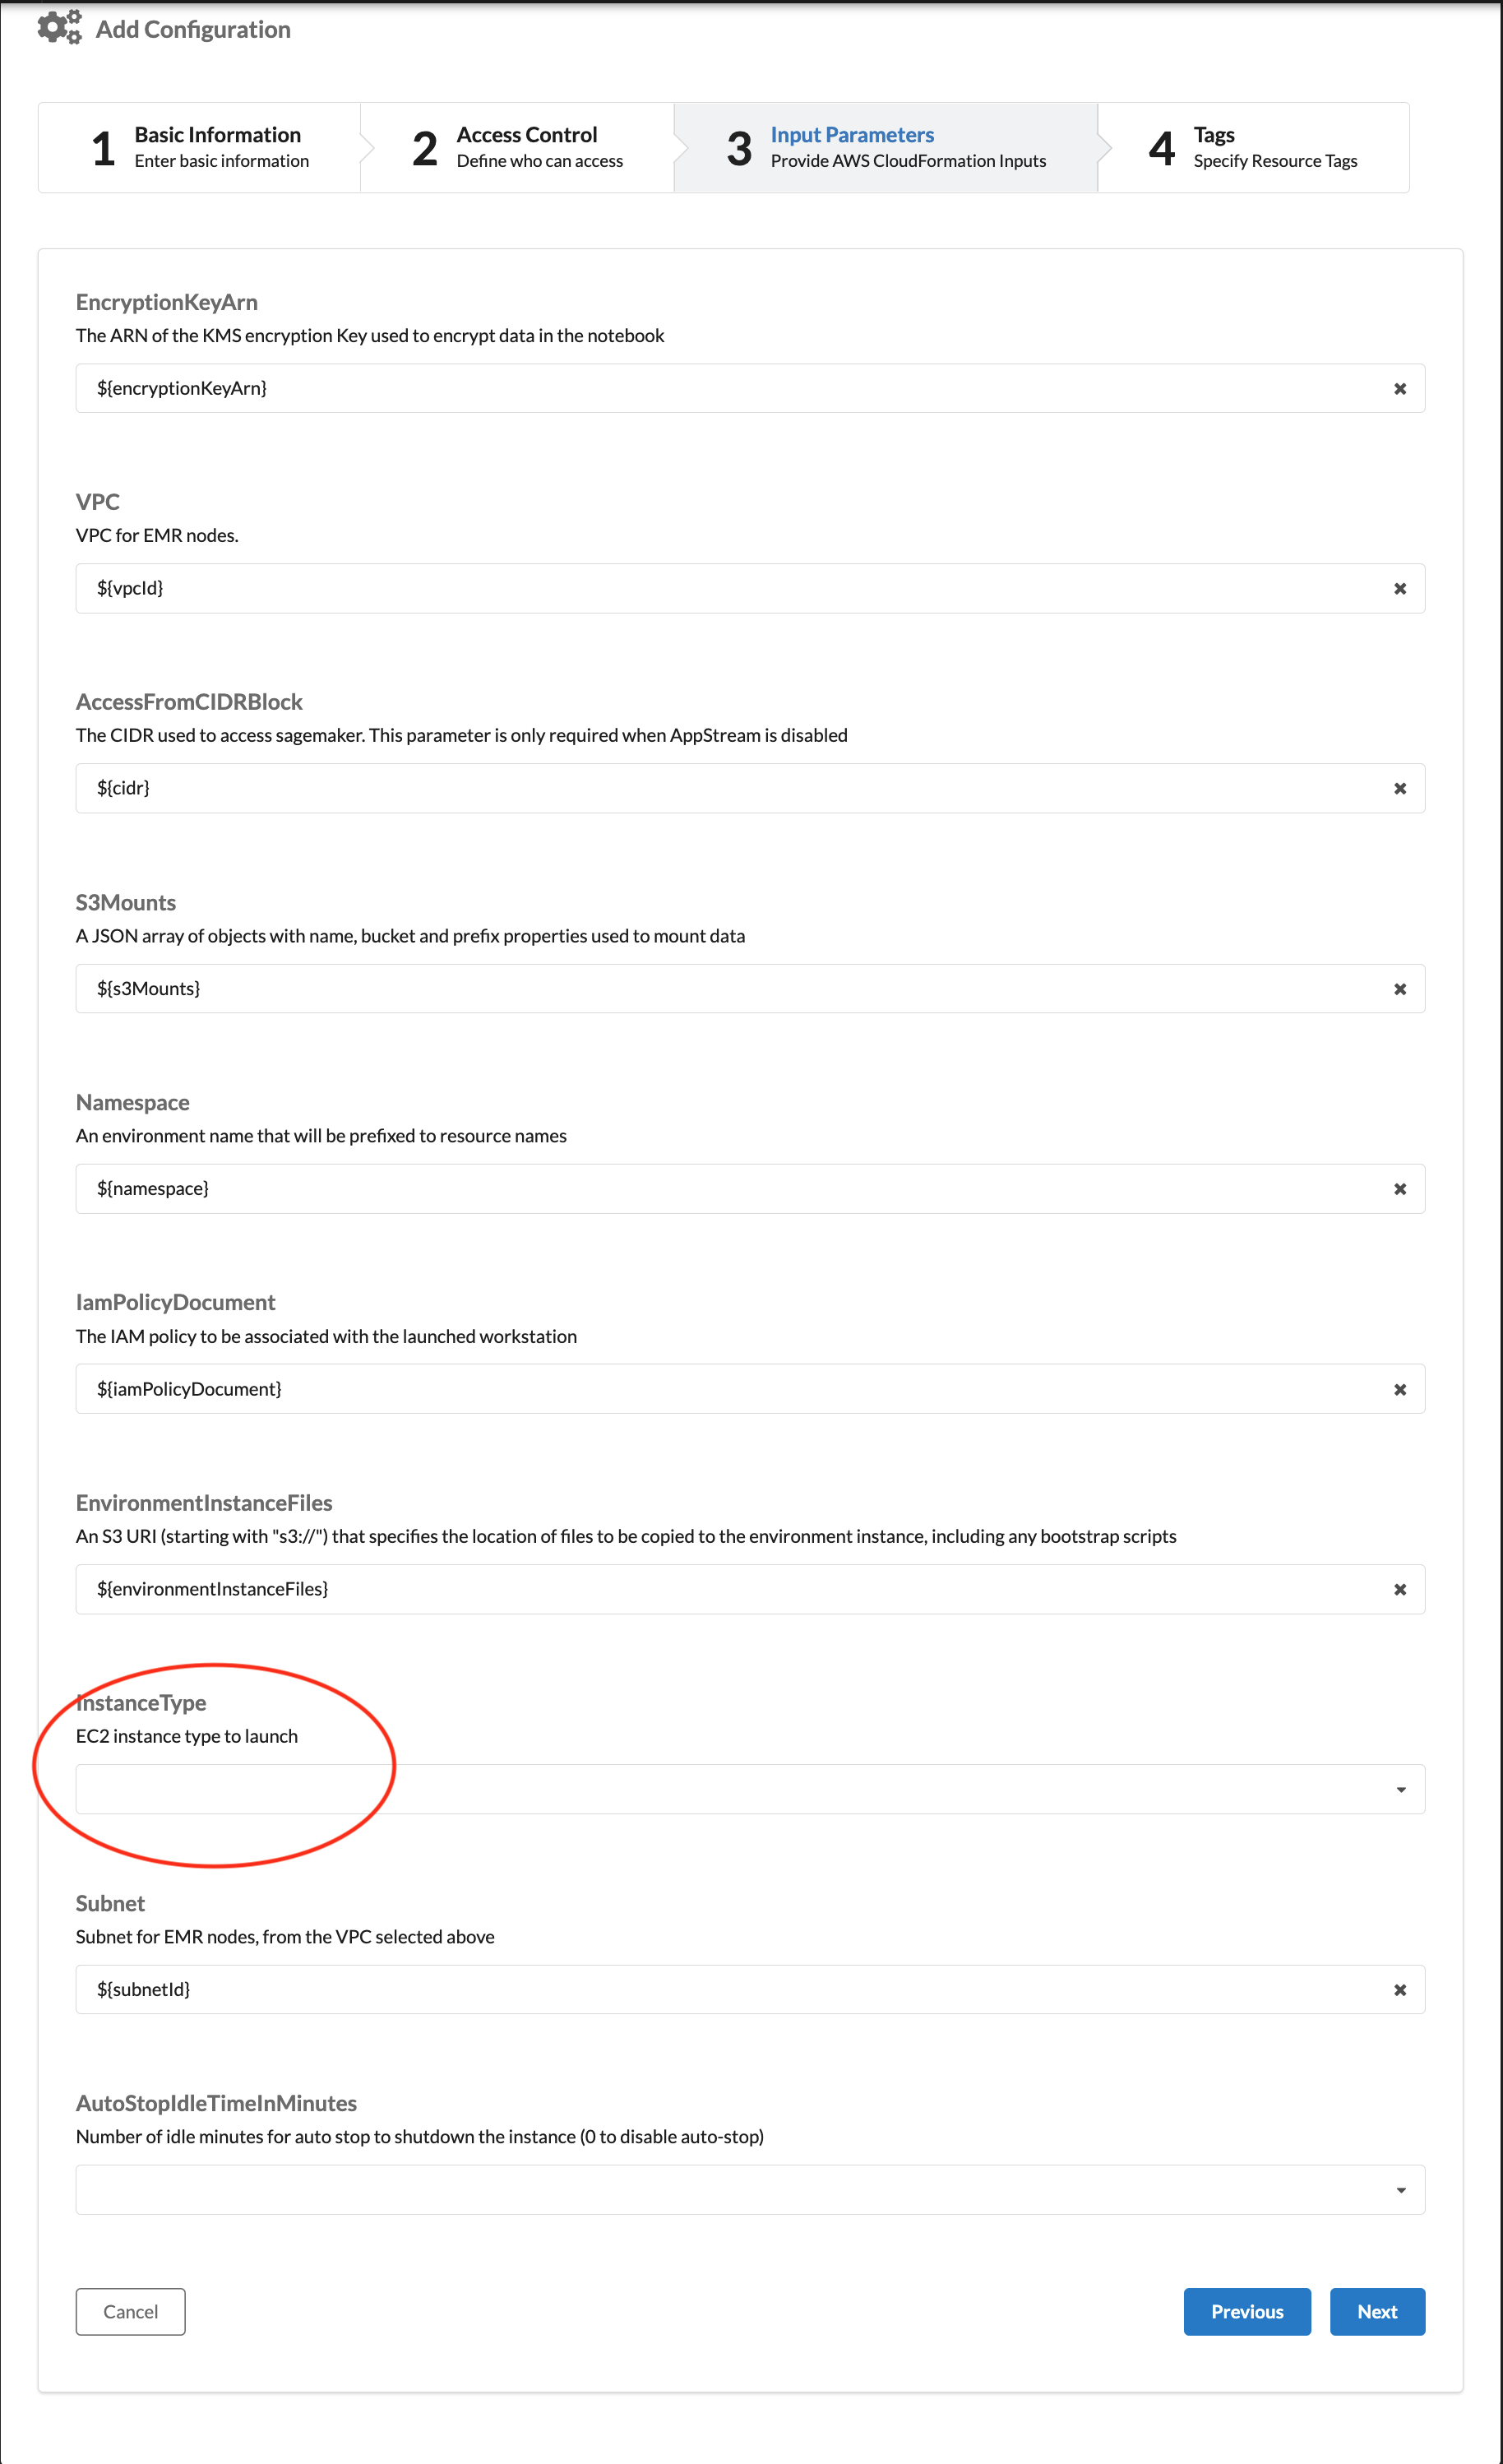
Figure: Configurations for Amazon SageMaker
Configuration for Amazon EMR
Note: EMR workspaces are not available if AppStream is enabled for the deployment. Therefore, it is unnecessary to import or add a configuration for this workspace.
Amazon EMR requires a few more fields that are not available in the drop-down menu, including the following:
- DiskSizeGB (>=10)
- CoreNodeCount (1-80)
- MasterInstanceType
- Market (ON_DEMAND / SPOT)
- WorkerBidPrice (only applicable when Market = SPOT. Specify 0 for Market = ON_DEMAND)
- WorkerInstanceType
- AmiId (Use the AMI id we copied in prerequisites - AMI)
The following figures display screenshot images that exemplify Amazon EMR configurations.
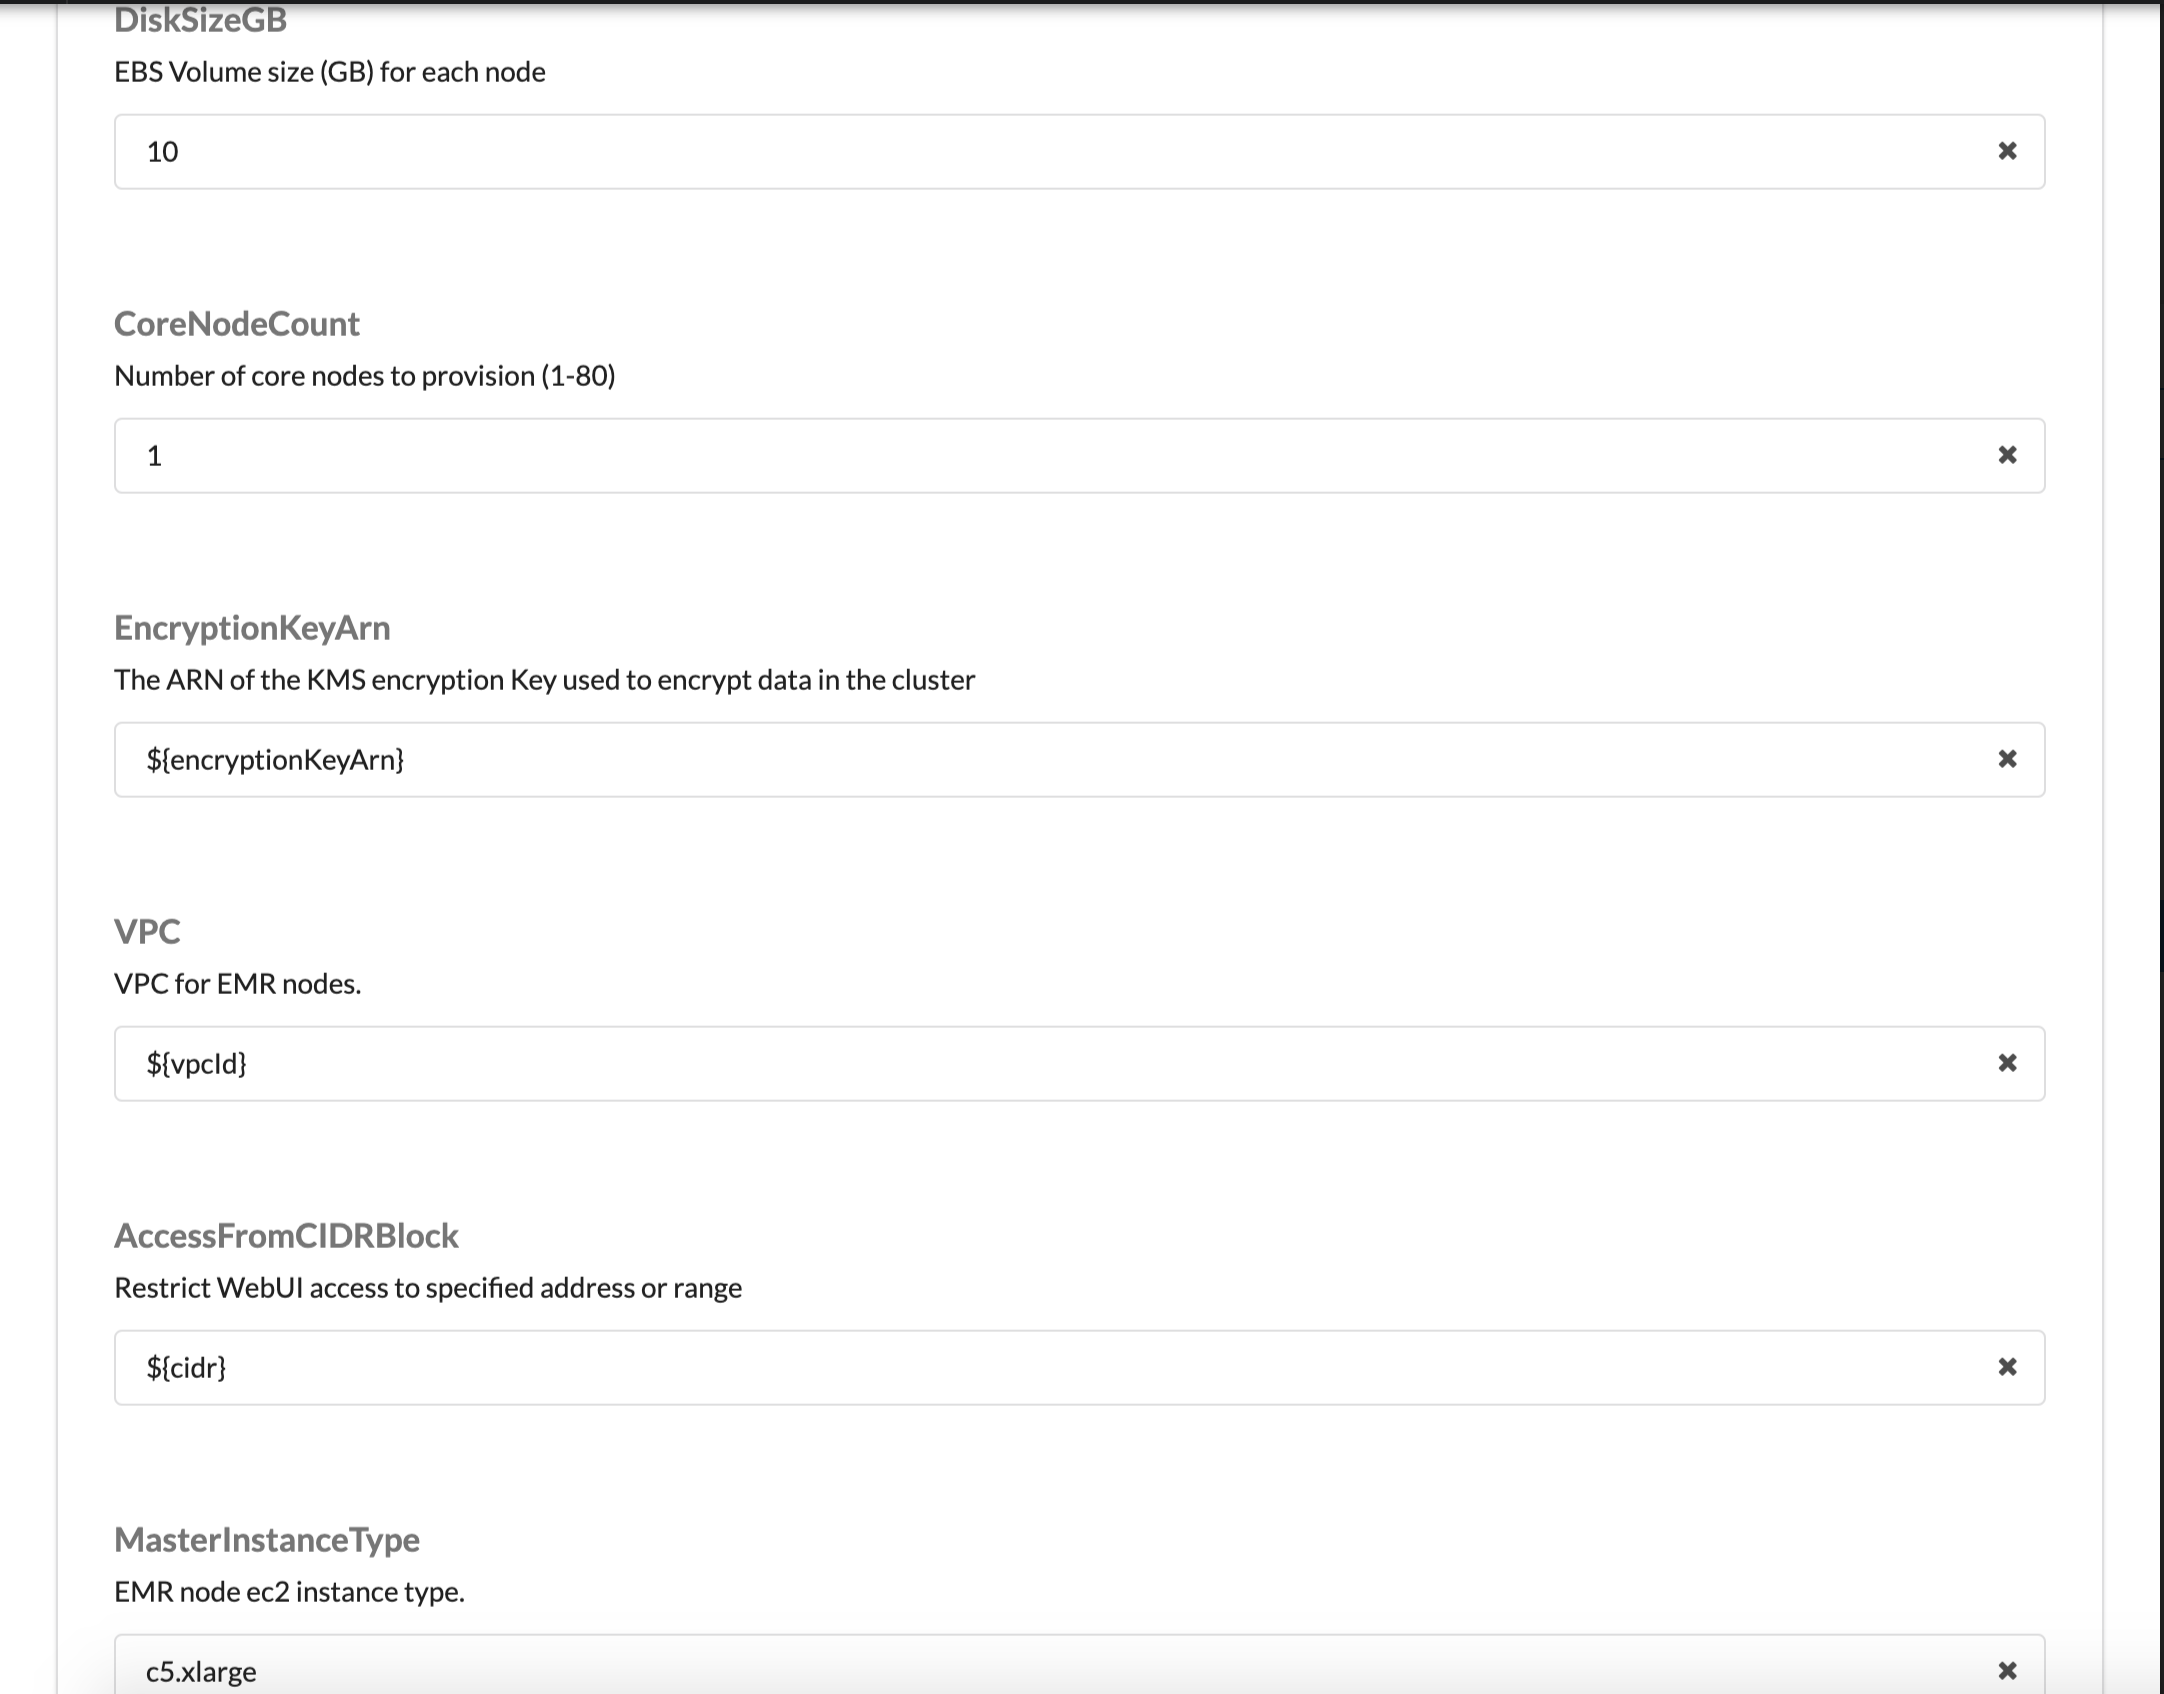
Figure: Configurations for Amazon EMR
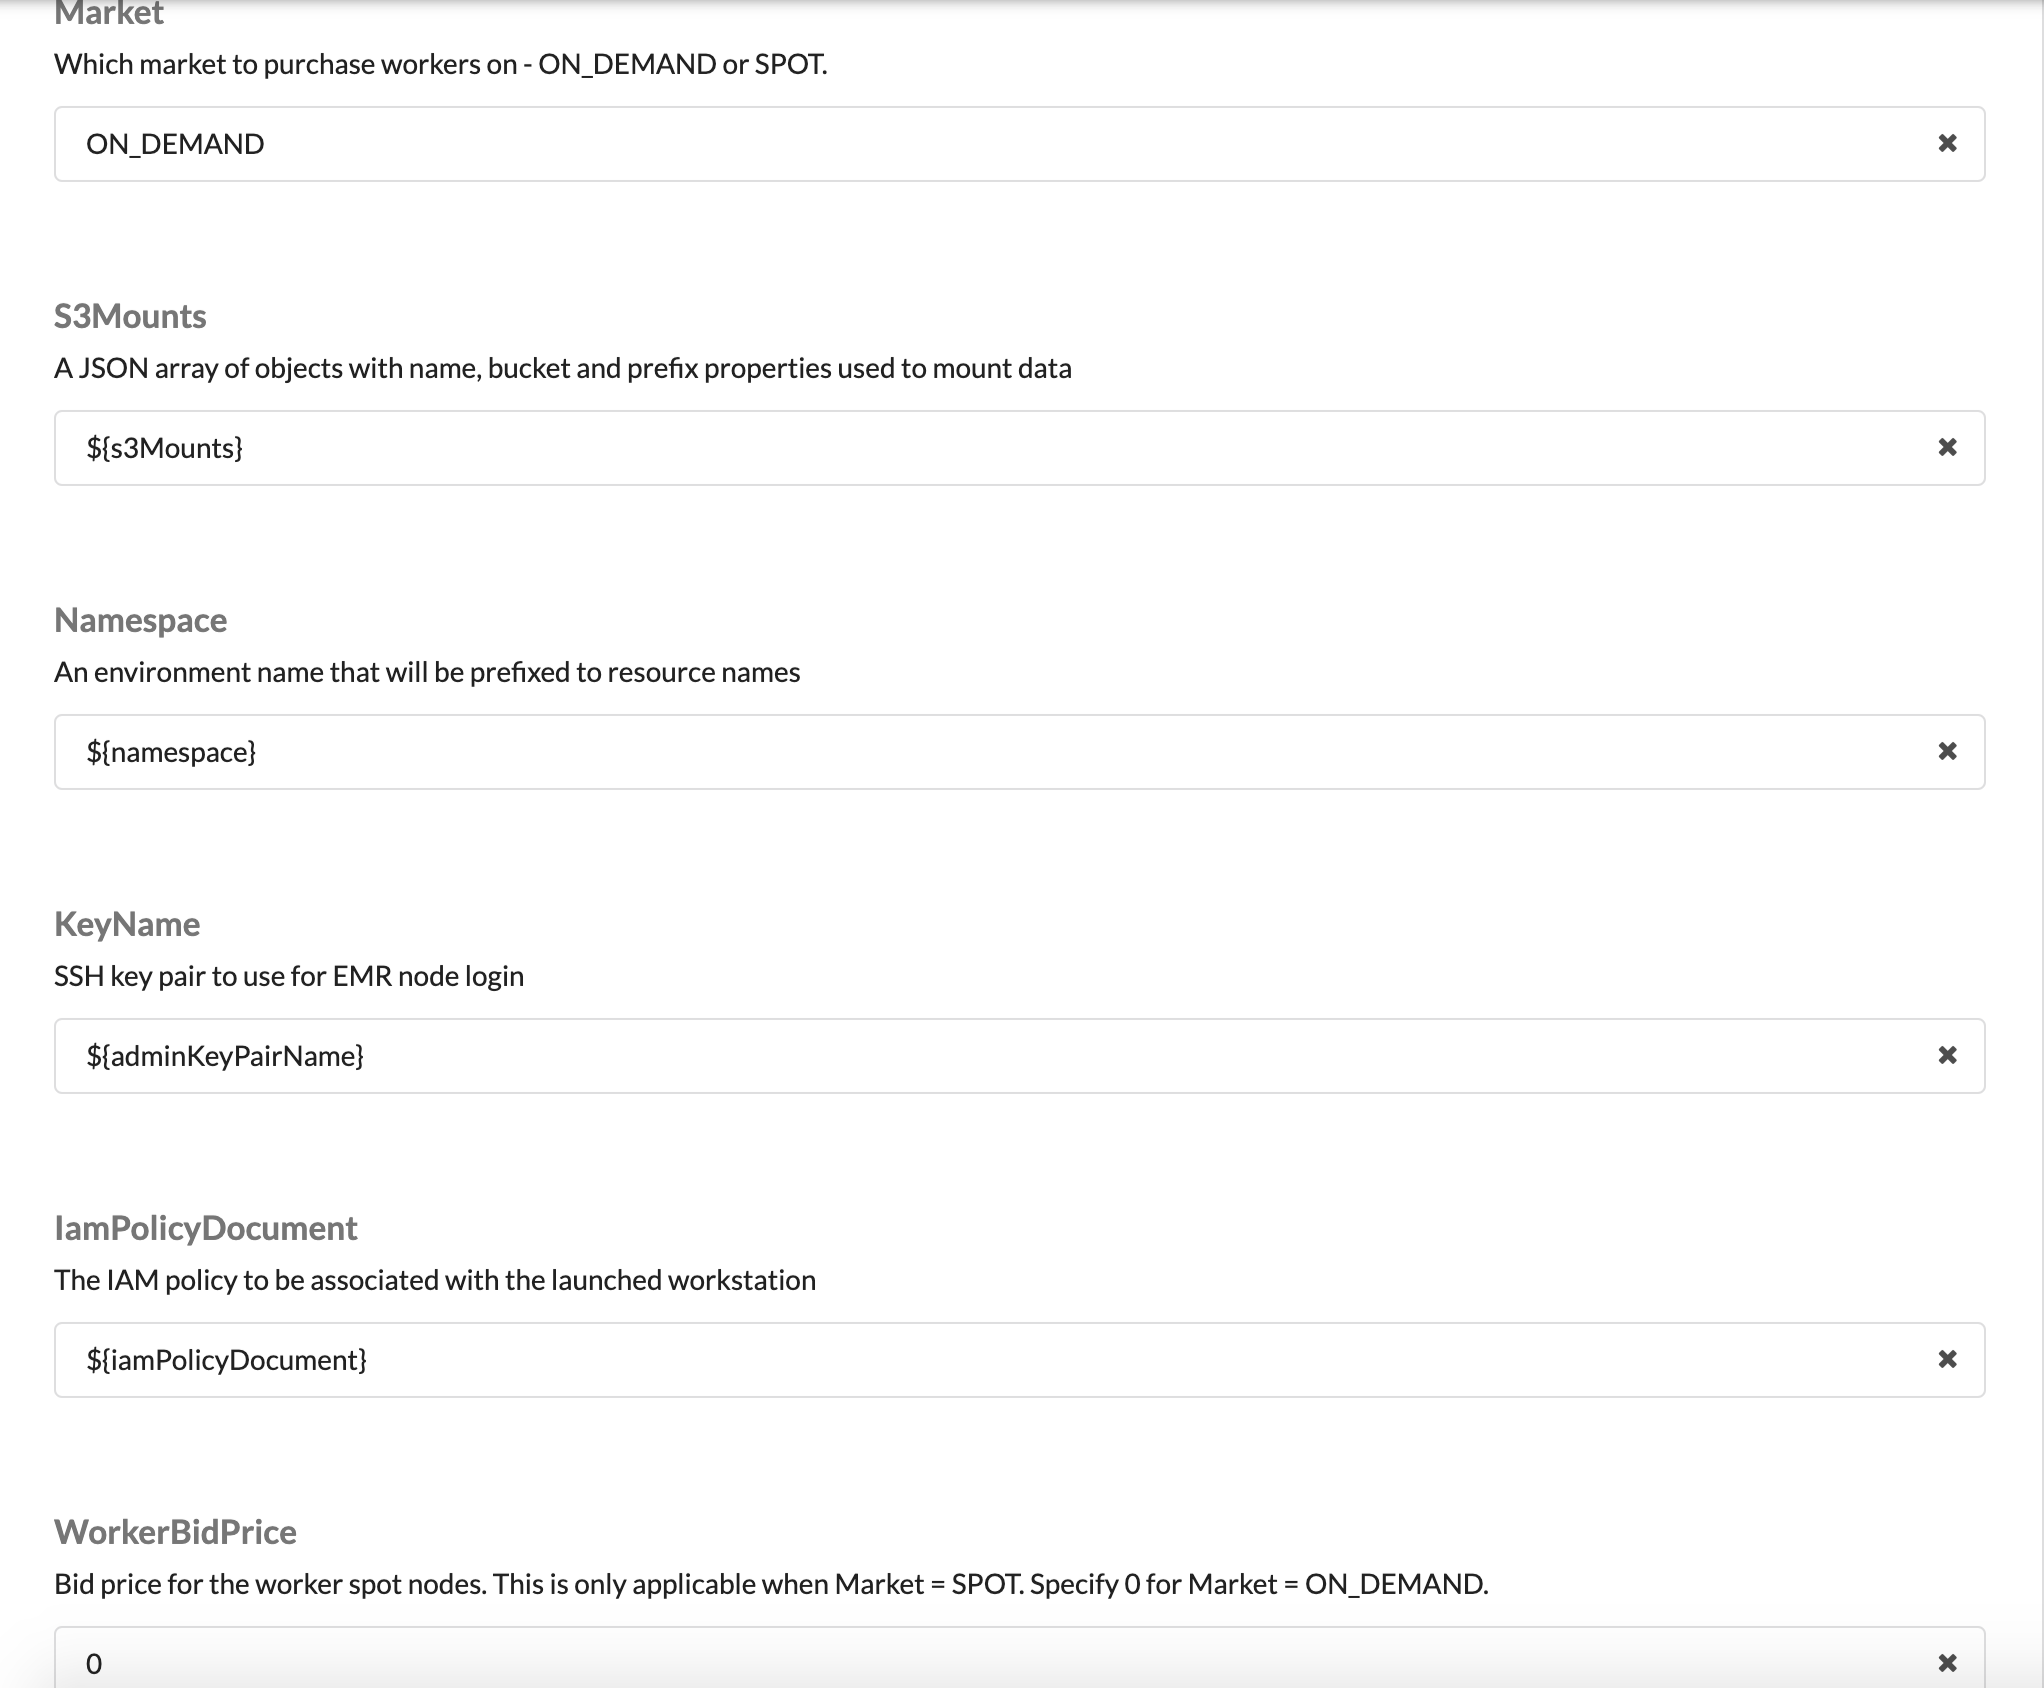
Figure: Configurations for Amazon EMR
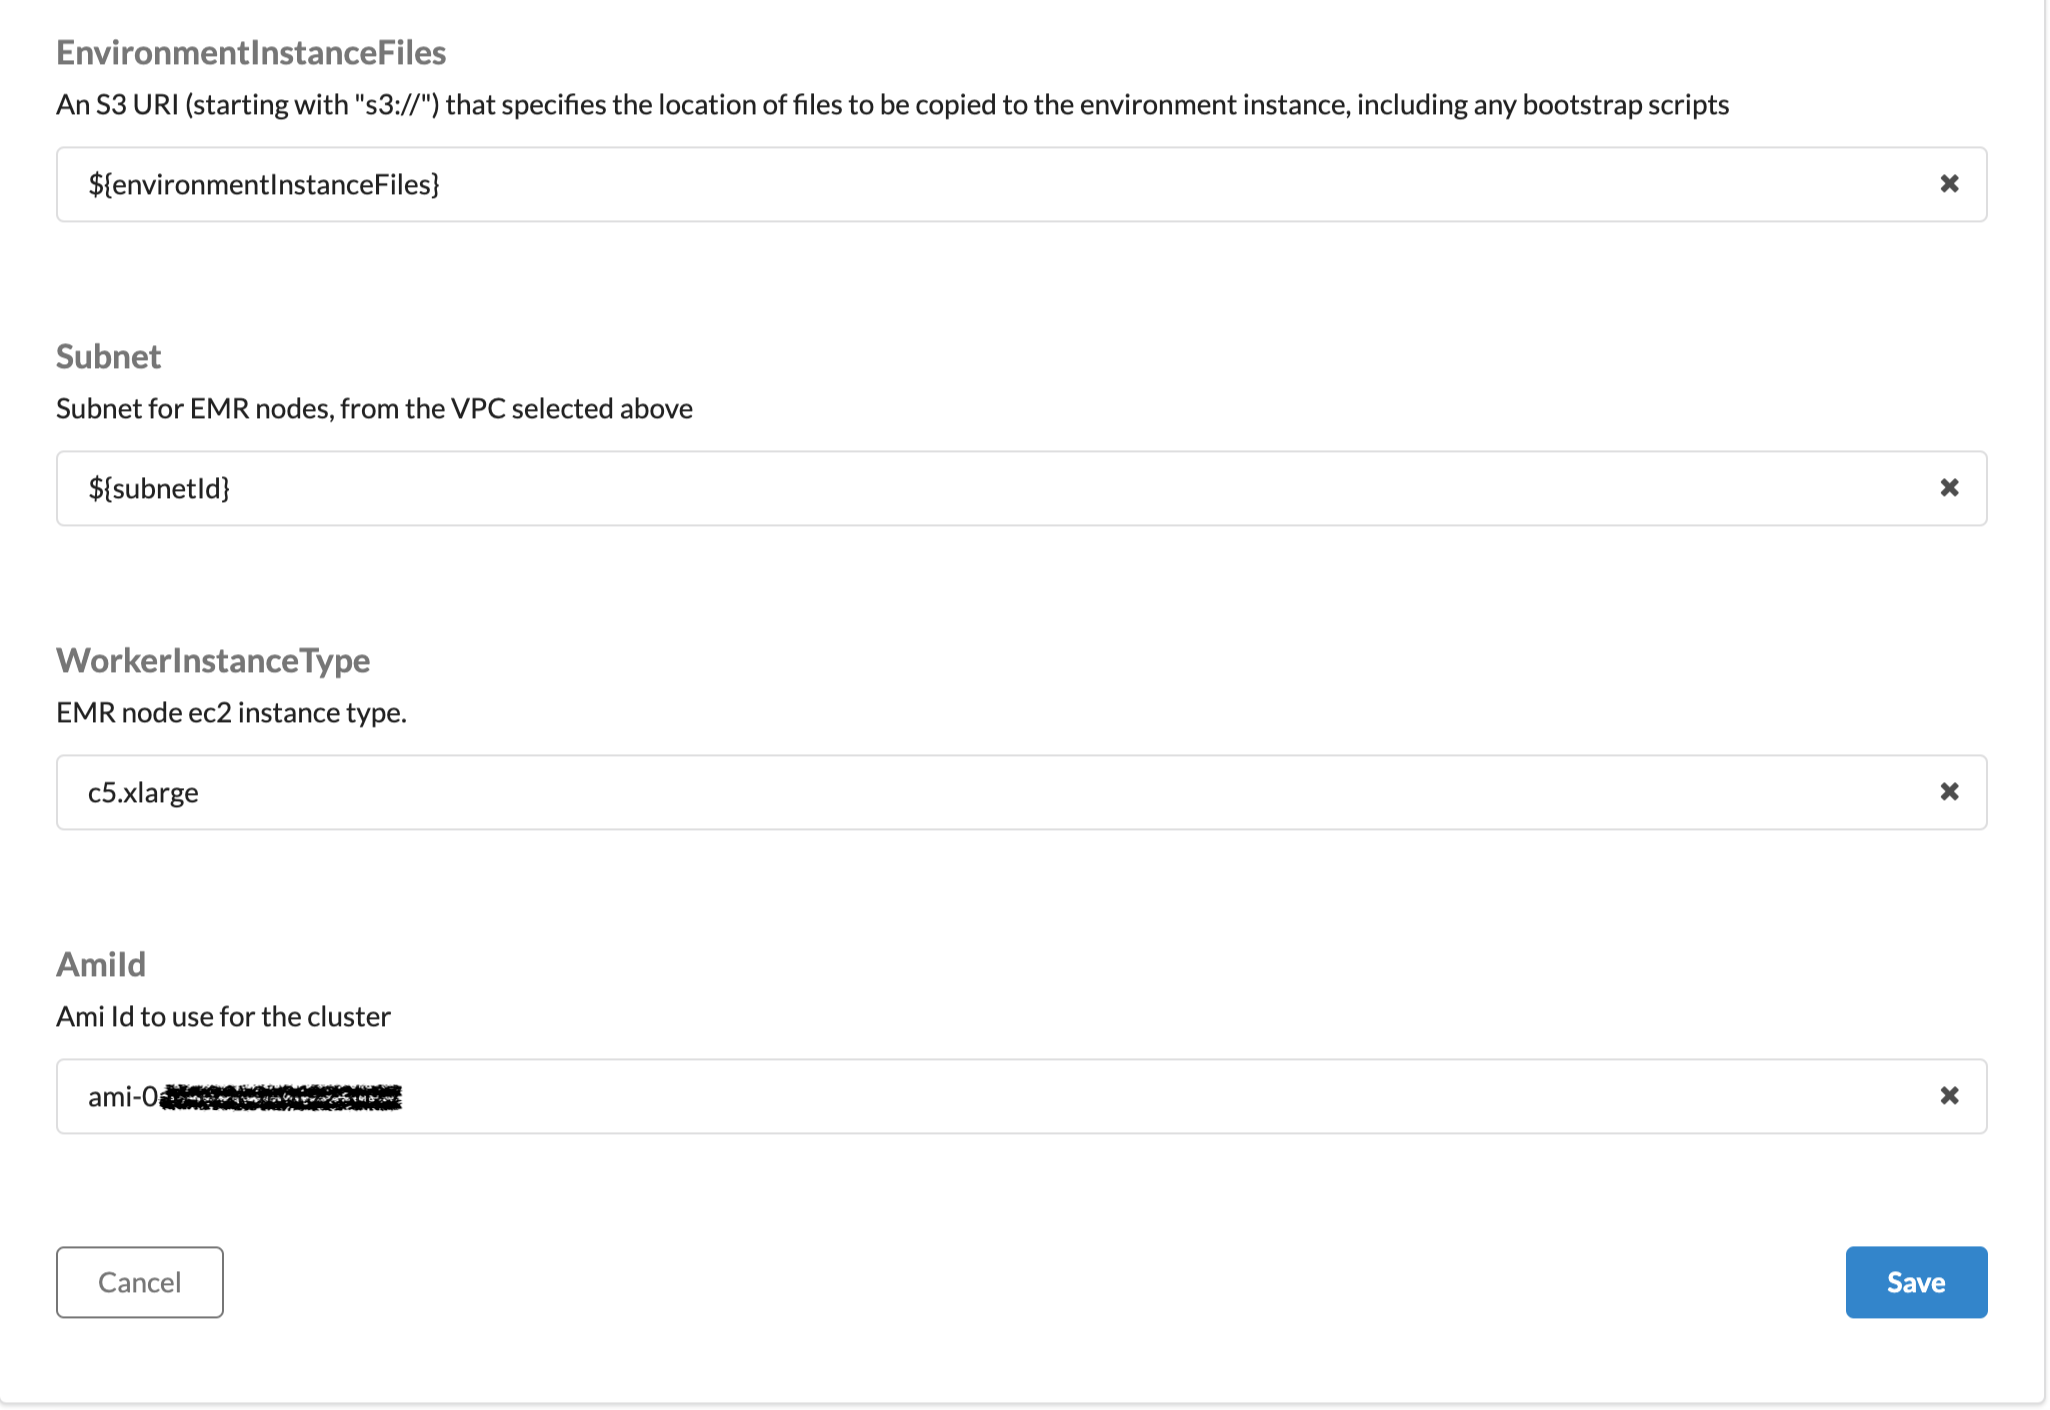
Figure: Configurations for Amazon EMR
Approving the workspace
Once the configuration completes, choose the Approve button. The newly created workspace type will be available for launch in the Study and Workspace tab.