Installing AMIs
You can install Service Workbench either by creating and configuring an EC2 instance or by creating a Cloud9 instance. This section describes the steps to install Service Workbench by using either of the two options.
Installing AMIs for EC2 Workspace
In order to use EC2-based Workspaces, you must first install EC2 AMIs for these Workspaces.
Build AMIs for EC2-based workspaces. This takes up to 15 minutes and may run in parallel with the main install script.
- Install packer from the root of your home directory, refer Installing Packer:
- Change to the directory containing the machine image source and build the AMIs. Ensure that the environment variable
STAGE_NAMEhas been set before running this command.
Verify that the AMIs have been created. In the Service Workbench
/main/solutions/machine-imagesdirectory:pnpx sls build-image -s ${STAGE_NAME}
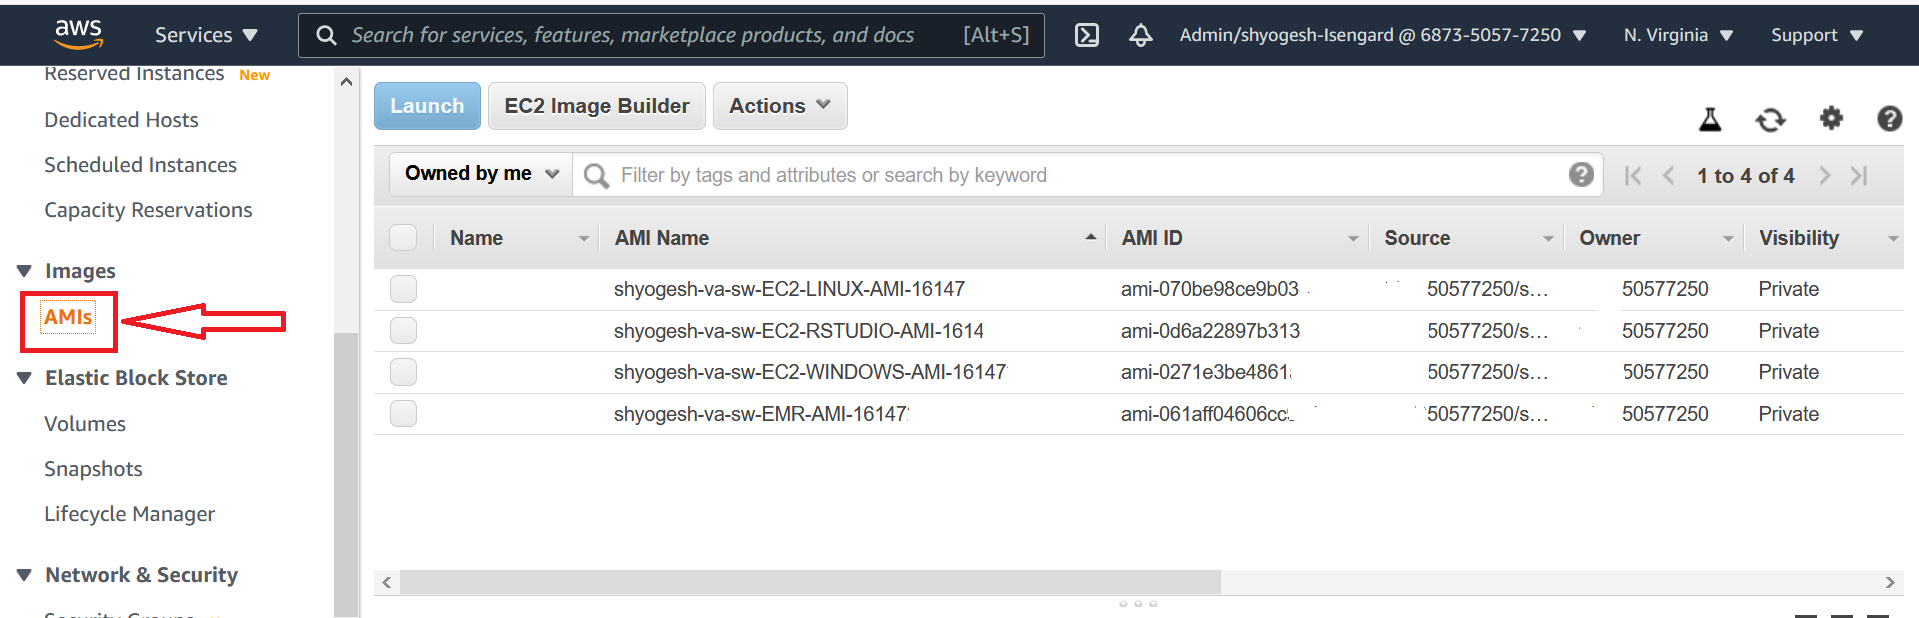
In the Amazon EC2 service console, select AMI in the left-hand navigation. You should see AMIs for EC2-LINUX, EC2-RSTUDIO, EC2-WINDOWS, and Amazon EMR.
Because Hongkong region do not support t2 instance type, please follow this guide to generate Windows AMI in Hongkong region.
Warning: Each AMI build results in a new set of AMIs.