Demo Web App Deployment
📘 Overview
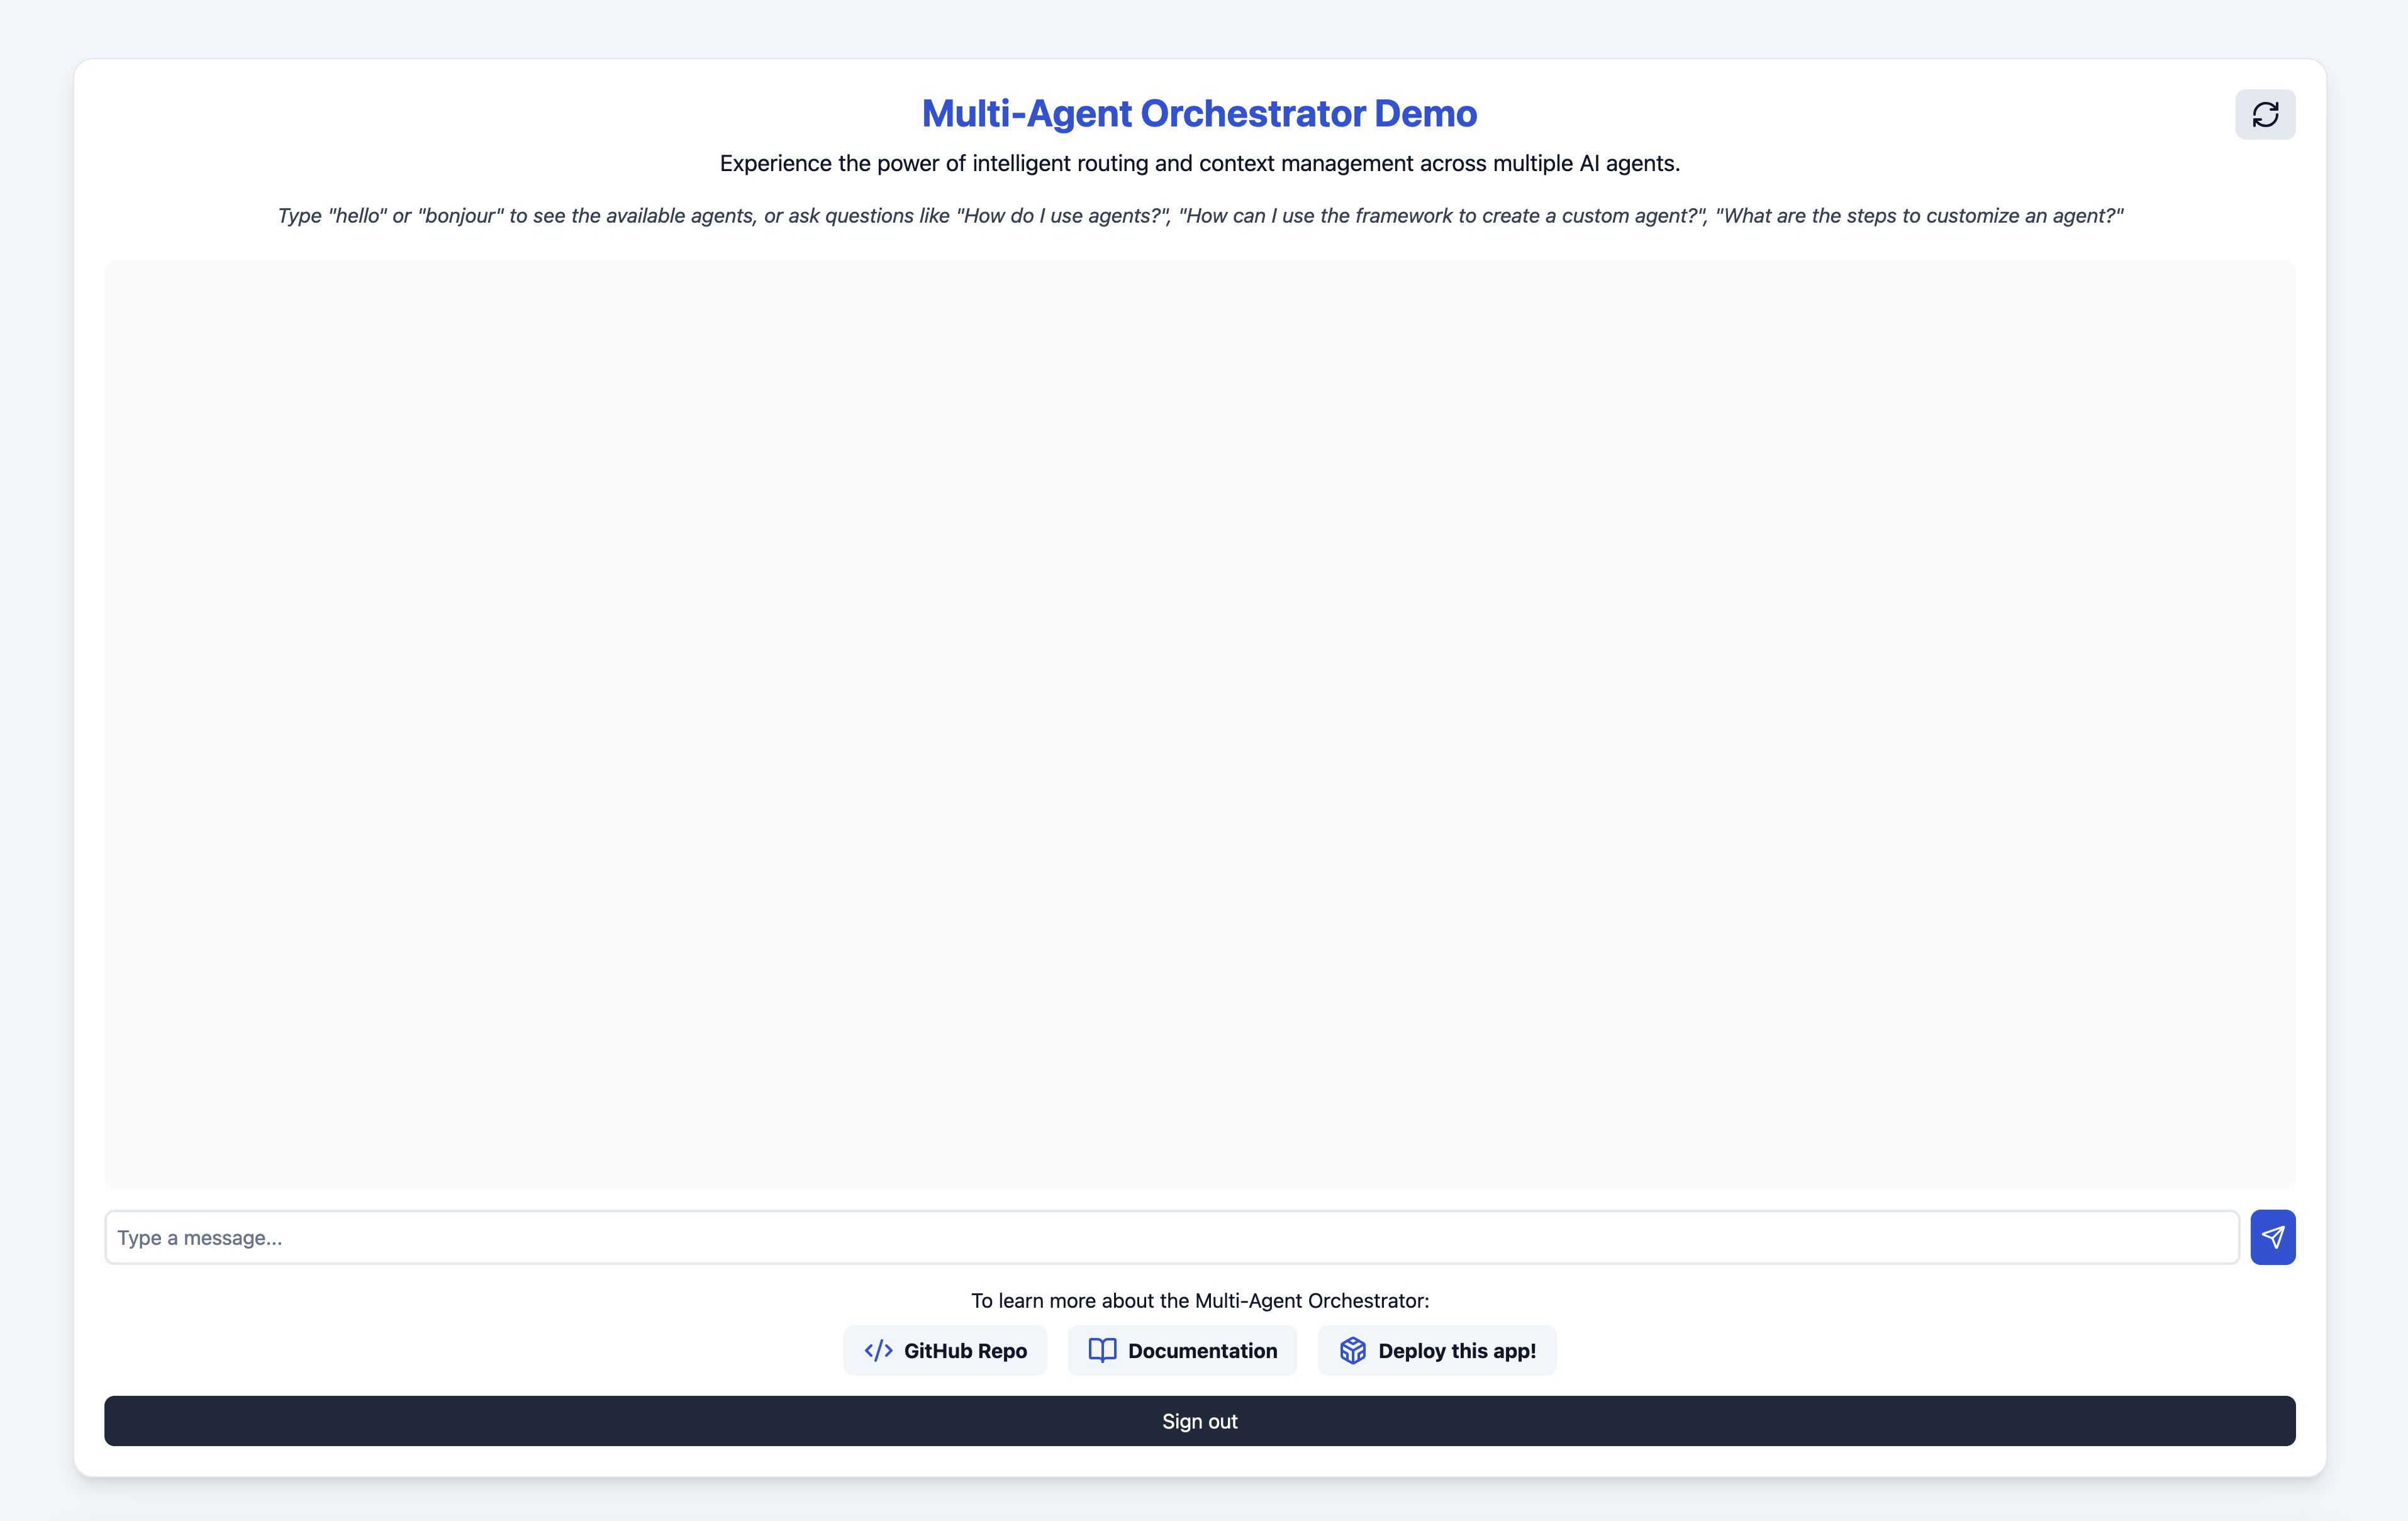
The Multi-Agent Orchestrator Framework includes a demo chat web application that showcases the capabilities of the system. This application is built using AWS CDK (Cloud Development Kit) and can be easily deployed to your AWS account.

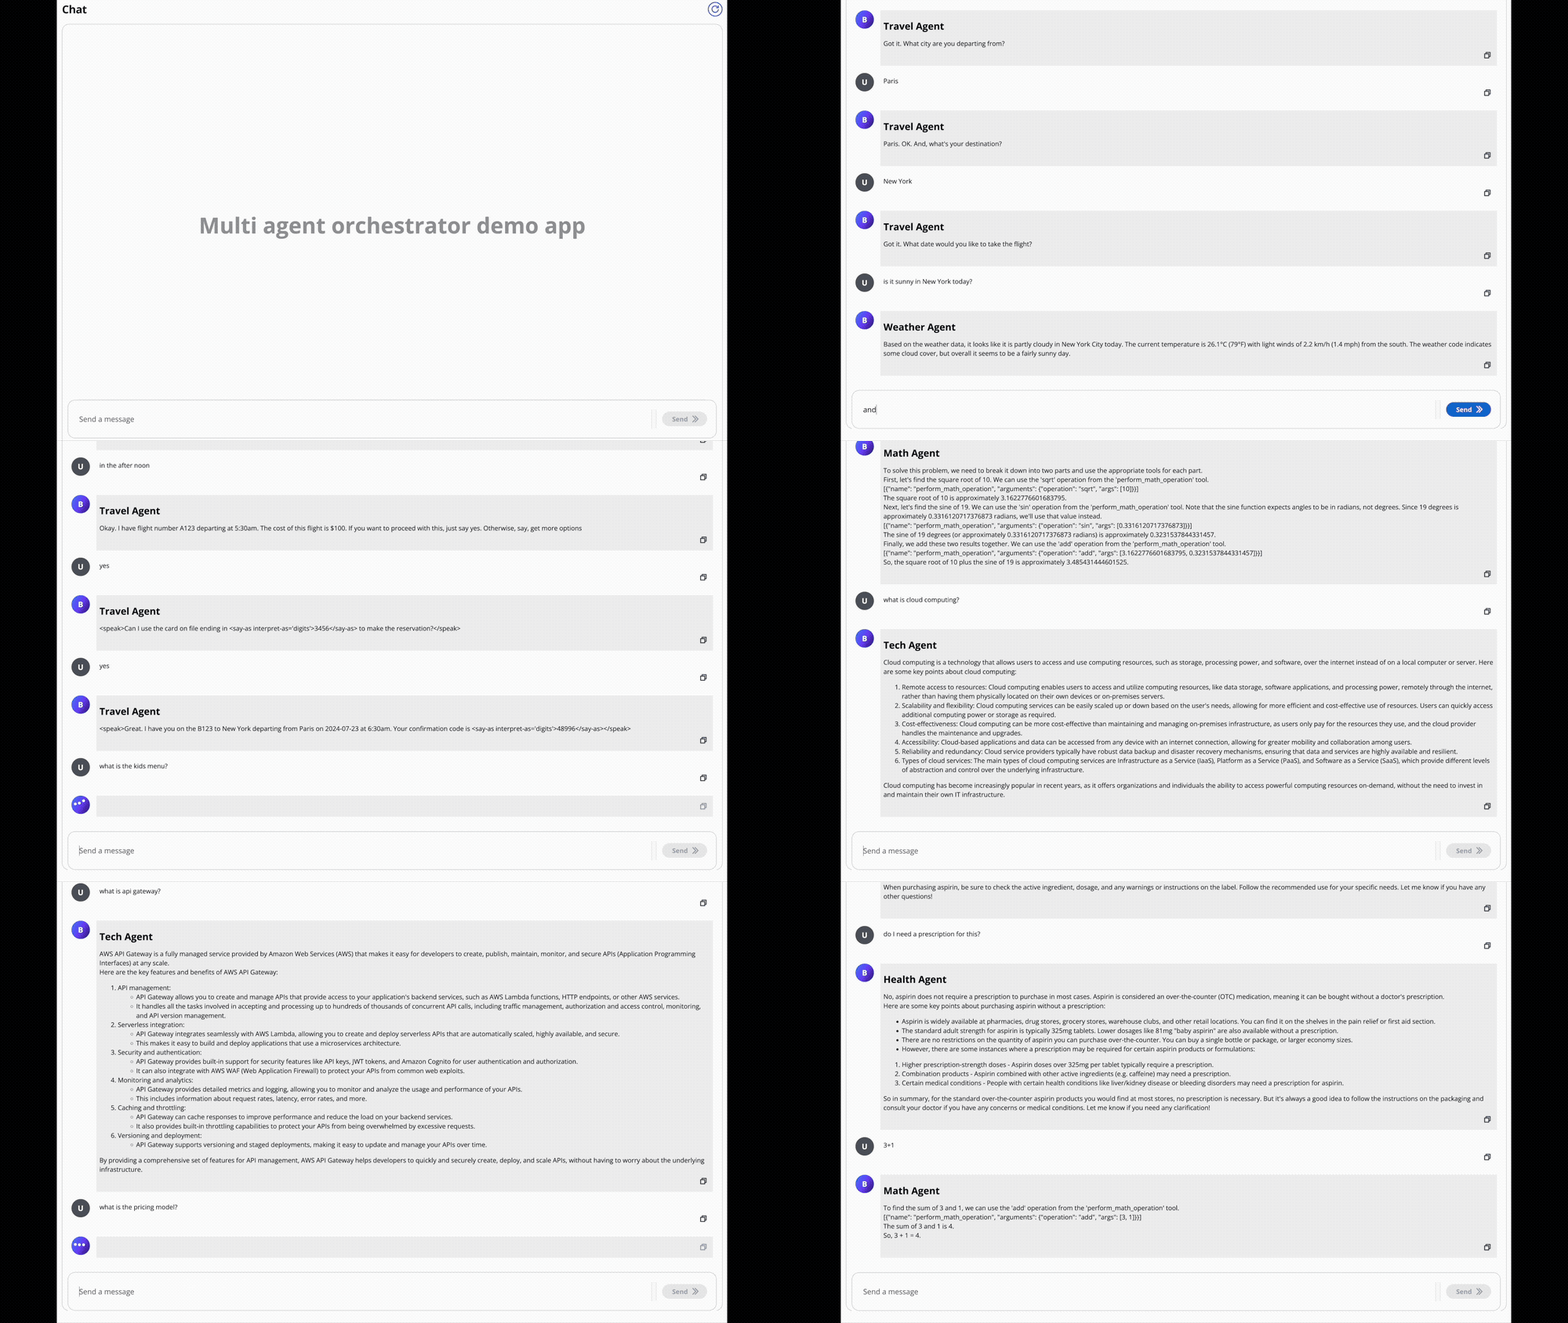
In the screen recording below, we demonstrate an extended version of the demo app that uses 6 specialized agents:
- Travel Agent: Powered by an Amazon Lex Bot
- Weather Agent: Utilizes a Bedrock LLM Agent with a tool to query the open-meteo API
- Math Agent: Utilizes a Bedrock LLM Agent with two tools for executing mathematical operations
- Tech Agent: A Bedrock LLM Agent designed to offer technical support and documentation assistance with direct access to Multi-Agent Orchestrator framework source code
- Health Agent: A Bedrock LLM Agent focused on addressing health-related queries
Watch as the system seamlessly switches context between diverse topics, from booking flights to checking weather, solving math problems, and providing health information. Notice how the appropriate agent is selected for each query, maintaining coherence even with brief follow-up inputs.
The demo highlights the system’s ability to handle complex, multi-turn conversations while preserving context and leveraging specialized agents across various domains.

📋 Prerequisites
Before deploying the demo web app, ensure you have the following:
- An AWS account with appropriate permissions
- AWS CLI installed and configured with your credentials
- Node.js and npm installed on your local machine
- AWS CDK CLI installed (
npm install -g aws-cdk)
🚀 Deployment Steps
Follow these steps to deploy the demo chat web application:
-
Clone the Repository (if you haven’t already):
git clone https://github.com/awslabs/multi-agent-orchestrator.gitcd multi-agent-orchestrator -
Navigate to the Demo Web App Directory:
cd examples/chat-demo-app -
Install Dependencies:
npm install -
Bootstrap AWS CDK (if you haven’t used CDK in this AWS account/region before):
cdk bootstrap aws://123456789012/us-east-1replace
123456789012with your account id. This chat-demo application is using the default BedrockClassifier with Claude 3.5 Sonnet v1. Make sure to use a region where this model is available. If you plan on using a region different from us-east-1 (e.g us-west-2), make sure to also bootstrap us-east-1 region as well as the CDK stack also deploys infra in this region (lambda@edge function). -
Review and Customize the Stack (optional): Open
chat-demo-app/cdk.jsonand review the configuration. You can customize aspects of the deployment by enabling or disabling additional agents."context": {"enableLexAgent": true,...enableLexAgent: Enable the sample Airlines Bot (See AWS Blogpost here)
-
Deploy the Application:
export AWS_DEFAULT_REGION=us-east-1cdk deploy --all -
Confirm Deployment: CDK will show you a summary of the changes and ask for confirmation. Type ‘y’ and press Enter to proceed.
-
Note the Outputs: After deployment, CDK will display outputs including the URL of your deployed web app and the user pool ID. Save the URL and the user pool Id.
-
Create a user in Amazon Cognito user pool:
aws cognito-idp admin-create-user \ --user-pool-id your-region_xxxxxxx \ --username your@email.com \ --user-attributes Name=email,Value=your@email.com \ --temporary-password "MyChallengingPassword" \ --message-action SUPPRESS \ --region your-region🌐 Accessing the Demo Web App
Once deployment is complete, you can access the demo chat web application by:
- Opening the URL provided in the CDK outputs in your web browser.
- Logging in with the temporary credentials provided (if applicable).
✅ Testing the Deployment
To ensure the deployment was successful:
- Open the web app URL in your browser.
- Try sending a few messages to test the multi-agent system.
- Verify that you receive appropriate responses from different agents.
🧹 Cleaning Up
To avoid incurring unnecessary AWS charges, remember to tear down the deployment when you’re done:
cdk destroyConfirm the deletion when prompted.
🛠️ Troubleshooting
If you encounter issues during deployment:
- Ensure your AWS credentials are correctly configured.
- Check that you have the necessary permissions in your AWS account.
- Verify that all dependencies are correctly installed.
- Review the AWS CloudFormation console for detailed error messages if the deployment fails.
➡️ Next Steps
After successfully deploying the demo web app, you can:
- Customize the web interface in the source code.
- Modify the agent configurations to test different scenarios.
- Integrate additional AWS services to enhance the application’s capabilities.
By deploying this demo web app, you can interact with your Multi-Agent Orchestrator System in a user-friendly interface, showcasing its capabilities and helping you understand how it performs in a real-world scenario.
⚠️ Disclamer
This demo application is intended solely for demonstration purposes. It is not designed for handling, storing, or processing any kind of Personally Identifiable Information (PII) or personal data. Users are strongly advised not to enter, upload, or use any PII or personal data within this application. Any use of PII or personal data is at the user’s own risk and the developers of this application shall not be held responsible for any data breaches, misuse, or any other related issues. Please ensure that all data used in this demo is non-sensitive and anonymized.
For production usage, it is crucial to implement proper security measures to protect PII and personal data. This includes obtaining proper permissions from users, utilizing encryption for data both in transit and at rest, and adhering to industry standards and regulations to maximize security. Failure to do so may result in data breaches and other serious security issues.
Ready to build your own multi-agent chat application? Check out the complete source code in our GitHub repository.