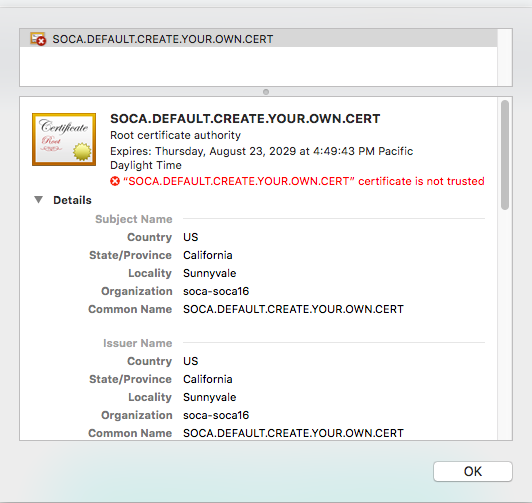
By default, Engineering Development Hub will use a non-friendly DNS name and create a unique certificate to enable access through your HTTPS endpoint. Because it's a self-signed certificate, browsers won't recognized it and you will get a security warning on your first connection.
In this page, we will see how you can update Engineering Development Hub to match your company domain name.
Create a new DNS record for Engineering Development Hub
For this example, let's assume I want to use https://demo.soca.dev. First locate the DNS associated to your ALB endpoint using the AWS console.
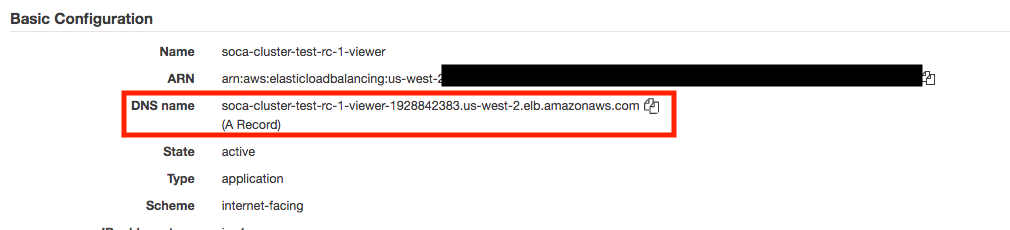
Create a new CNAME record which point to your ALB endpoint. Once done, validate your DNS is working properly using the nslookup command.
user@host: nslookup demo.soca.dev
Non-authoritative answer:
demo.soca.dev   canonical name = soca-cluster-test-rc-1-viewer-1928842383.us-west-2.elb.amazonaws.com.
Name:   soca-cluster-test-rc-1-viewer-1928842383.us-west-2.elb.amazonaws.com
Address: 52.40.2.185
Name:   soca-cluster-test-rc-1-viewer-1928842383.us-west-2.elb.amazonaws.com
Address: 54.68.240.4
Name:   soca-cluster-test-rc-1-viewer-1928842383.us-west-2.elb.amazonaws.com
Address: 52.27.180.89
Upload your SSL certificate to ACM
Now that your friendly DNS is running, you will need to update the default ALB certificate to match your new domain. This assume you have a valid SSL certificate signed by a valid Certificate Authority (Symantec, Digicert ...)
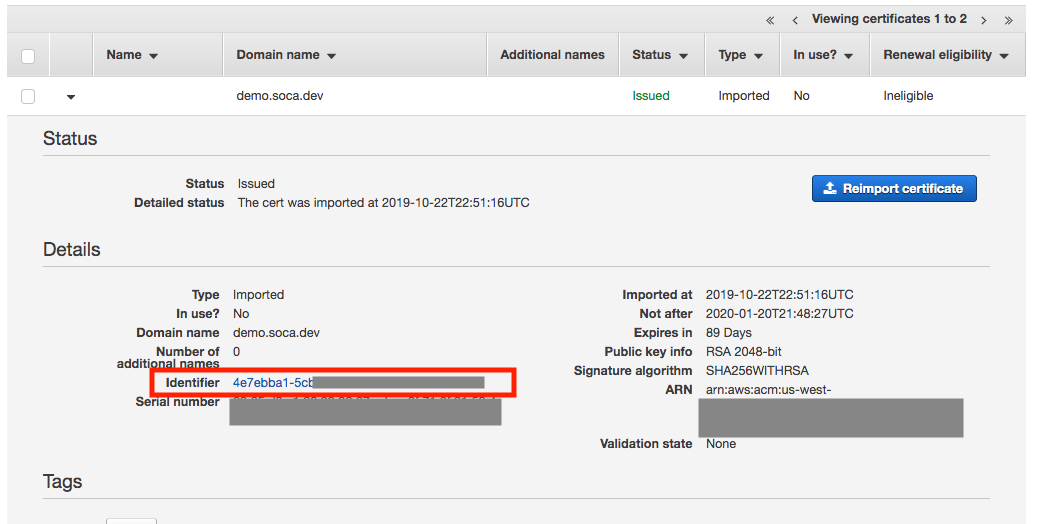
To upload your certificate, visit the AWS Certificate Manager (ACM) bash and click "Import a Certificate".

Enter your private key, certificate and certificate chain (optional), then click Import.
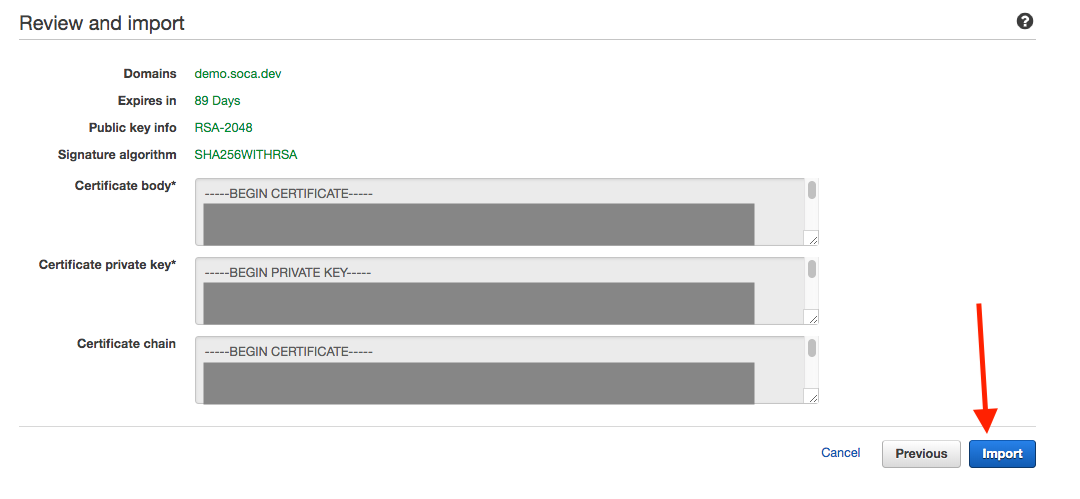
Once the import is complete, note your certificate identifier.
Update your ALB with the new certificate
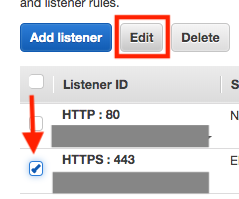
Navigate to your Engineering Development Hub Load Balancer and choose "Listeners" tab. Select your HTTPS listener and click 'Edit' button.
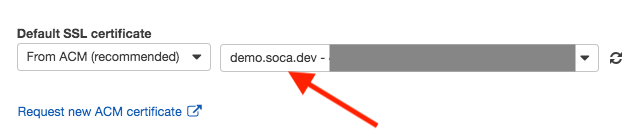
Change the default certificate to point to your new certificate and save your change.
Update your default DNS for ALB or NLB
EDH versions newer than 25.1.0
You can use the edhctl utility to easily update the DNS for your EDH and DCV entry points:
# Update the URLs for your DCV hosts
./edhctl config set --value "demo.soca.dev" \
   --key "/configuration/DCVEntryPointDNSName"

#  Update the EDH DNS
./edhctl config set --value "demo.soca.dev" \
   --key "/configuration/LoadBalancerDNSName"

# Additionally, you can update the NLB Endpoint (ssh to login nodes)
./edhctl config set --value "ssh.demo.soca.dev" \
   --key "/configuration/NLBLoadBalancerDNSName"
Once done, restart your EDH Web UI for the changes to take effect.
Legacy DNS update (versions prior to 25.1.0)
Now that you have updated your domain, you must also update DCV to point to the new DNS. Open your Secret Manager bash and select your Engineering Development Hub cluster configuration. Click "Retrieve Secret Value" and then "Edit".
Find the entry "LoadBalancerName" and update the value with your new DNS name (demo.soca.dev in my case) then click Save

Validate everything
Now that you have your friendly DNS and SSL certificate configured, it's time to test.
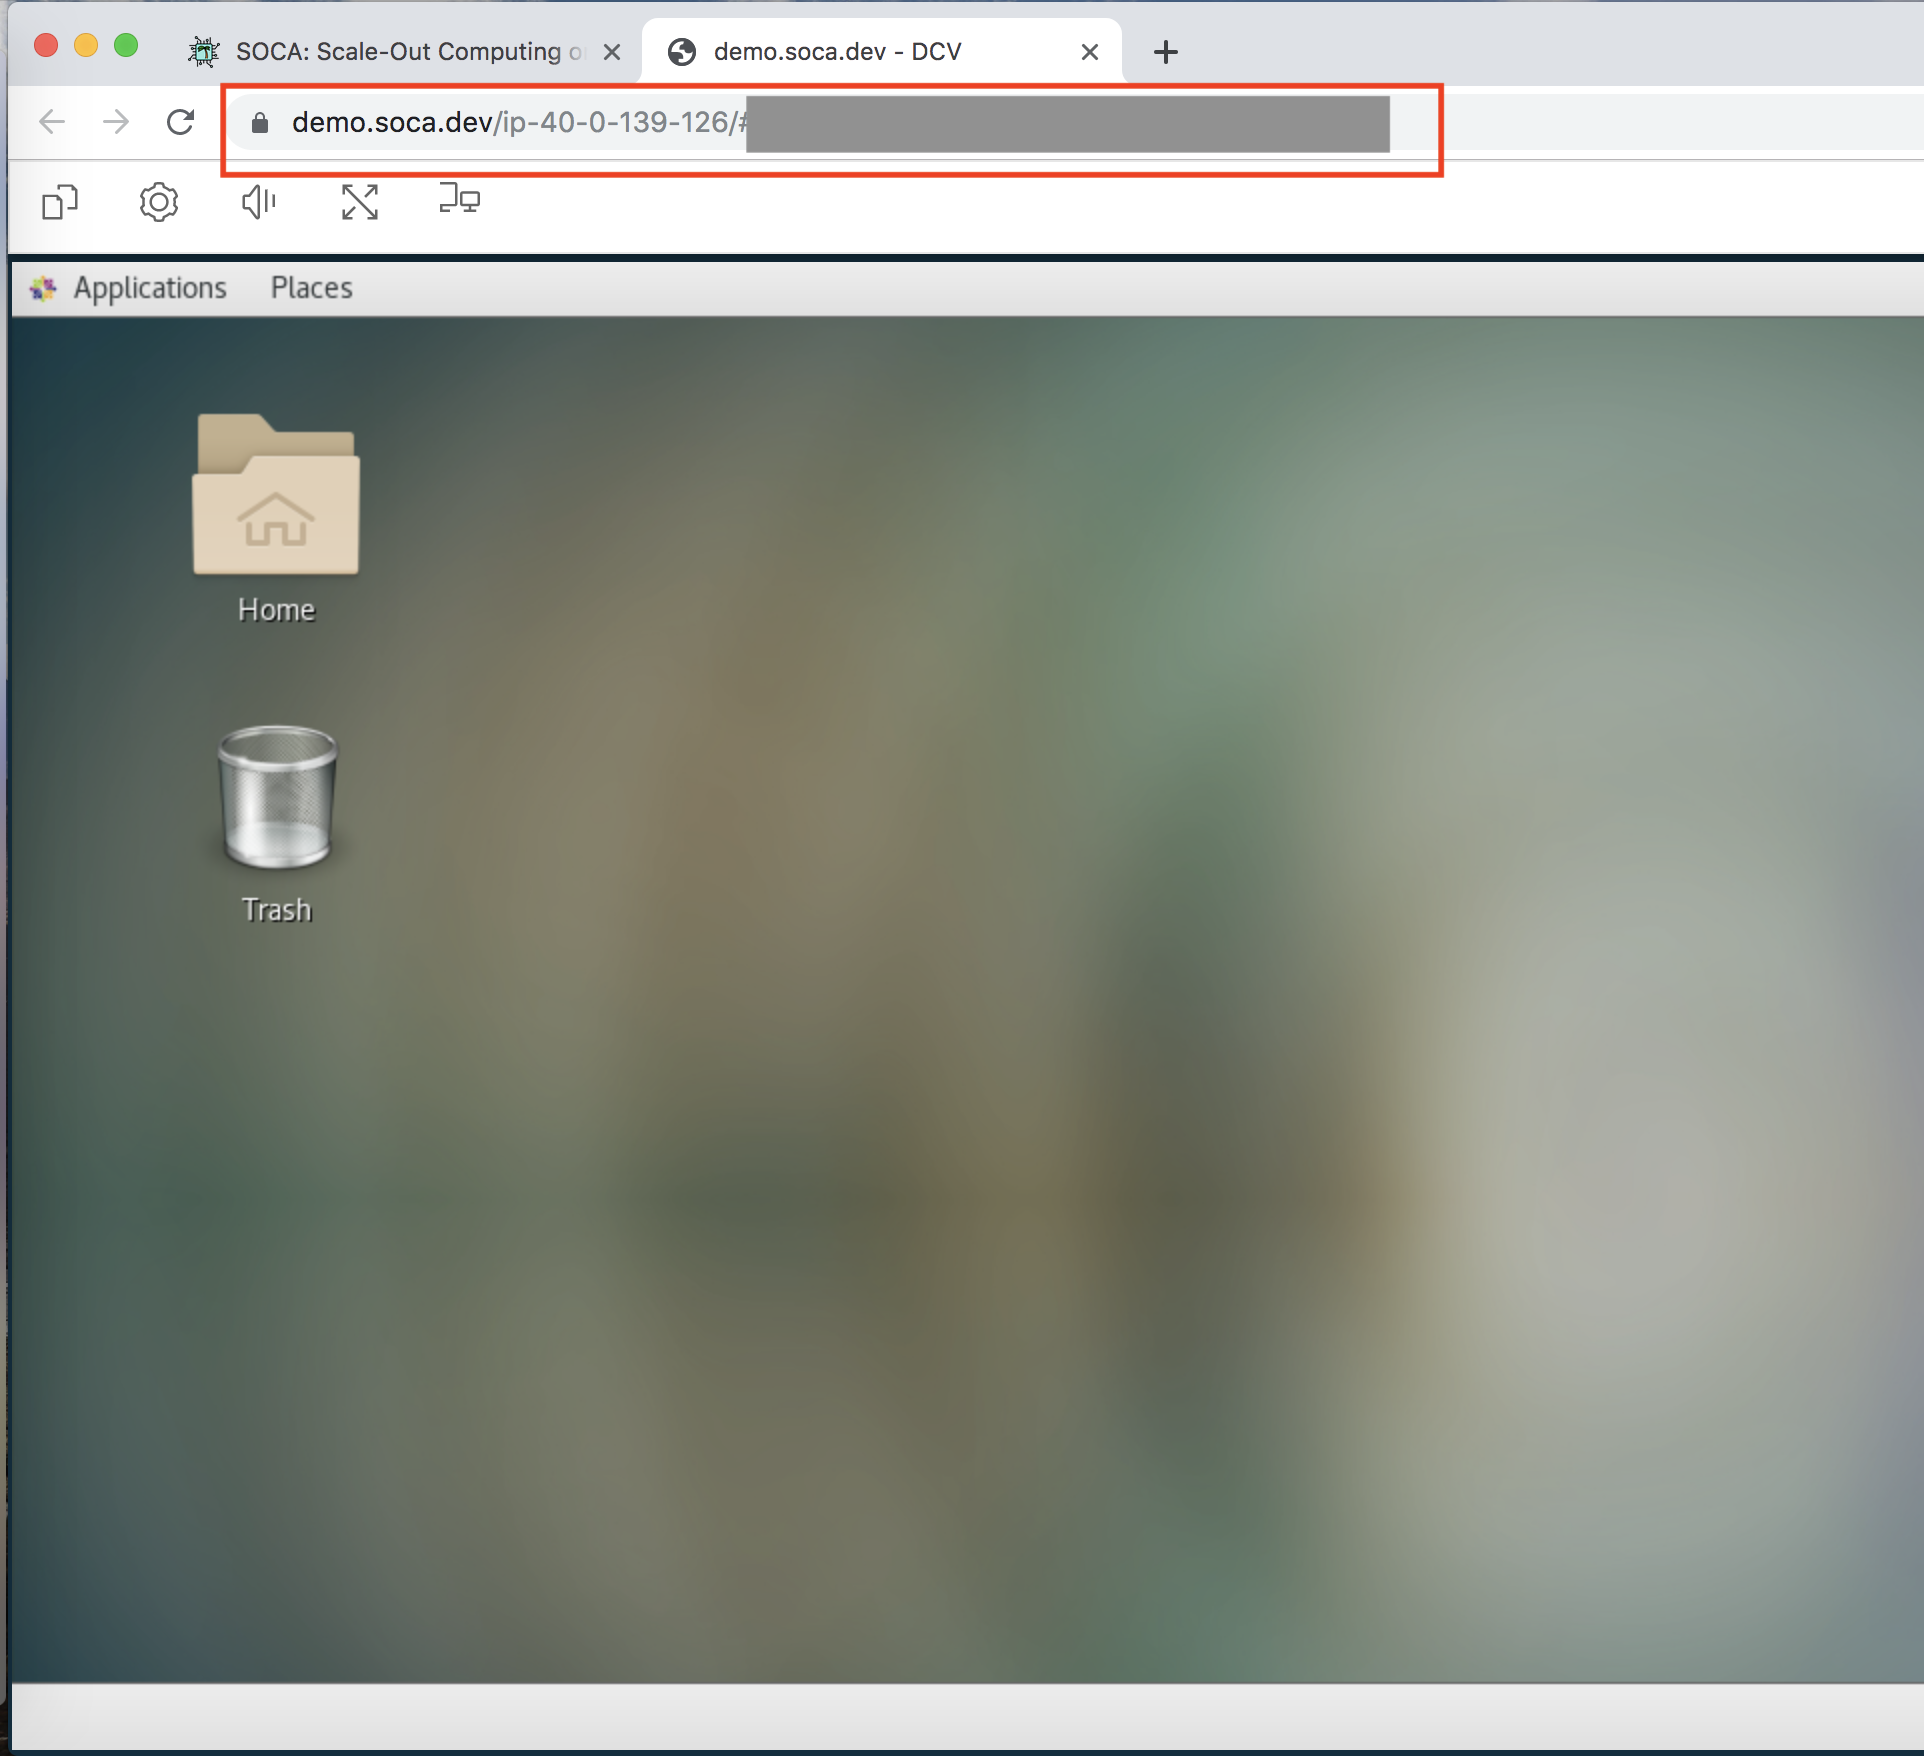
Visit your new DNS (https://demo.soca.dev in my case) and make sure you can access Engineering Development Hub correctly.

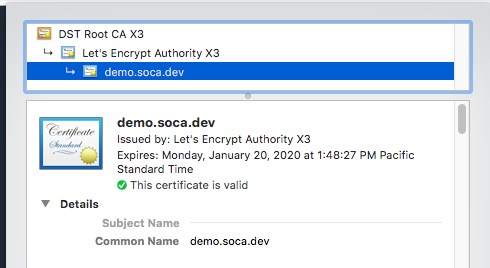
Make sure your browser is detecting your new SSL certificate correctly.
Finally, create a new DCV session and verify the endpoint is using your new DNS name