Getting Started
This guide walks you through your first login to VAMS and introduces the key areas of the web interface. By the end, you will be familiar with the navigation structure, understand how to switch between themes, and know where to find the tools you need.
VAMS walkthrough
Watch the full demo walkthrough to see VAMS in action — asset management, 3D visualization, search, pipelines, and more.
Receiving Your Credentials
When your administrator creates your account, you will receive an email from Amazon Cognito containing a temporary username and password. This email is sent to the address your administrator registered during account creation.
If your organization uses an external identity provider (such as SAML or OIDC federation), you will not receive an Amazon Cognito email. Instead, you will authenticate through your organization's single sign-on (SSO) portal. Contact your administrator for the correct login URL.
First Login and Password Change
Amazon Cognito Authentication
- Open the VAMS URL provided by your administrator in a supported web browser (Chrome, Firefox, or Safari).
- On the login page, enter the username and temporary password from your welcome email.
- You will be prompted to set a new password. Choose a strong password that meets the requirements displayed on screen.
- After setting your new password, you are signed in and redirected to the VAMS home page.
Federated Identity Provider Authentication
If your deployment uses a federated identity provider through Amazon Cognito, the login page displays a Login with Federated Identity Provider button instead of the standard username and password form.
- Select Login with Federated Identity Provider.
- You are redirected to your organization's identity provider login page.
- Complete authentication with your corporate credentials.
- You are redirected back to VAMS and signed in automatically.
External OAuth SSO Authentication
If your deployment uses an external OAuth identity provider (without Amazon Cognito), the login page displays Log in with SSO and optionally Log in with MFA buttons.
- Select Log in with SSO (or Log in with MFA if multi-factor authentication is required).
- Complete authentication on your organization's identity provider.
- You are redirected back to VAMS and signed in automatically.
Navigating the Web Interface
After signing in, VAMS presents a layout with three main areas: the top navigation bar, the side navigation panel, and the content area.
Top Navigation Bar
The top navigation bar appears at the top of every page and contains:
| Element | Description |
|---|---|
| Application logo | Displays the VAMS logo. Select it to return to the home page. |
| Settings dropdown | Provides theme selection (Light Theme or Dark Theme). The active theme is indicated with a checkmark. |
| User profile dropdown | Displays your username and provides a Sign out option. |
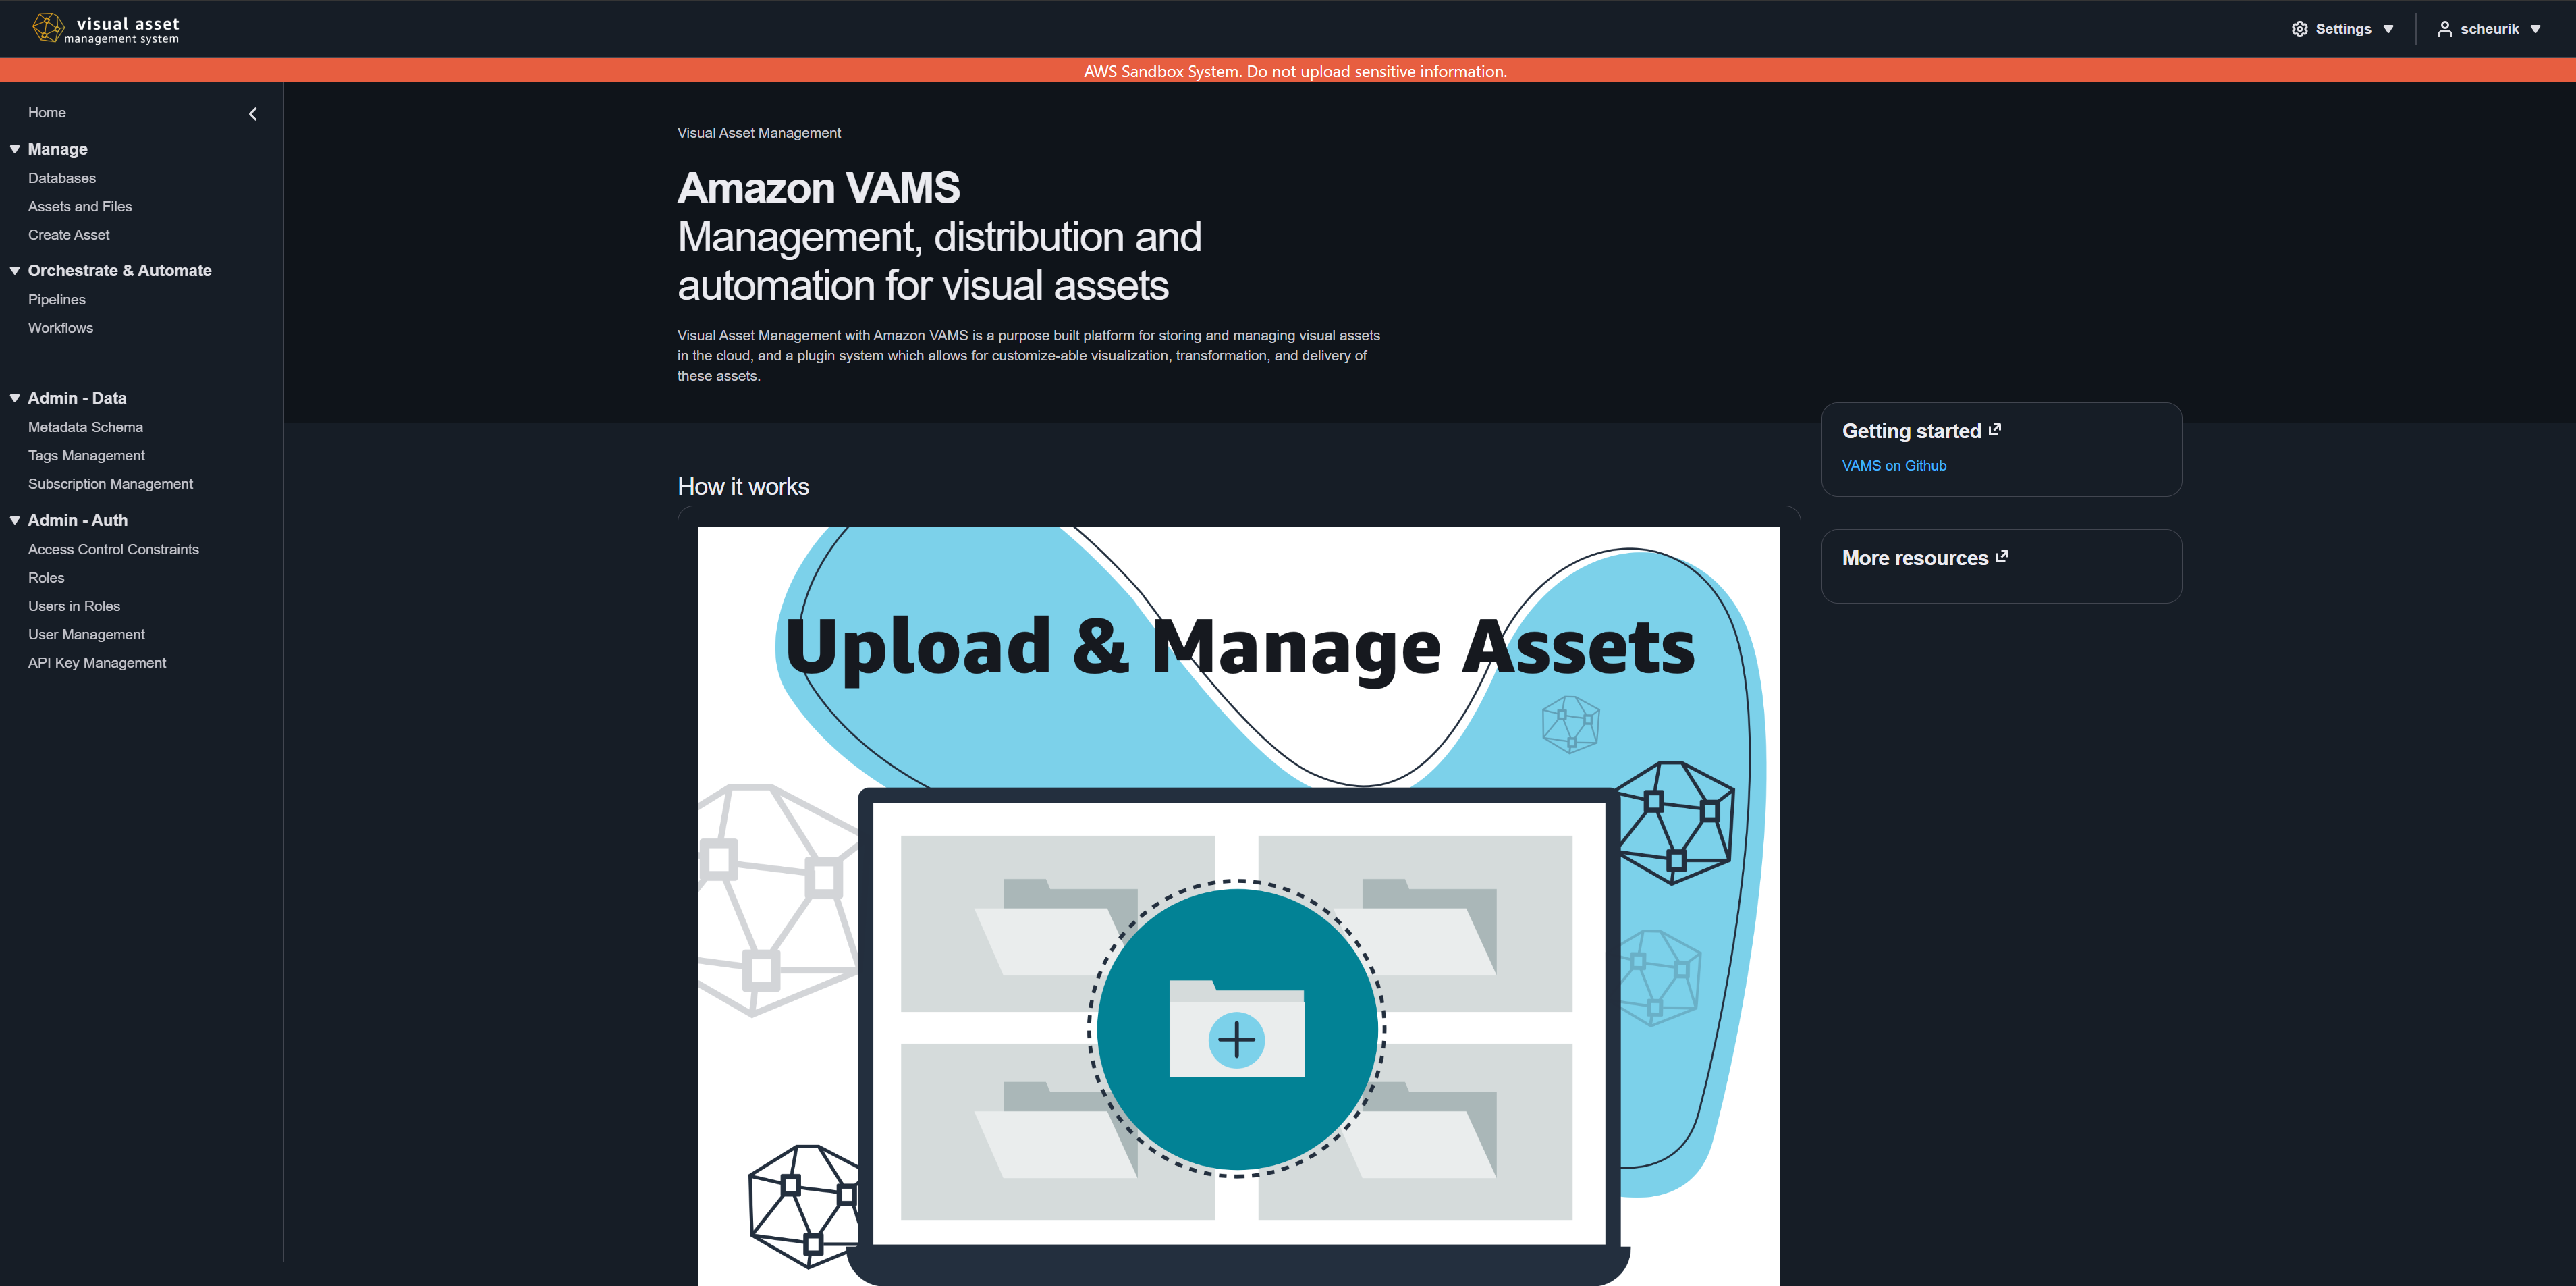
Side Navigation Panel
The left-side navigation panel organizes all VAMS pages into logical sections. You can collapse or expand this panel by selecting the hamburger icon. VAMS remembers your preference across sessions.
The navigation panel is divided into the following sections:
Home
| Navigation Item | Description |
|---|---|
| Home | Landing page with an overview of VAMS and quick-start information. |
Manage
| Navigation Item | Description |
|---|---|
| Databases | View, create, and manage databases that organize your assets. |
| Assets and Files | Search, browse, and manage assets across all databases. |
| Create Asset | Upload a new asset with files, metadata, tags, and relationships. |
Orchestrate and Automate
| Navigation Item | Description |
|---|---|
| Pipelines | View and manage processing pipelines (3D conversion, preview generation, and more). |
| Workflows | Create and manage workflows that chain pipelines together for automated processing. |
Admin - Data
| Navigation Item | Description |
|---|---|
| Metadata Schema | Define and manage metadata schemas that enforce consistent metadata fields across assets. |
| Tags Management | Create and manage tags and tag types for organizing and classifying assets. |
| Subscription Management | Manage notification subscriptions for asset change events. |
Admin - Auth
| Navigation Item | Description |
|---|---|
| Access Control Constraints | Define fine-grained access control constraints that determine what resources roles can access. |
| Roles | Create and manage roles that group sets of permissions. |
| Users in Roles | Assign users to roles to grant them the associated permissions. |
| User Management | Manage Amazon Cognito user accounts (create, disable, reset passwords). This item is only visible when Amazon Cognito authentication is enabled. |
| API Key Management | Create and manage API keys for programmatic access to VAMS. |
The navigation items visible to you depend on your assigned role and permissions. If you do not see a particular item, contact your administrator to request the necessary access.
Setting Your Theme Preference
VAMS supports two visual themes: Dark (default) and Light. To change the theme:
- Select the Settings dropdown (gear icon) in the top navigation bar.
- Choose Light Theme or Dark Theme.
- The interface updates immediately. A checkmark indicates the active theme.
Your theme preference is saved in your browser and persists across sessions.
The dark theme reduces eye strain in low-light environments and is the default. The light theme may be preferable in bright environments or for accessibility needs.
Understanding the Header and Footer
Global Header Banner
Your administrator may configure a banner message that appears at the top of every page. This is commonly used for classification markings, environment labels (such as development or production), or organization-specific notices.
Page Footer
The footer appears at the bottom of every page. If configured by your administrator, it may display additional classification or organizational information.
Understanding URL Format
VAMS uses hash-based routing, which means URLs follow the format https://your-vams-url/#/path. For example:
https://your-vams-url/#/databases/-- Databases listing pagehttps://your-vams-url/#/assets/-- Asset search pagehttps://your-vams-url/#/upload/-- Asset upload page
You can bookmark these URLs and share them with colleagues who have appropriate access.
Next Steps
Now that you are familiar with the interface, proceed to:
- Web Interface Overview for a detailed tour of each page
- Upload Your First Asset for a step-by-step tutorial on creating your first database and asset
- Asset Management for comprehensive guidance on managing assets, files, and versions